
Rocky Linux 9 is released a couple of weeks ago. It is a long term support OS, so you can safely use it for another 10 years. Most cloud providers offer it already, where you don’t need to install it. But if you are testing or even hosting an app on your local machine, you can install Rocky Linux 9 in a VirtualBox to do so.
| Release date | Support end date |
| July 14th, 2022 | May 31st, 2032 |
Note: I have downloaded minimal iso file to install as I don’t need the GUI.
Setup virtual machine
Create a virtual machine in VirtualBox without attaching or creating a drive yet. Once created, do the following:
- Open Virtual Media Manager from File menu.
- Create a virtual drive, either fixed size(15GB) or dynamic size in Hard disks.
- Add the downloaded iso file in Optical disks.
Close Virtual Media Manager, and open the virtual machine Settings.
- Add drive and iso in Storage tab.
- In Network tab, select Bridged Adapter in Adapter 1. You can add host-only network too if you would like.
Installation
Start the virtual machine and choose Install Rocky Linux.
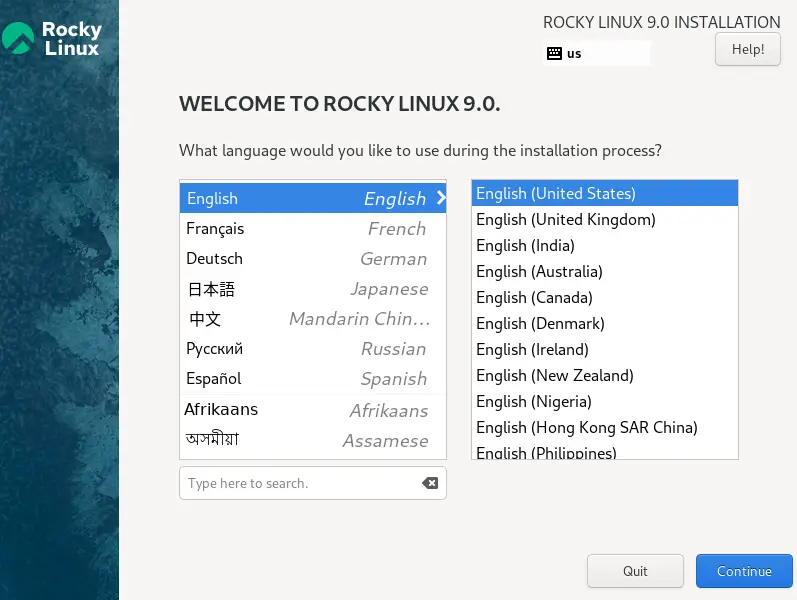
1- Choose your preferred language.
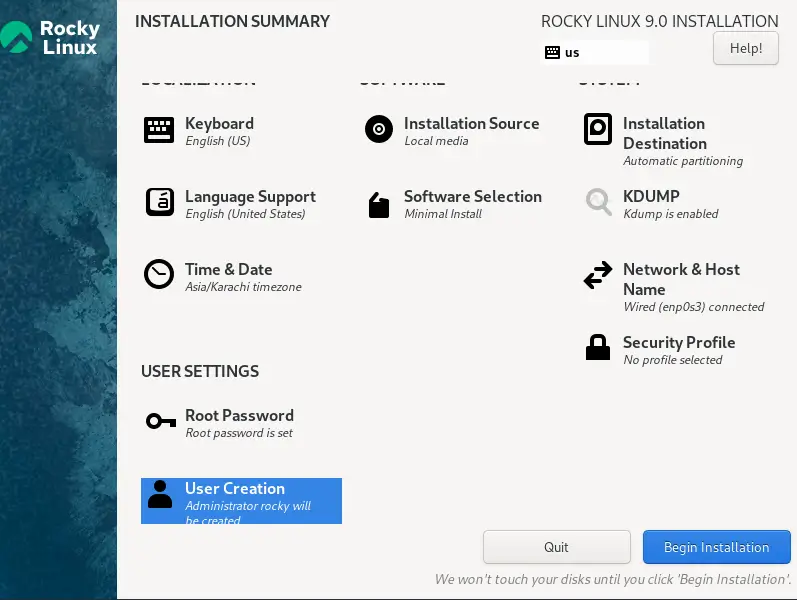
2- Choose hard disk, create a user, enter root password and change anything else according to your need. Click Begin Installation.
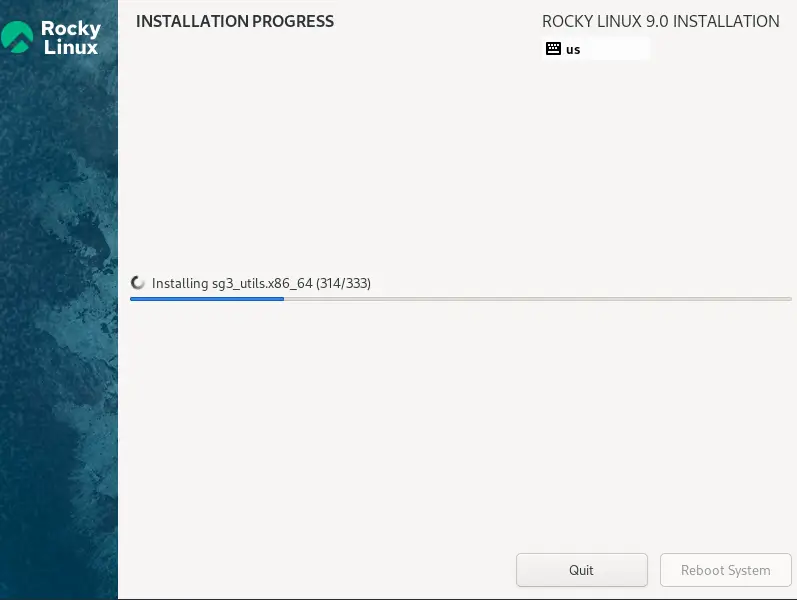
3- Wait for the installation to finish. Once done, reboot the system.

4- After installation is finished you can now remove the iso attached in Storage tab and uncheck Optical in System tab.
Update
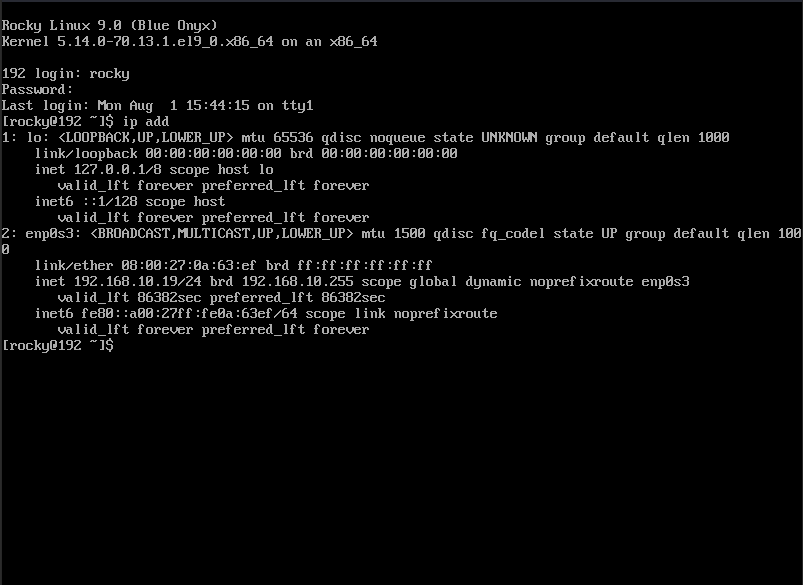
By running ip add you will know the ip addresses assigned to the VM. Also you can safely update the system at this stage.
sudo yum update
OR
sudo dnf update


