In this article, I will guide you through the process of installing and configuring the Powerlevel10k Zsh theme. This theme is highly popular and loved by many for its customizable features.
It allows you to elevate your terminal experience to the next level. Whether you’re a seasoned terminal user or just getting started, this guide will help you with the installation step by step.
What is Oh My Zsh? From it’s website:
Oh My Zsh is an open source, community-driven framework for managing your Zsh configuration.
https://ohmyz.sh/
I am on Manjaro (applicable to all Arch based distributions) and it has a community package in the repository but the Powerlevel10k devs does not recommend to install it from there, because it often break. There is also an AUR package, but I will install it from the repository source directly instead. I found this way easy enough.
Install Zsh
Before we jump to the installation, make sure you have zsh installed. If not, you can install it with:
sudo pacman -S zshChange to zsh shell. Type /bin/zsh when prompted.
chshInstall and configure powerlevel10k theme
Once done, let’s clone the repository with the following command:
git clone --depth=1 https://github.com/romkatv/powerlevel10k.git ${ZSH_CUSTOM:-$HOME/.oh-my-zsh/custom}/themes/powerlevel10k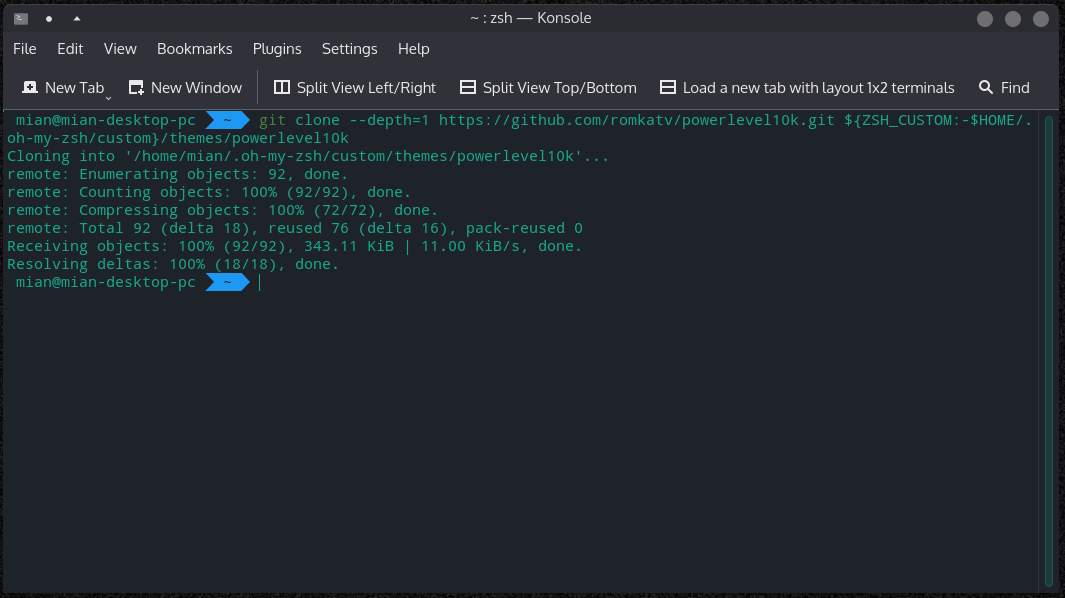
Open .zshrc to change to powerlevel10k theme.
vim ~/.zshrc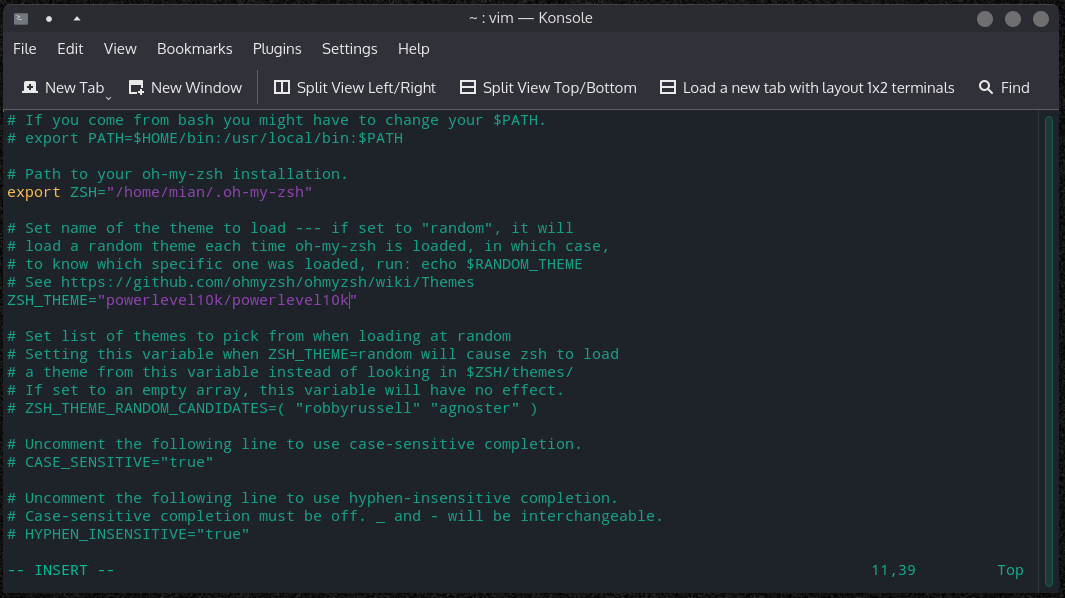
ZSH_THEME should now be:
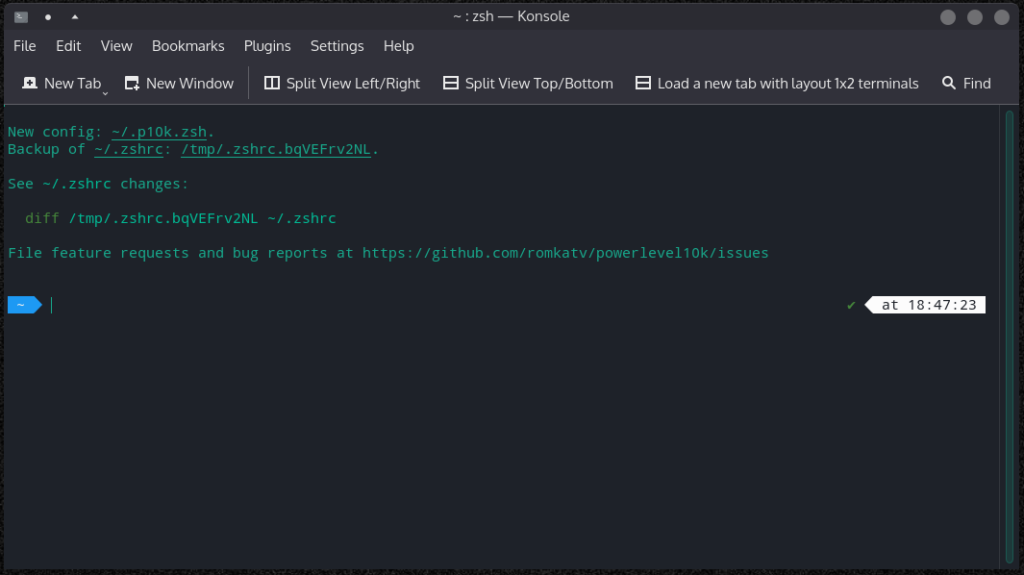
ZSH_THEME="powerlevel10k/powerlevel10k"Save and restart the terminal. You will be shown a configuration screen where you can customize the appearance to your liking.
If you ever wanted to change any configuration or style, just run the following command to set them again.
p10k configureHere are some of the screenshots from the configuration flow.
For a start, it will ask few basic questions. Answer them as you see fit.
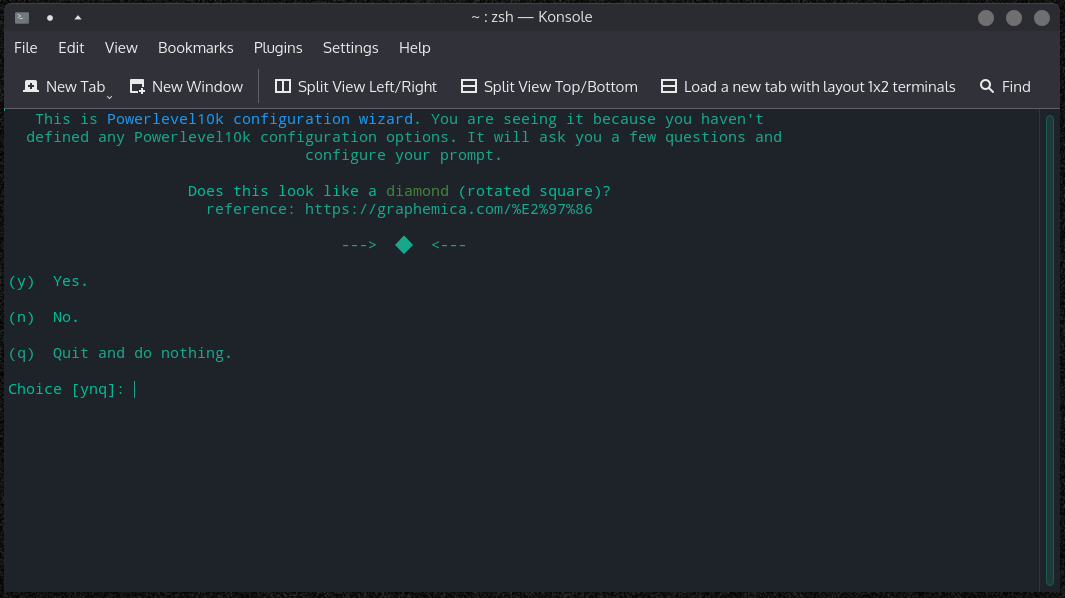
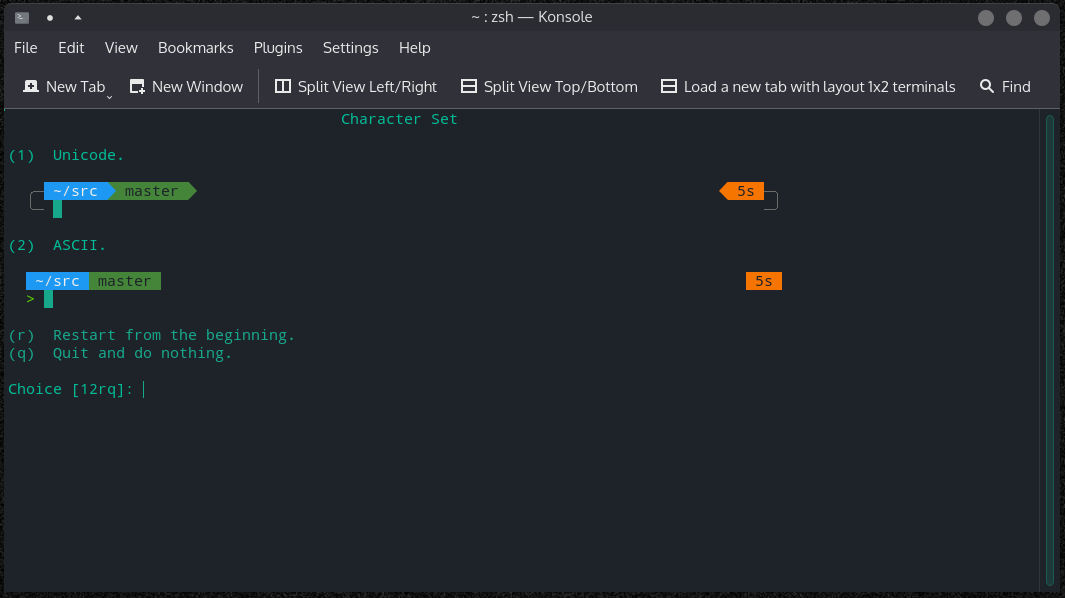
Select character set.
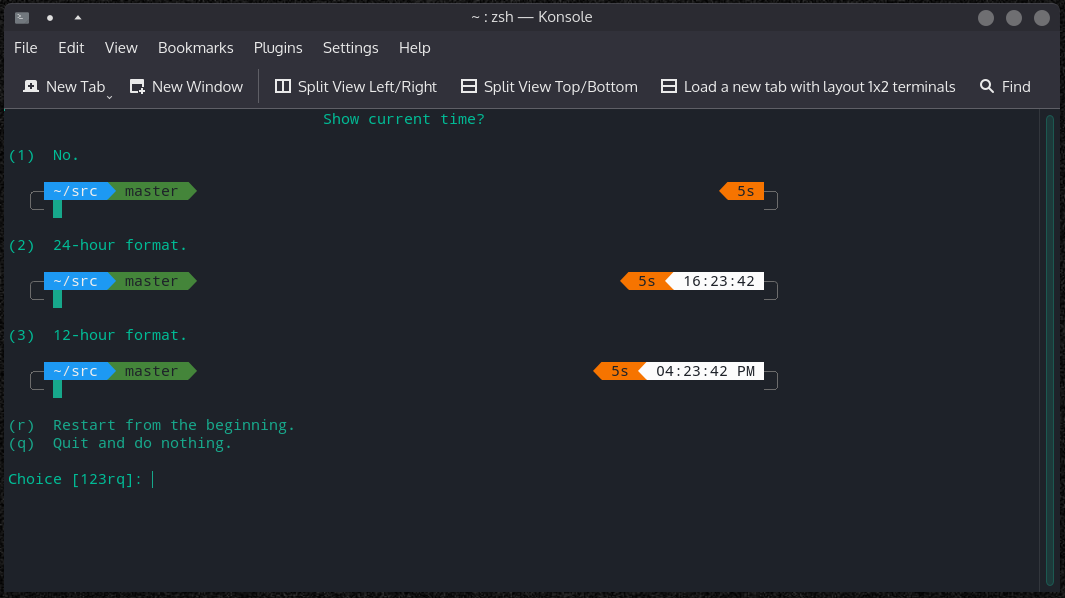
You can choose to show time or just ignore it by selecting No.
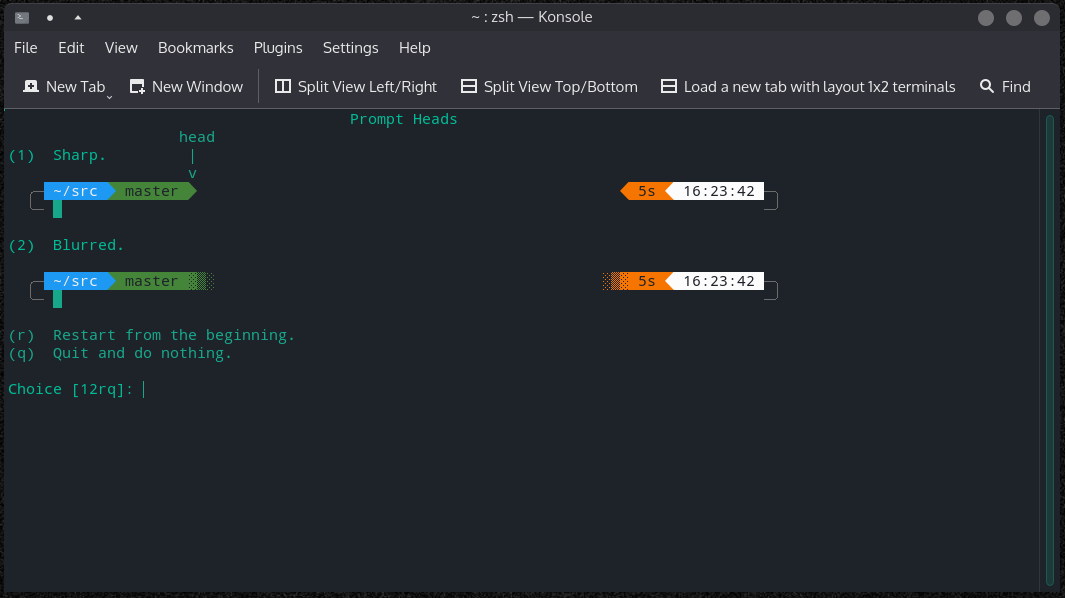
Choose prompt heads and tail in the next screens.
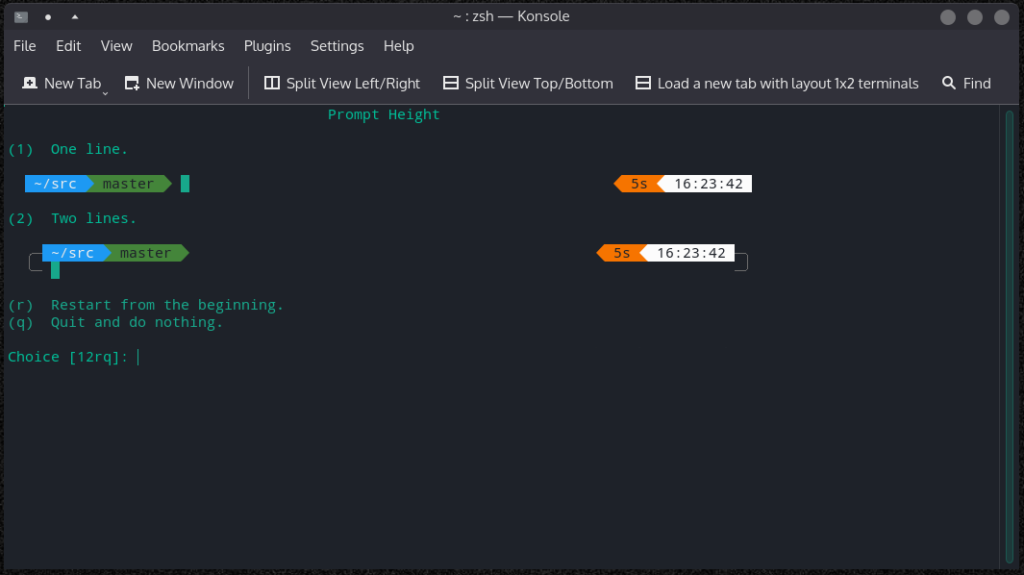
Select prompt height of your choice.
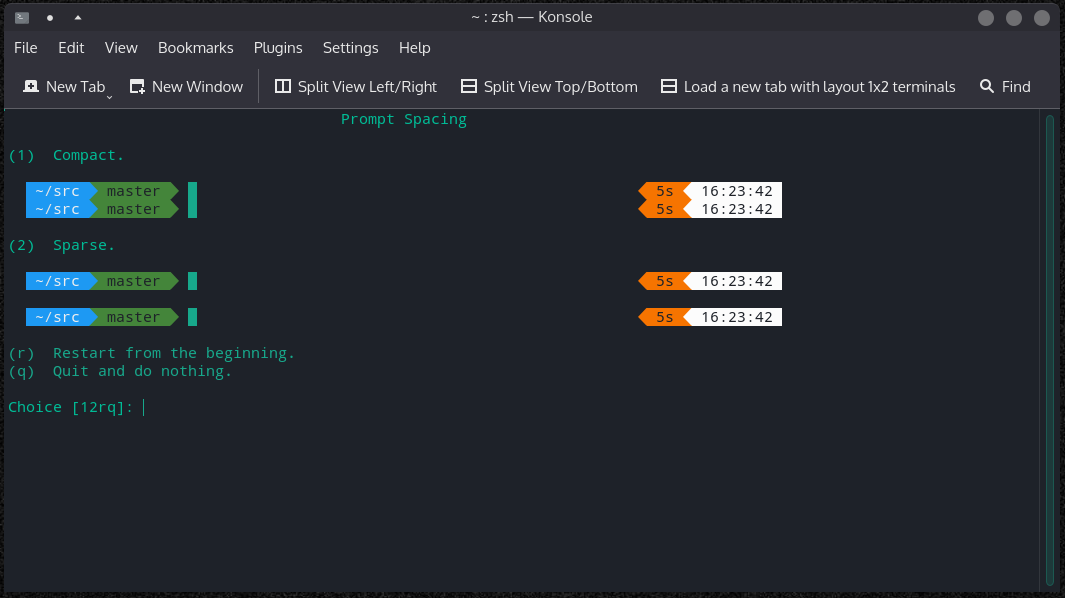
Choose the spacing between prompts.
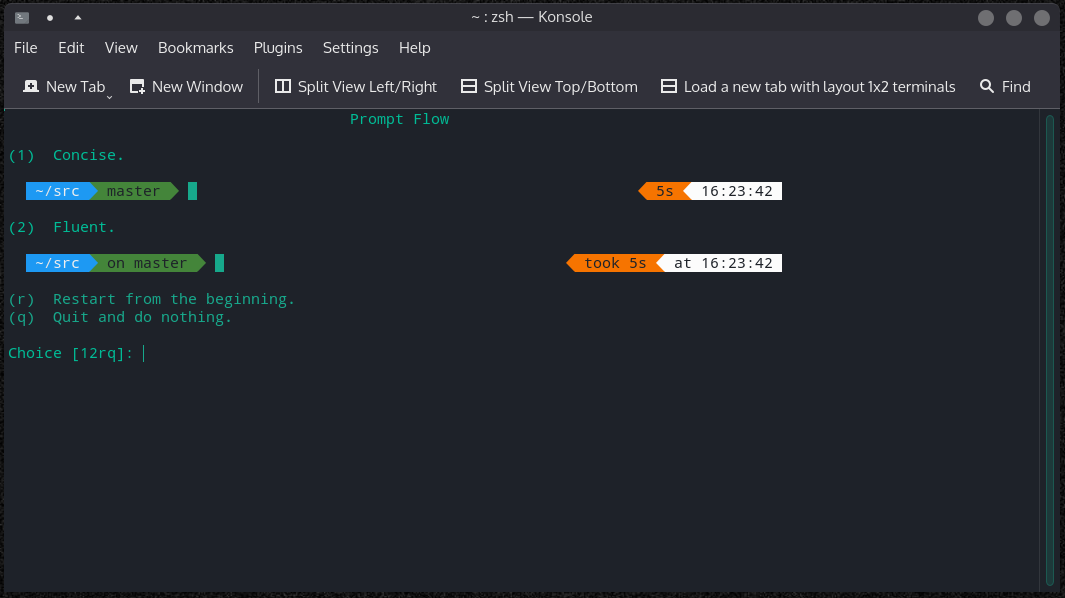
Select a flow between concise and fluent.
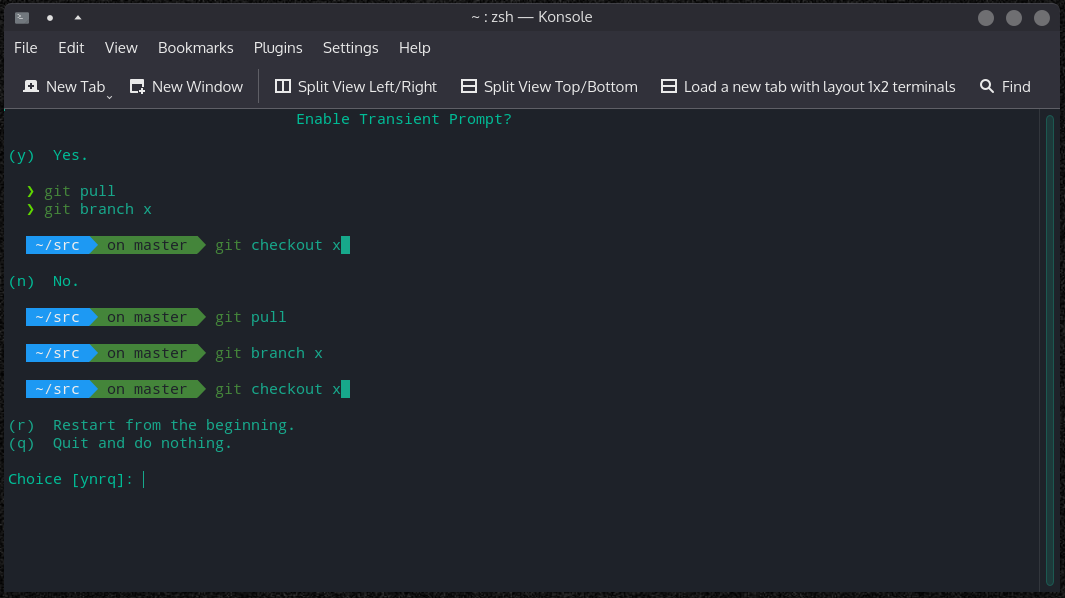
This is where you can choose the appearance of previously run commands.
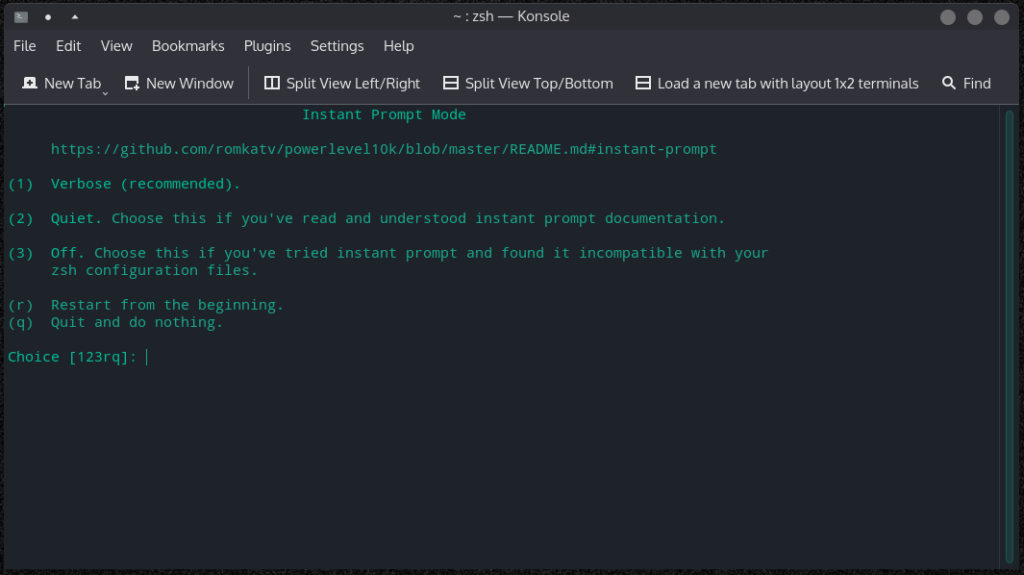
Choose the prompt mode here. Verbose is recommended. That would be pretty much it.
Your final screen after saving the configuration will look like this.