
Piwigo is a powerful open-source photo gallery software that allows you to easily manage, organize, and share your photos online. With its user-friendly interface and extensive features, Piwigo has become a popular choice for individuals, photographers, and organizations alike. In this guide, we will walk through the step-by-step process of installing Piwigo on Ubuntu Server, ensuring a smooth installation and configuration.
Looking for an alternative that can do more than just create galleries? Try Nextcloud; it has a built-in Gallery app.
Looking to install Nextcloud 26 (Hub 4) on Ubuntu 22.04 instead? Click here
The software and operating system being utilized are:
- Ubuntu 22.04 LTS
- Apache
- PHP 8.1
- MariaDB 10.x
1- Prepare the server
We will ensure that the system is up to date and activate the firewall, allowing access only to essential ports such as 22, 80, and 443.
apt update && apt upgrade

apt autoremove && apt autoclean
ufw default allow outgoing
ufw default deny incoming
ufw allow 22
ufw allow 80
ufw allow 443
ufw enable
ufw statusWe will now proceed with the installation of all the necessary software and libraries, including PHP, Apache, MariaDB, Imagemagick, ffmpeg, and others.
apt install apache2 mariadb-server libapache2-mod-php php php-gmp php-bcmath php-gd php-json php-mysql php-curl php-mbstring php-intl php-imagick php-xml php-zip php-fpm php-apcu php-opcache bzip2 zip unzip imagemagick vim libimage-exiftool-perl ffmpegAs we are using Ubuntu 22.04, PHP 8.1 is available in the repository. For other Ubuntu versions, please adjust accordingly. Additionally, we will enable and utilize PHP FPM.
a2enconf php8.1-fpm
a2dismod php8.1
a2dismod mpm_prefork
a2enmod mpm_event
Also enable some Apache modules and restart Apache afterwards.
a2enmod ssl rewrite headers deflate cache http2 proxy_fcgi env expiressystemctl restart apache2
systemctl enable apache2
systemctl enable php8.1-fpm
systemctl enable mariadb2- Database setup
To configure MariaDB, execute the command mysql_secure_installation which will prompt you to set the root password, remove the test database, and perform other necessary security measures.
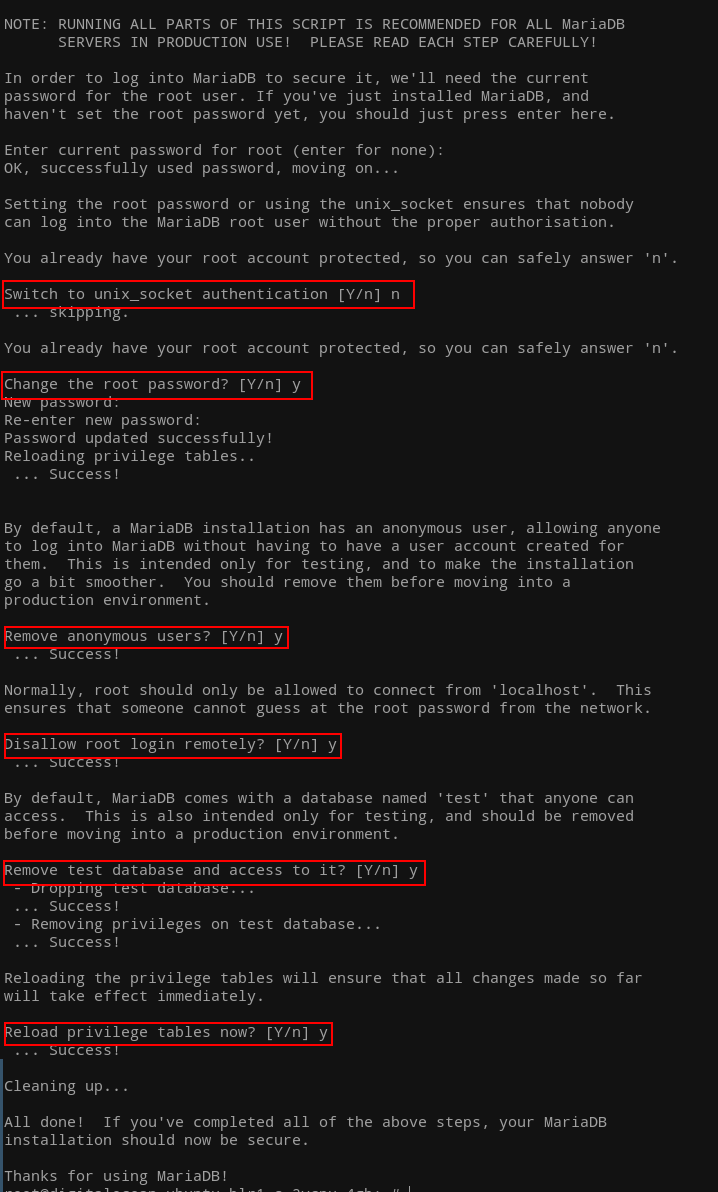
Now login to MariaDB and create a piwigo database.
Database name: piwigo
Database user: piwigo_user
Database password: replace PASSWORD with your own
mysql

create database piwigo CHARACTER SET utf8mb4 COLLATE utf8mb4_general_ci;

grant all on piwigo.* to 'piwigo_user'@'localhost' identified by 'PASSWORD';

flush privileges;
exit
3- Configure PHP
Customize certain PHP options such as “memory_limit” and “upload_max_filesize” to align with your specific requirements. Adjust the values accordingly to suit your needs.
vim /etc/php/8.1/fpm/php.inimax_execution_time = 180 (line 409)
memory_limit = 512M (line 430)
post_max_size = 200M (line 698)
upload_max_filesize = 200M (line 850)
Restart PHP FPM once done updating the values.
systemctl restart php8.1-fpm4- Apache virtual host
Create an Apache virtual host file named ‘piwigo.conf‘ in the directory ‘/etc/apache2/sites-available/’.
cd /etc/apache2/sites-available/
vim piwigo.conf
Enter the following content into the file and make the necessary changes where needed.
<VirtualHost *:80>
	ServerName DOMAIN.COM
	DocumentRoot /var/www/html

	<Directory "/var/www/html">
		AllowOverride All
		Options -Indexes +FollowSymLinks
	</Directory>

	ErrorLog /var/log/apache2/piwigo_error.log
</VirtualHost>
Enable this configuration and restart Apache.
a2dissite 000-default.conf
a2ensite piwigo.conf

apachectl -t
systemctl restart apache2
5- Download Piwigo
At this time, the latest release is 13.7.0, so I will download that. You can check the releases page on GitHub for the newest ones. There are also other ways to download, but let’s use this for clarity and ease.
cd /var/www
wget https://github.com/Piwigo/Piwigo/archive/refs/tags/13.7.0.zip
Unzip the files and move them to the web root directory.
unzip 13.7.0.zip
rm /var/www/html/index.html
shopt -s dotglob
mv Piwigo-13.7.0/* html/

chown -R www-data:www-data /var/www/html
We are done until here.
To obtain a free SSL certificate from Let’s Encrypt, please refer to step 7 below.
6- Piwigo installation
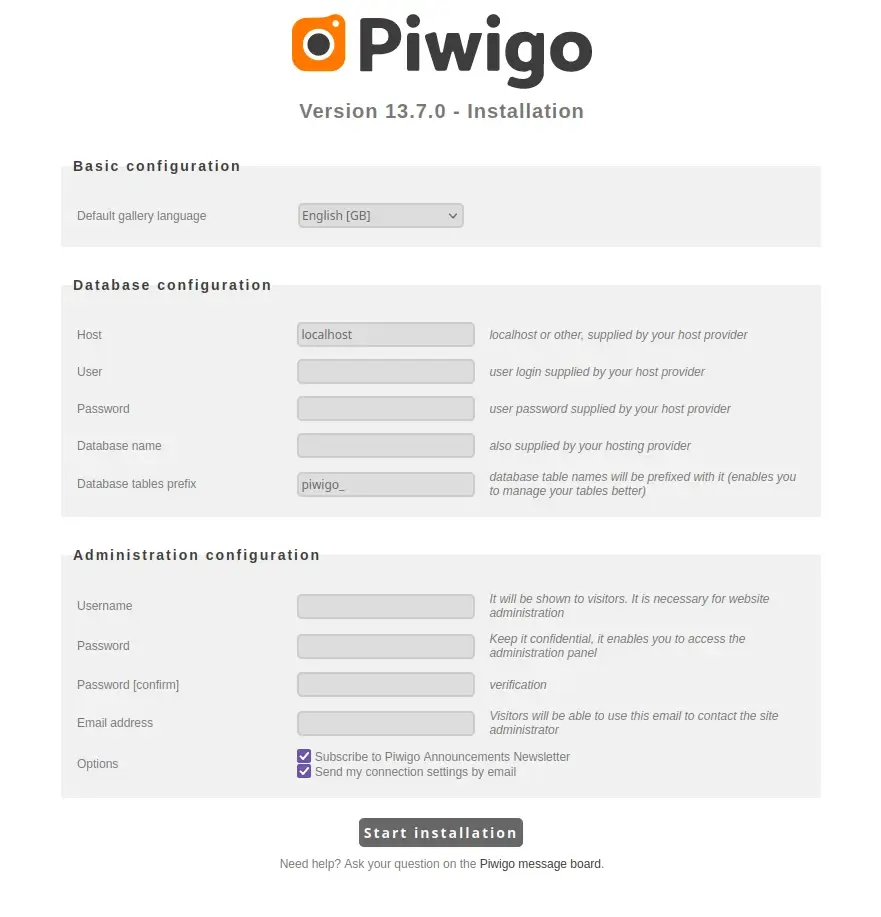
Open the browser and enter the URL to start the installation.
Enter the database username, password, and database name, including the admin credentials. Afterward, click on the ‘Start installation‘ button.
If everything goes smoothly, you should see the screen below.
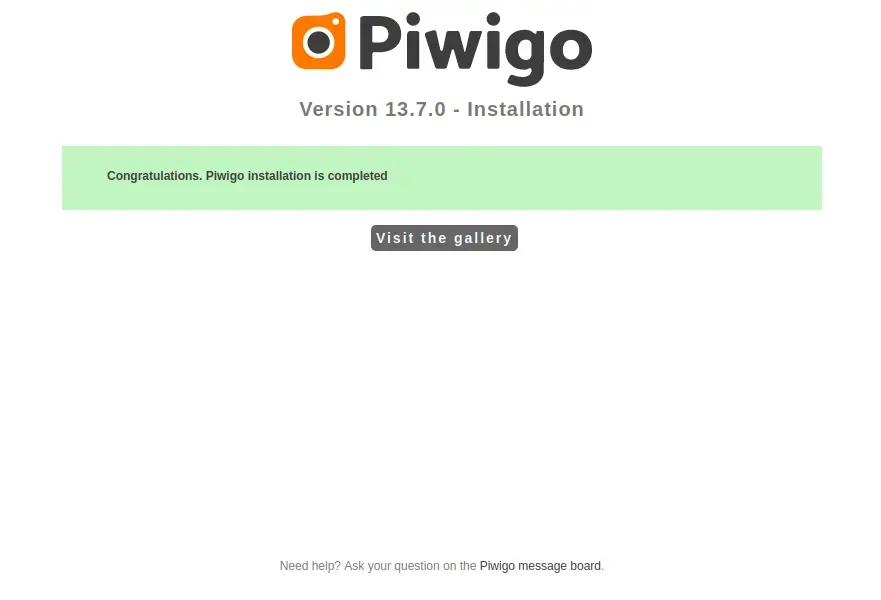
Clicking on the ‘Visit the gallery‘ button will take you to the screen below. From there, you can choose to upload or go straight to the dashboard.
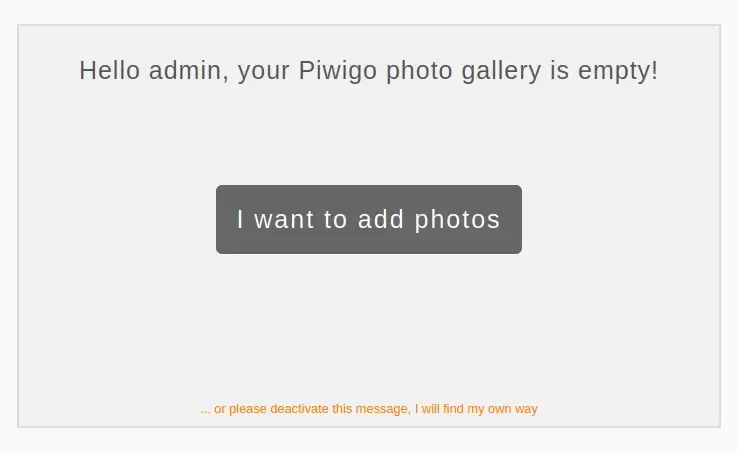
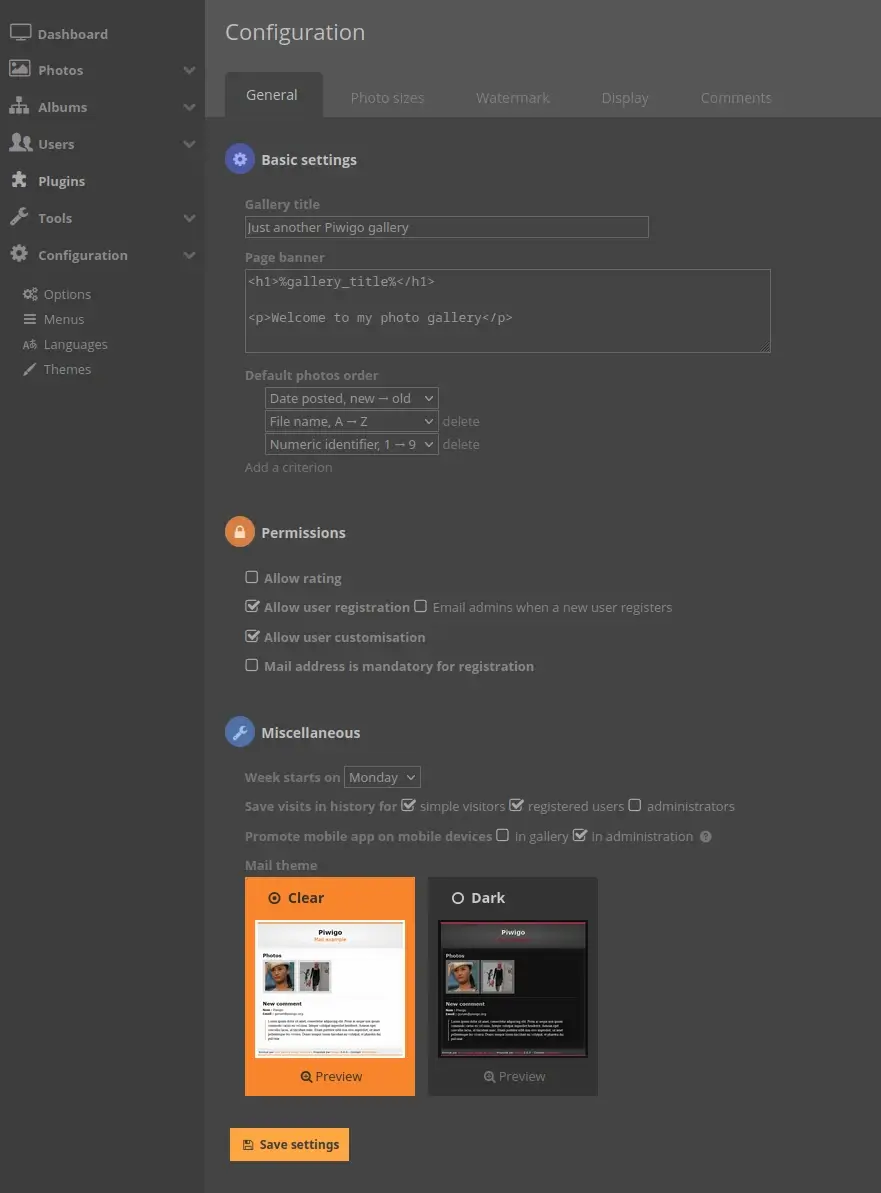
From the admin page, you can now download themes and plugins of your choice.
7- SSL and updating Apache virtual host
We will obtain SSL through the certbot snap package. Please change your domain in the code snippet below.
snap install certbot --classic

certbot certonly --webroot -w /var/www/html -d DOAMIN.COM
Note down the certificate paths.
After successfully obtaining the certificates, add this block to the piwigo.conf file (/etc/apache2/sites-available/) below block 80. Make sure to change the domain name and certificate paths accordingly.
<VirtualHost *:443>
	ServerName DOMAIN.COM
	DocumentRoot /var/www/html

	SSLCipherSuite EECDH+AESGCM:EDH+AESGCM:AES256+EECDH:ECDHE-RSA-AES128-SHA:DHE-RSA-AES128-GCM-SHA256:AES256+EDH:ECDHE-RSA-AES256-GCM-SHA384:ECDHE-RSA-AES128-GCM-SHA256:DHE-RSA-AES256-GCM-SHA384:ECDHE-RSA-AES256-SHA384:ECDHE-RSA-AES128-SHA256:ECDHE-RSA-AES256-SHA:DHE-RSA-AES256-SHA256:DHE-RSA-AES128-SHA256:DHE-RSA-AES256-SHA:DHE-RSA-AES128-SHA:ECDHE-RSA-DES-CBC3-SHA:EDH-RSA-DES-CBC3-SHA:AES256-GCM-SHA384:AES128-GCM-SHA256:AES256-SHA256:AES128-SHA256:AES256-SHA:AES128-SHA:DES-CBC3-SHA:HIGH:!aNULL:!eNULL:!EXPORT:!DES:!MD5:!PSK:!RC4
	SSLProtocol All -SSLv2 -SSLv3 -TLSv1 -TLSv1.1
	SSLHonorCipherOrder On
	Header always set Strict-Transport-Security "max-age=63072000; includeSubDomains; preload"
	Header always set X-Frame-Options DENY
	Header always set X-Content-Type-Options nosniff

	Protocols h2 http/1.1

	<Directory "/var/www/html">
		AllowOverride All
		Options -Indexes +FollowSymLinks
	</Directory>

	<FilesMatch ".(ico|pdf|flv|jpg|jpeg|png|gif|js|css|swf|ttf|woff)$">
		Header set Cache-Control "max-age=31536000, public"
	</FilesMatch>

	ErrorLog /var/log/apache2/piwigo_error.log

	SSLEngine on
	SSLCertificateKeyFile /etc/letsencrypt/live/DOMAIN.COM/privkey.pem
	SSLCertificateFile /etc/letsencrypt/live/DOMAIN.COM/fullchain.pem
</VirtualHost>
To automatically redirect to HTTPS, add the following to the port 80 block section.
RewriteEngine On
RewriteCond %{HTTPS} off
RewriteRule (.*) https://%{HTTP_HOST}%{REQUEST_URI}
Test the configuration and restart Apache.
apachectl -t
systemctl restart apache2
Congratulations, you have successfully installed Piwigo. It’s time to create albums and upload some pictures. Remember that Piwigo also has mobile apps.


