
Welcome to our guide on setting up Mail-in-a-Box as your email server. Whether you’re an individual looking to manage your personal emails or a small business seeking a cost-effective email server setup, this guide will walk you through the entire process, ensuring a seamless and hassle-free experience. Let’s dive in and get started on setting up your very own Mail-in-a-Box email server setup.
Mail-in-a-Box lets you become your own mail service provider in a few easy steps. It’s sort of like making your own gmail, but one you control from top to bottom.
https://mailinabox.email/
To do before installation
- Use a fresh Ubuntu 22.04 LTS as your server OS
- To ensure correct functionality, you should point your subdomain to the server’s IP address. In my case, I use mail.domain.com as the subdomain.
- To update the reverse DNS entry for the server, Digital Ocean will handle this automatically. However, for other providers, simply follow their documentation for the necessary steps.
1- Prepare the server
First, let’s update our system, and then we can proceed with the clean-up.
apt update && apt upgrade

apt autoremove && apt autoclean
At this point, restart the server if needed.
Mail-in-a-Box will take care of handling the firewall, ports, and installation of apps, so we won’t have much to do in this regard.
2- Installation
To initiate the installation, please enter the following command:
curl -s https://mailinabox.email/setup.sh | sudo -E bash
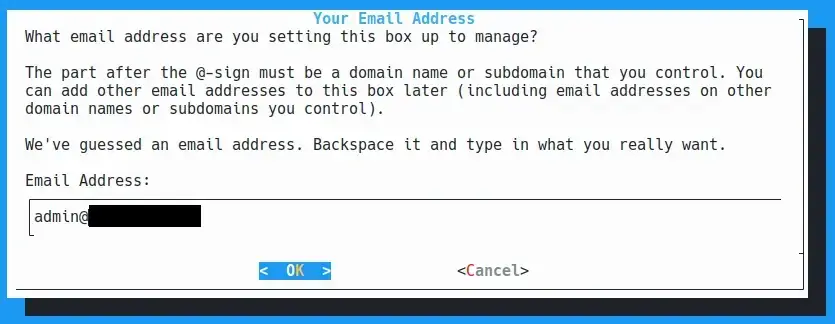
Please enter your admin email, which will also be used for logging into the control panel.
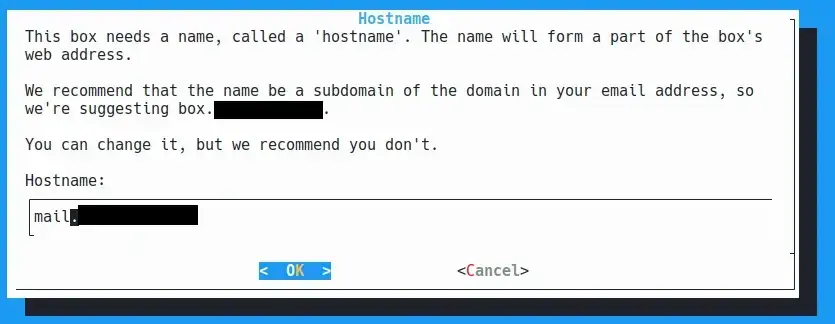
Please enter the server domain. You can either keep it as box.domain.com or choose any other subdomain of your preference.
Wait for the installation to finish. At the end you will be given a link to the control panel.

It is safe to re-run the setup using the command sudo mailinabox.
If not all, some cloud providers may block the outgoing SMTP port 25. If you encounter this issue, kindly request your cloud provider to open the SMTP port 25 for you.
3- NS and DNS setup
If you intend to use Mail-in-a-Box as your DNS server, simply copy the NS records and paste them into the DNS control panel provided by your domain name registrar.
If you prefer to host your DNS with your domain registrar, follow these steps: After logging in to Mail-in-a-Box, click on the System menu at the top, then select External DNS. Copy all the suggested records provided by Mail-in-a-Box and paste them into the DNS control panel provided by your domain name registrar. By doing this, your DNS will be hosted elsewhere, and you may encounter a few DNS related errors on the Status Check page. If the errors are related, you can safely ignore them. However, if necessary, make the required fixes to resolve any issues.
4- Update
If you wish to update your Mail-in-a-Box, simply run the same command that was used during the initial installation.
curl -s https://mailinabox.email/setup.sh | sudo -E bash


