Virtual Disk Image (VDI) and Virtual Machine Disk (VMDK) files are widely used formats in the world of virtualization. Mostly used with VirtualBox and VMware, if you’re looking to bring these virtual machine images into your QEMU/KVM virtualization environment, you’re in the right place. This guide will walk you through the step-by-step process of how to import VDI and VMDK files into your QEMU/KVM setup, allowing you to take full advantage of these versatile formats in your virtualization projects.
Let’s get started.
Convert VDI or VMDK to qcow2 format
First, what we will do is convert any image to the qcow2 format. Open the terminal and run the following command, making sure to change the paths and names of the input and output files as needed.
qemu-img convert -f vdi -O qcow2 Ubuntu-22-04-server.vdi Ubuntu-22-04-server.qcow2Import the new image
We now have Ubuntu-22-04-server.qcow2 ready for import.
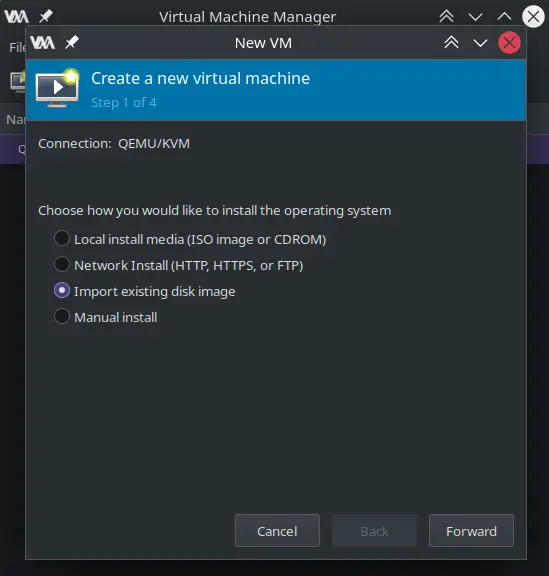
1- Open Virtual Machine Manager and click on New Virtual Machine. Choose Import existing disk image and click the Forward button.
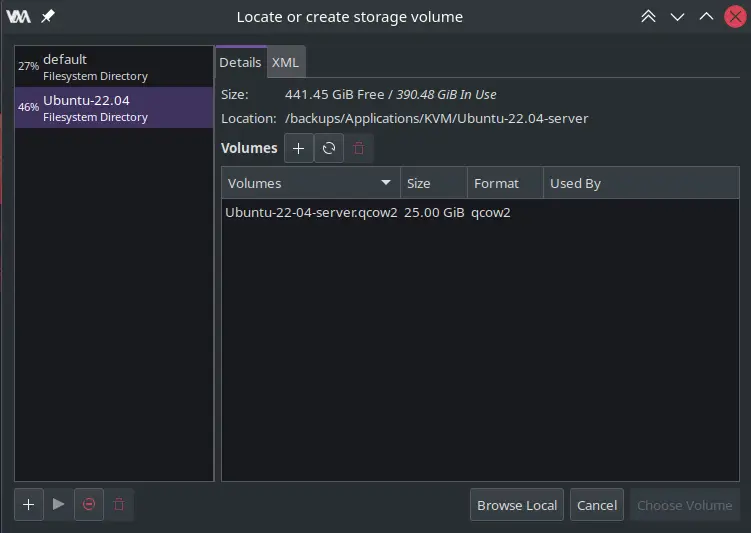
2- Here, click the + icon and locate the qcow2 file you just converted. After importing it, select the volume and click the Choose Volume button.
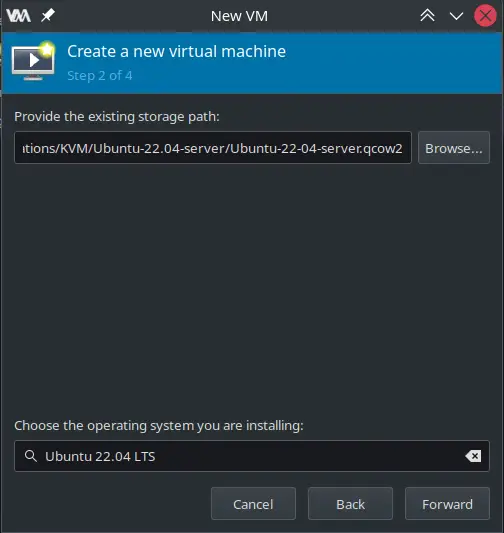
3- On this screen, you may already have the file selected. Choose the operating system and click the Forward button.
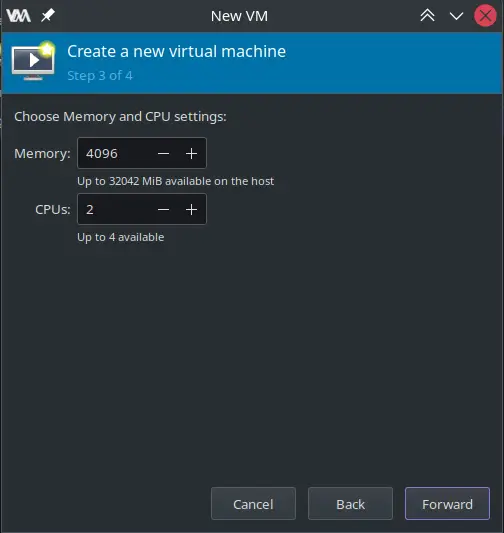
4- Select the amount of RAM and CPU you want to dedicate to this VM.
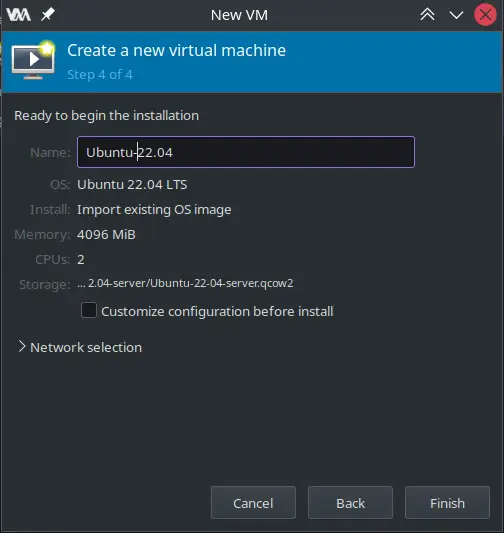
5- Modify the name and confirm the other settings here.
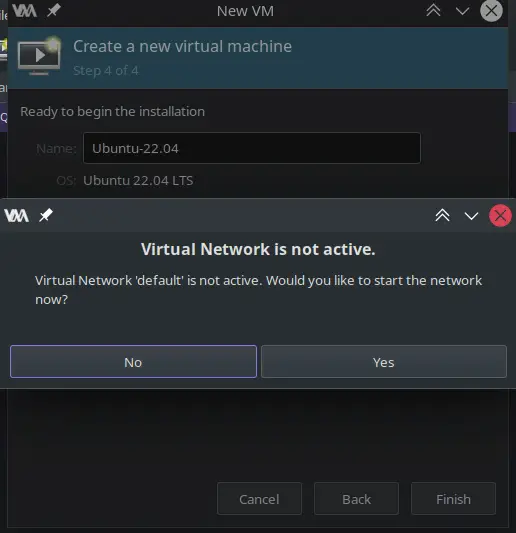
6- When you click Finish, it may prompt you about the default network not being active (fresh setup). Click Yes.
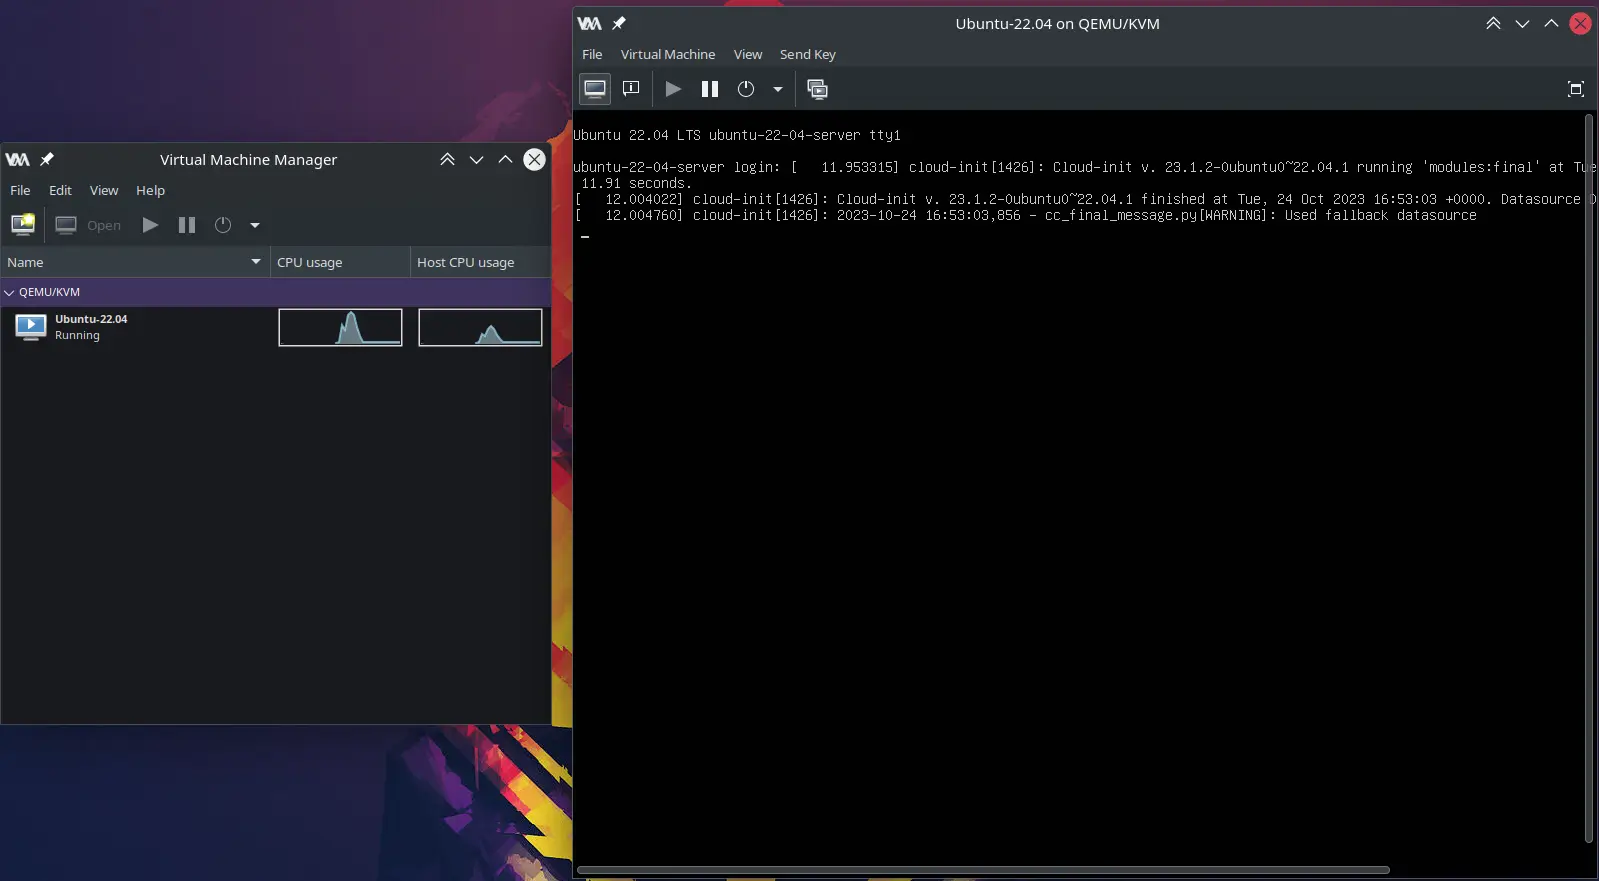
We’ve completed the process. To start the newly added VM, simply click on it in Virtual Machine Manager.