
If you have set up Nextcloud on your Raspberry Pi following this guide and would like to access it outside your home or local network, the easiest way is to use DDNS (Dynamic DNS) with Cloudflare. You can use any other provider supported by DDclient, but we will use Cloudflare in this article. So read on how to set up Dynamic DNS on Raspberry Pi with Cloudflare.
Before we start, I would like to mention that opening any port on your local network poses risks and security challenges. Therefore, it’s crucial to keep everything watertight. Consider using fail2ban on the Raspberry Pi if possible. Only allow the necessary ports and ensure they are forwarded to the correct IP. Avoid leaving unused ports open in the router.
Let’s get started.
Port Forwarding
The first task is to set up port forwarding to the Raspberry Pi.
Note: You will need an IP (dynamic) from your fixed line ISP. This is required. You can get your ISP-provided IP by typing into a Google search, ‘What is my IP’.
If you don’t yet know the IP of the Raspberry Pi, you can obtain it by using the ip a command in the terminal.
1- Now, open the router’s main page using its IP. Look around for port forwarding or mapping; it’s likely located under the Network section.
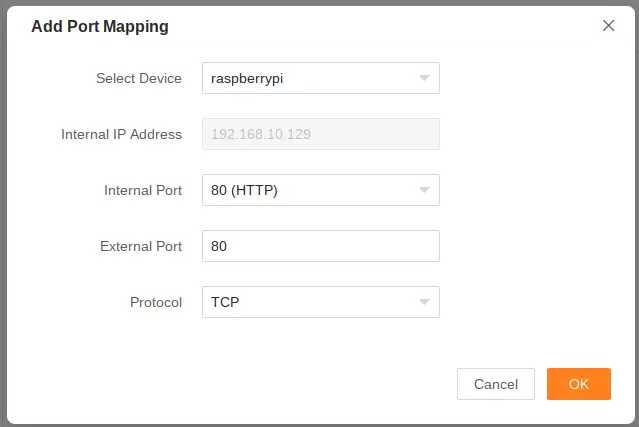
2- Click on the ‘Add’ button, then enter the IP, internal port, external port, and choose TCP as the protocol. In my case, I selected the device from the list.
Repeat the same process for port 443.
Cloudflare
Create a Cloudflare account and navigate to My Profile. Click on API Tokens, copy the Global API Key, and paste it somewhere safe. We will need this later.
Next, add your domain name in the Websites section. Cloudflare will provide you with its NS (Name Server) records. Go to your domain provider’s dashboard and set those records as the NS.
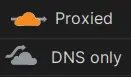
After updating the NS records (wait for propagation), you can now add your dynamic IP from your ISP to point to your domain name. Remember to turn off the proxy status for those records. The cloud icon should turn grey, indicating a DNS only entry. Set the TTL to 1 minute.
Setup DDclient
Log in to your Raspberry Pi in a terminal and install DDclient.
apt update
apt install ddclient libjson-any-perl libdata-validate-ip-perl libio-socket-ssl-perl
The installation of DDclient is interactive; running the above command will present a few screens to help you set up DDclient initially. Let’s go through them.
We will update this later once the installation is finished.
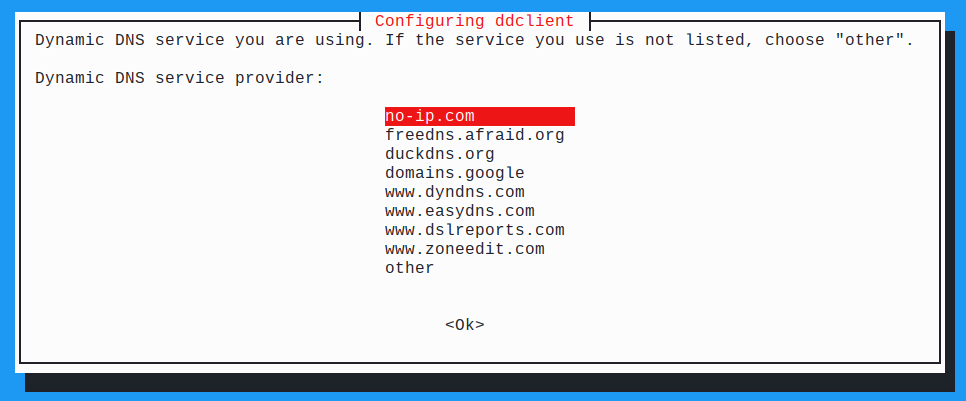
1- The first screen will ask about your Dynamic DNS provider. Select Others here.
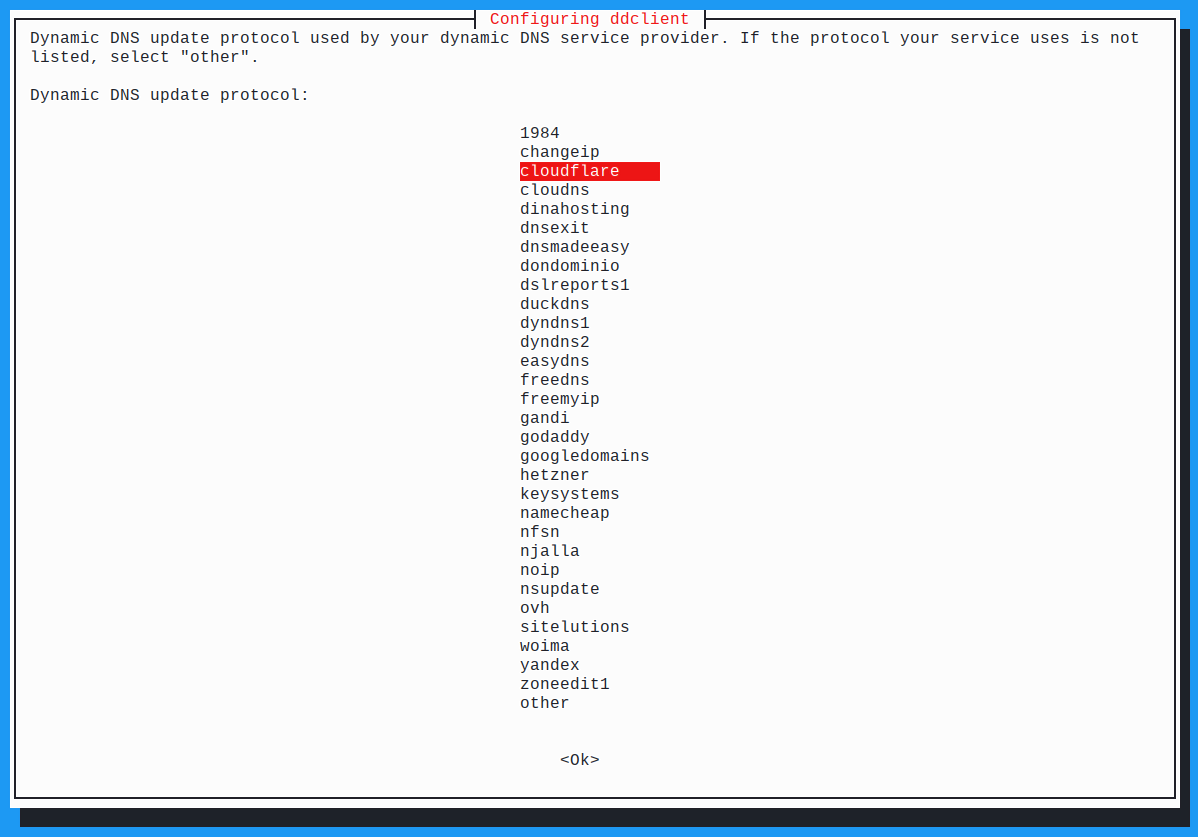
2- Select cloudflare as the protocol here.
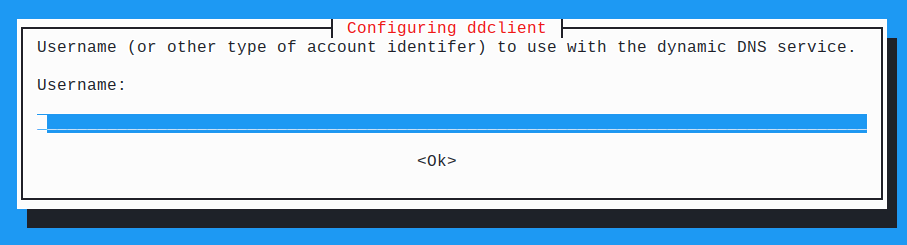
3- The next screen will ask for a username; enter your Cloudflare email as your username.
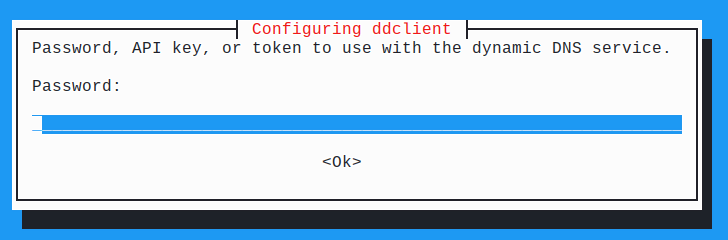
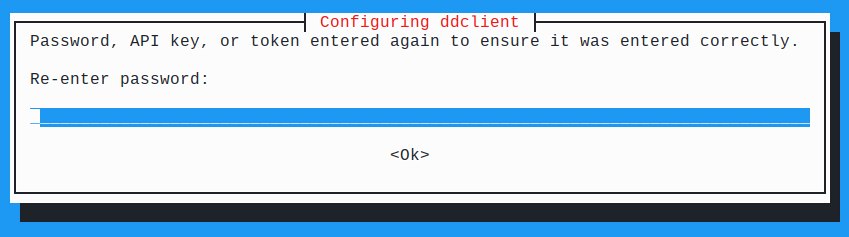
4- Enter the API key you copied from your Cloudflare API Tokens.
Re-enter it when prompted.
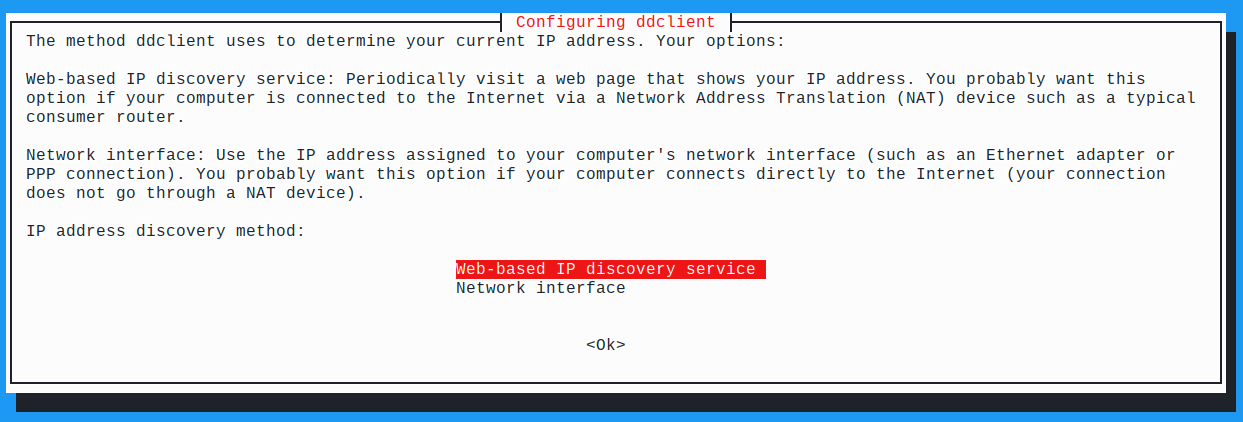
5- Choose Web-based IP discovery service on this screen.
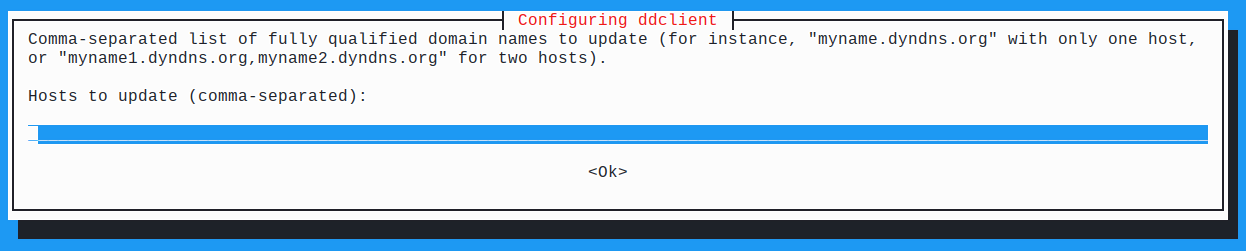
6- The last step is to enter your domain name. Please note that this should be the same as what you entered in Cloudflare DNS entries.
You can check ddclient.conf and change it accordingly by using the following snippet. This should work with Cloudflare and update the IP successfully.
cat /etc/ddclient.confYou can add or update the contents as shown in bold.
use=web, web=checkip.dyndns.com, web-skip='Current IP Address: '
ssl=no

protocol=cloudflare
server=api.cloudflare.com/client/v4
login=EMAIL_ADDRESS
password='API_TOKEN'
zone=DOMAIN
DOMAIN
Restart DDclient.
systemctl restart ddclientDDclient is already running in daemon mode, so no further modifications are needed.
If you check the DDclient log, you will see success messages indicating the IP update.
journalctl -u ddclientraspberrypi ddclient[54991]: SUCCESS: updating DOMAIN.COM: IPv4 address set to IP_ADDRESS
You can change the interval time of updating in /etc/default/ddclient.
daemon_interval="5m"To verify if everything is working, you can restart your router, which will change the dynamic IP from your ISP. DDclient will shortly update this change on Cloudflare as well.


