
You can easily boot the Raspberry Pi from a memory card, but what if you want to boot from an SSD? Read on to learn how to boot a Raspberry Pi from an SSD drive.
The question you may ask is, why not just use a memory card? Well, it depends. However, we know that memory cards are very fragile and can stop working at any time. Furthermore, based on my tests, the operating system installed on them is not very stable.
The Raspberry Pi 4 and 5 differ from the Pi 3 in that you can directly write the operating system to the SSD and boot from it. However, for the Pi 3, a few additional steps, including using a memory card, are needed.
The first thing you need to do is download and install Raspberry Pi Imager on your preferred operating system.
Notes:
- From my tests, it seems that the Imager doesn’t work well with USB3 ports, so it’s recommended to use USB2 ports.
- If you are experiencing failures while writing to the SSD, try again.
- Do not use a keyboard with card or memory support, as USB boot will fail in this case. However, you can remove the keyboard at boot time and then reattach it once the Pi is booted.
Boot Pi 4 and 5 from SSD
It is most likely that your Pi firmware is from Sep 03, 2020, or later. In that case, boot is enabled by default.
Note: If you want more details with images, check ‘Boot Pi 3 from SSD’ below. It has images. The steps are the same.
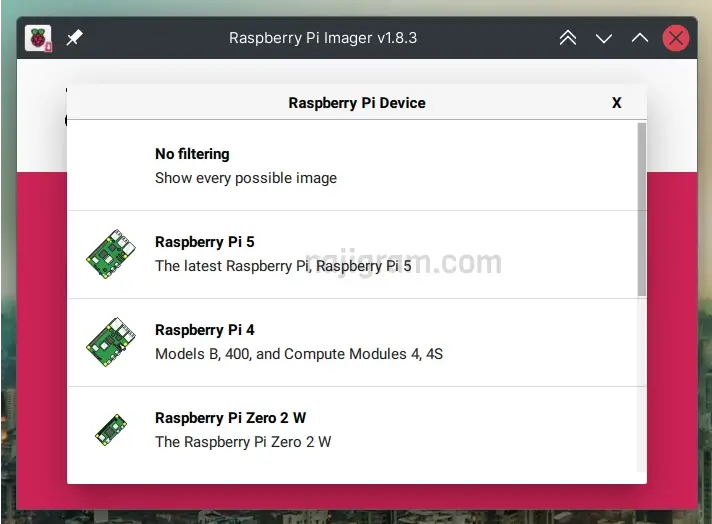
Attach your SSD drive to your machine, then open Raspberry Pi Imager and select your device. Choose your preferred operating system or select ‘Use custom‘ if you have already downloaded the image.
Click on Choose Storage and select the attached SSD.
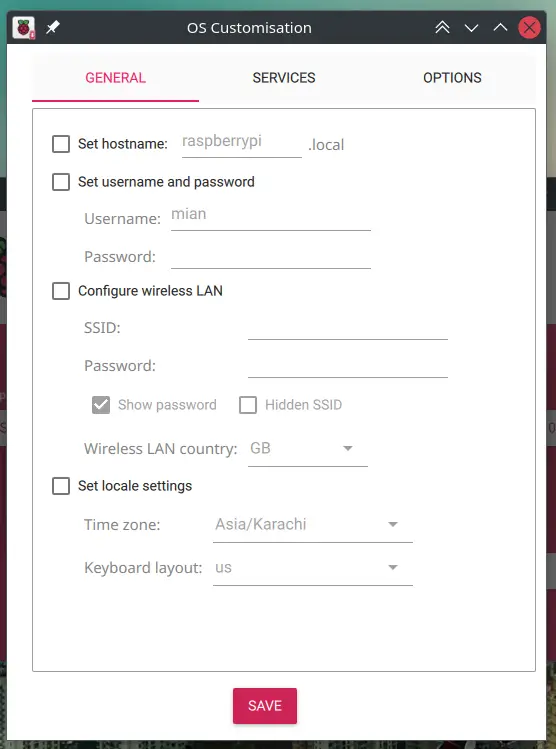
Click the Next button once you have selected all the desired options. You can also manage different settings, such as creating a new user with a password or enabling SSH, etc. Once you are done, click on Write and wait for the process to complete.
After a successful flash, attach the SSD to the Pi via USB and power it on.
Prepare Pi 3 for USB boot
I have a Pi 3, and it was time to test it with an SSD. Even though it does not have a USB3 port to make it significantly faster than a memory card, it is still worth a try.
The boot process here is a little bit different. To enable USB boot, you first need to flash the OS using Raspberry Pi Imager to a memory card and then boot from it.
Once in the UI, open the terminal and run the following command.
vcgencmd otp_dump | grep 17If you see 17:1020000a, then USB boot is not enabled. We add a one-liner to the config.txt file to enable USB boot.
sudo nano /boot/config.txtScroll down to the end and add the following line to it.
program_usb_boot_mode=1
Save and reboot the Pi. If you run the otp_dump command again, you will see a different output this time.
vcgencmd otp_dump | grep 17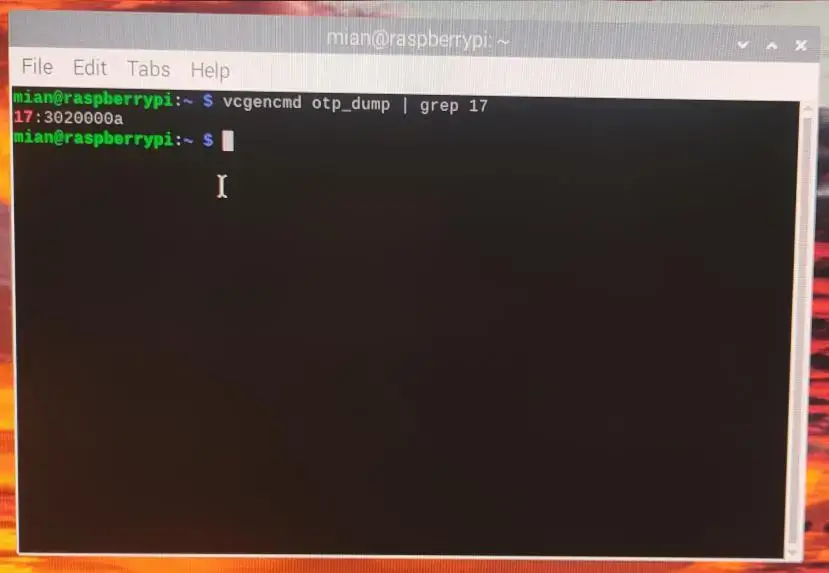
Boot Pi 3 from SSD
Once you have successfully updated the config.txt file for the USB boot, it’s time to write an OS to an SSD drive.
1- Open the Raspberry Pi Imager tool. Choose the Raspberry Pi device, operating system, and storage.
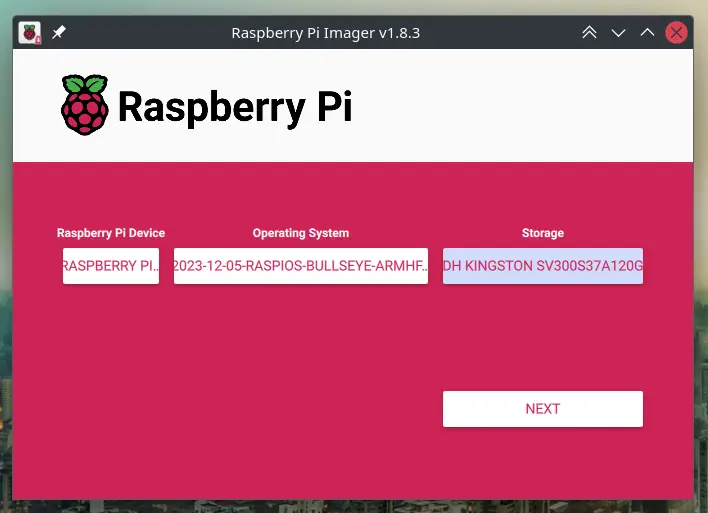
2- You can change settings from here on, choosing a username with a password, enabling SSH, and more.
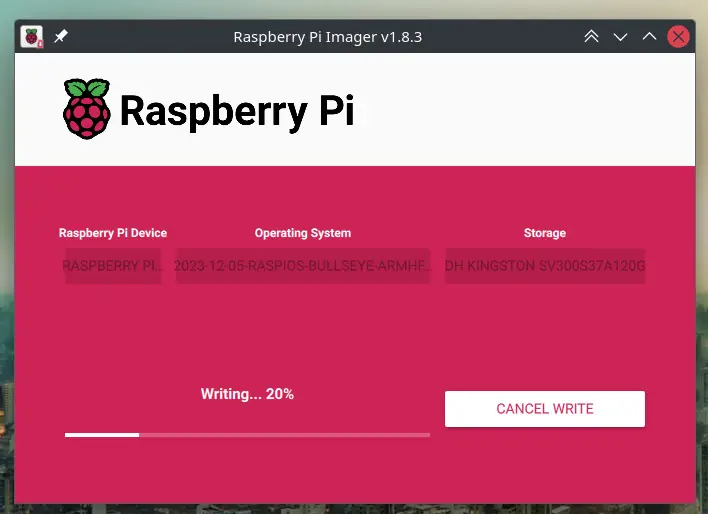
3- Click on the Write button to start flashing the OS to the SSD drive.
If the memory card is still in the Raspberry Pi, you can remove it now.
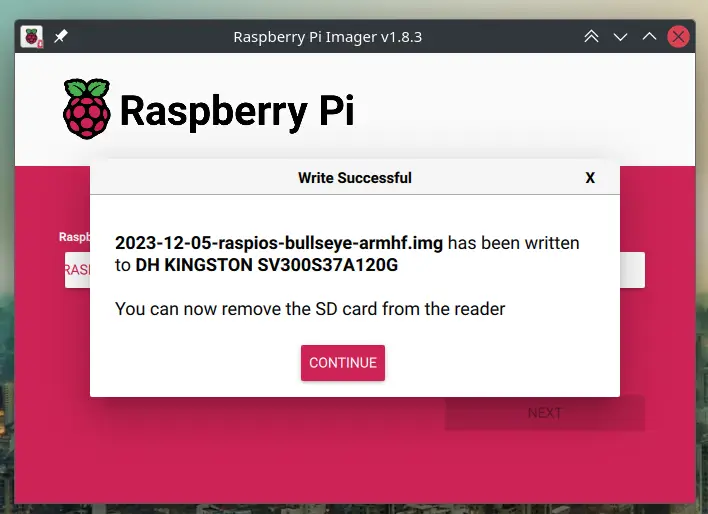
Once completed, you can unplug the SSD drive, attach it to the Pi, connect the power source, and turn it on. It should now boot from the SSD.
After booting the Pi, you can update the system with apt update && apt upgrade and check the drive details with df -h or lsblk -f.


