PrestaShop is a popular open-source e-commerce platform. Anyone can download the source code and set it up as their online store for selling products. In this article, I will show you how to install the latest stable version of PrestaShop on Ubuntu 24.04 LTS with Apache and PHP 8.1.
Before we continue, make sure you have the following ready:
- A server with at least 2GB of RAM and 30GB of disk space
- Domain pointed to the server’s IP address
1- Update the server
First, we will update our server and upgrade any packages the package manager prompts us to update.
apt update && apt upgradeWe only need a few ports to be open. Port 22 is for SSH.
ufw default allow outgoing
ufw default deny incoming
ufw allow 22
ufw allow 80
ufw allow 443
ufw enable
ufw status2- LAMP stack installation
As of this writing, the current PrestaShop version 8.2.x supports up to PHP 8.1 only. We’ll need to add a repository to install PHP 8.1, as Ubuntu 24.04 has PHP 8.3 in its default repositories.
add-apt-repository ppa:ondrej/php -yThe following command will install all the required libraries, including MariaDB and Apache.
apt install apache2 mariadb-server libapache2-mod-php8.1 php8.1 php8.1-gmp php8.1-bcmath php8.1-gd php8.1-mysql php8.1-cli php8.1-curl php8.1-mbstring php8.1-intl php8.1-imagick php8.1-xml php8.1-zip php8.1-fpm php8.1-apcu php8.1-opcache php8.1-memcached php8.1-ldap php8.1-bz2 bzip2 zip unzip imagemagick vim ffmpeg memcachedWe will use PHP-FPM; to do this, we will enable PHP-FPM support for Apache and disable standard PHP 8.1.
a2enconf php8.1-fpm
a2dismod php8.1
a2dismod mpm_prefork
a2enmod mpm_event
Enable some of the required Apache modules.
a2enmod ssl rewrite headers deflate cache http2 proxy_fcgi env expiressystemctl enable apache2
systemctl enable php8.1-fpm
systemctl enable mariadb
systemctl restart apache23- Update PHP configuration
We will need to update some PHP configurations for optimal results.
vim /etc/php/8.1/fpm/php.iniLine numbers are for reference only.
max_execution_time = 180 (line 419)
max_input_vars = 5000 (line 426)
memory_limit = 512M (line 445)
post_max_size = 250M (line 703)
upload_max_filesize = 250M (line 855)
date.timezone = Europe/Berlin (line 978)
Restart PHP-FPM afterward.
systemctl restart php8.1-fpm4- Create database
Run mysql_secure_installation to set up the initialization options for MariaDB startup.
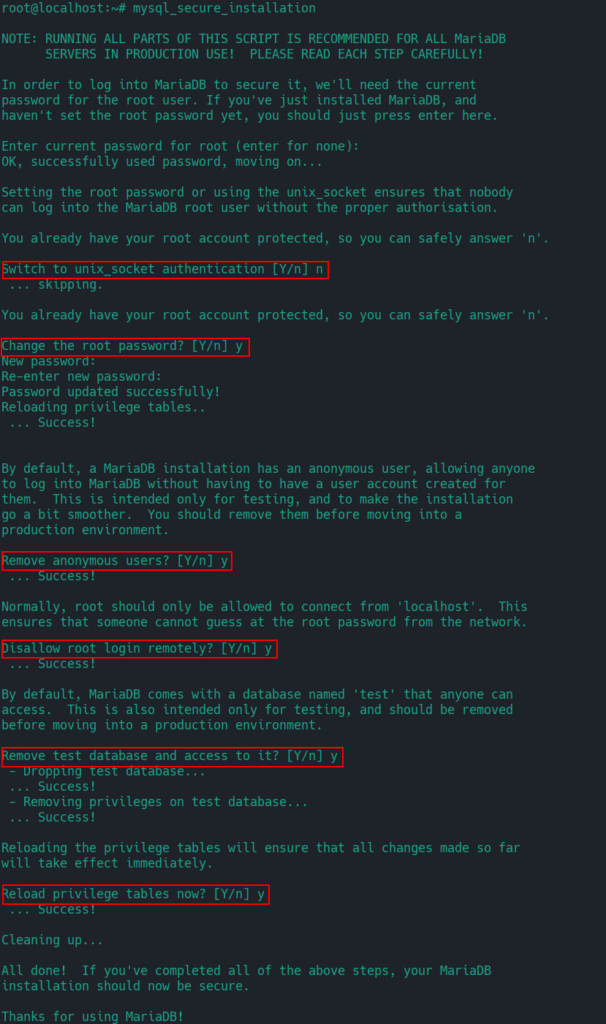
You can now log in to the database server and create the Prestashop database. Make sure to change “PASSWORD” to your own.
mysql

create database prestashop CHARACTER SET utf8mb4 COLLATE utf8mb4_general_ci;

grant all on prestashop.* to 'shop_user'@'localhost' identified by 'PASSWORD';

flush privileges;
exit
5- Create virtual host
We will now create a virtual host for PrestaShop.
cd /etc/apache2/sites-available/
vim prestashop.conf
Copy the following into it:
<VirtualHost *:80>
	ServerName DOMAIN.COM

	DocumentRoot /var/www/html

	<Directory "/var/www/html">
		AllowOverride All
		Options +Indexes
		Require all granted
	</Directory>

	ErrorLog /var/log/apache2/prestashop.error.log
</VirtualHost>
Enable this configuration.
a2dissite 000-default.conf
a2ensite prestashop.conf

apachectl -t
systemctl restart apache2
6- Download PrestaShop
For newer releases, check out the PrestaShop GitHub releases page.
cd /var/www

wget https://github.com/PrestaShop/PrestaShop/releases/download/8.2.0/prestashop_8.2.0.zip
Unzip and move it to the web root directory.
unzip prestashop_8.2.0.zip

rm html/index.html
mv index.php Install_PrestaShop.html prestashop.zip html/

rm prestashop_8.2.0.zip
chown -R www-data:www-data /var/www/html
7- Install PrestaShop
We can now proceed to install PrestaShop. Point your browser to the URL of the PrestaShop installation.
1- The first step will ask you to select a language.
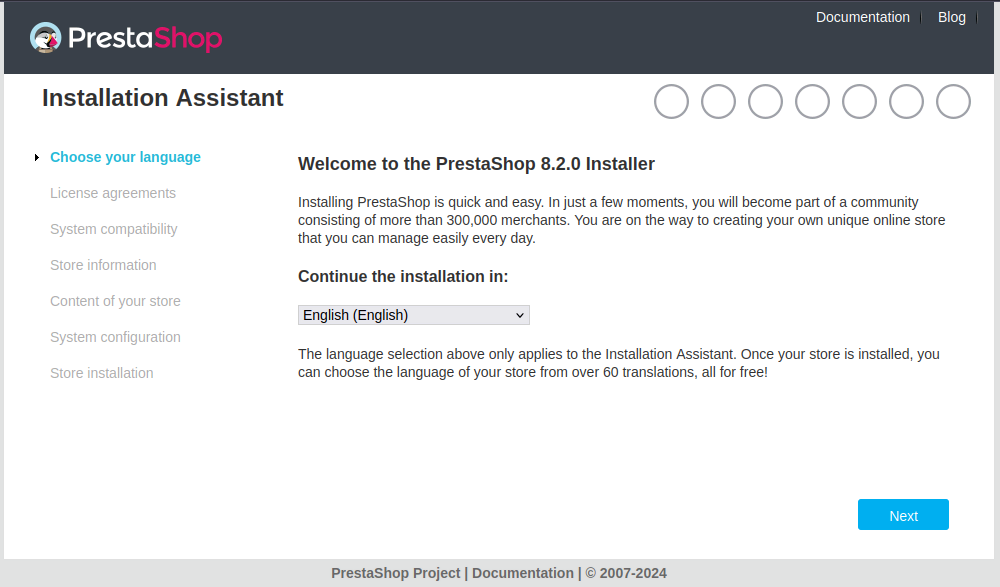
2- Accept the license agreement and click Next.
3- PrestaShop will now check the system compatibility.
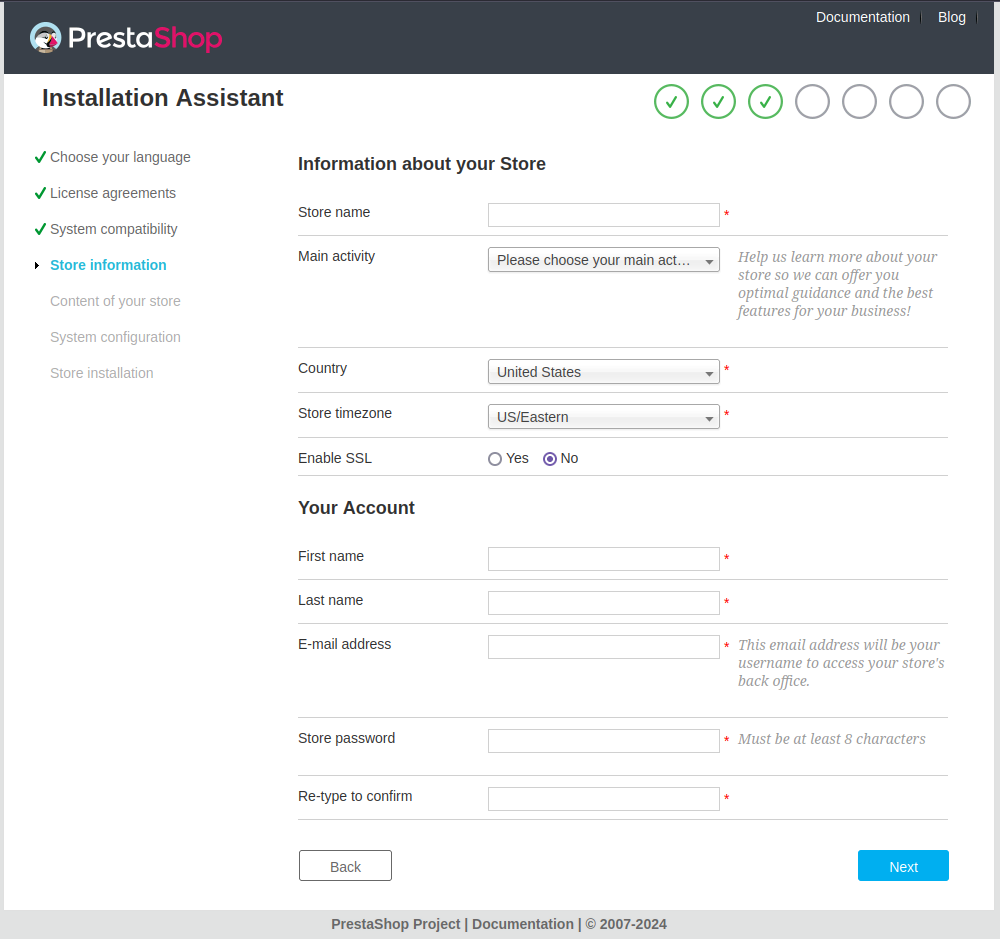
4- Here, you can enter all the necessary details for the store.
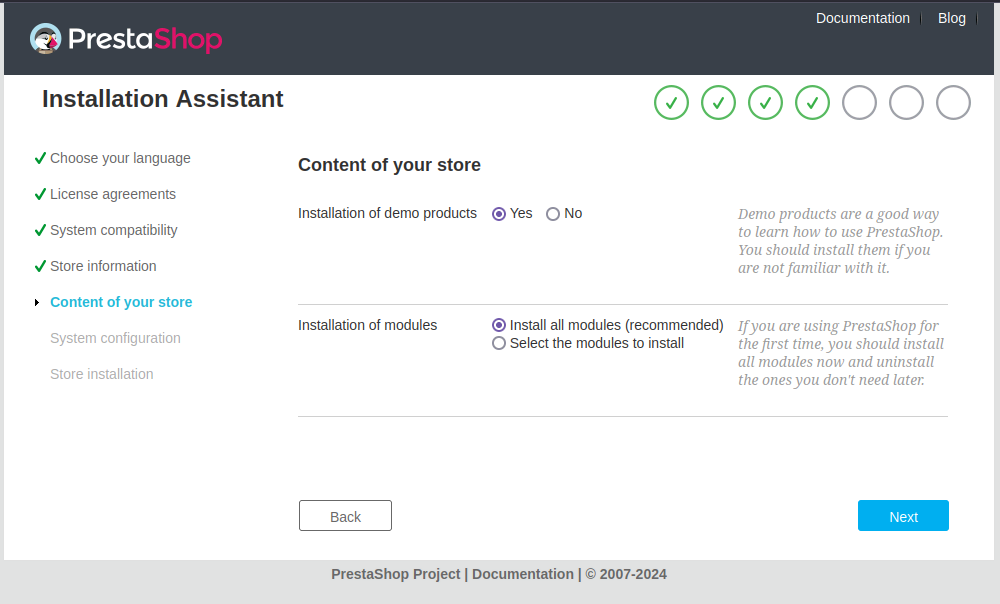
5- This depends on your store. If you would like to start with demo products, you can choose that option here.
6- Enter the database name and credentials.
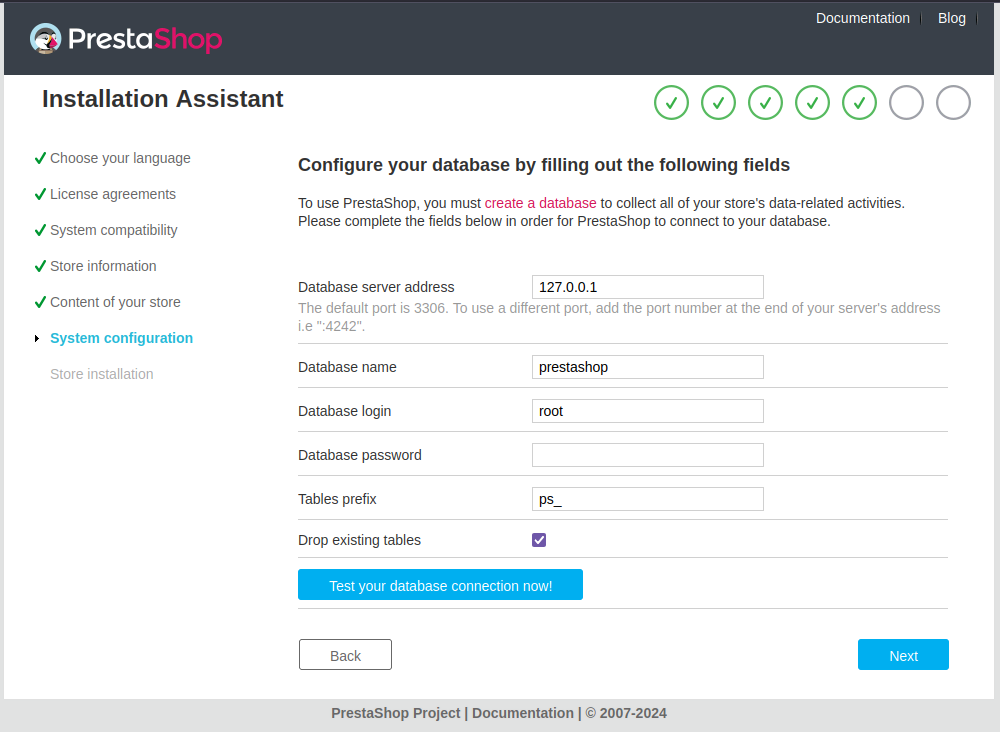
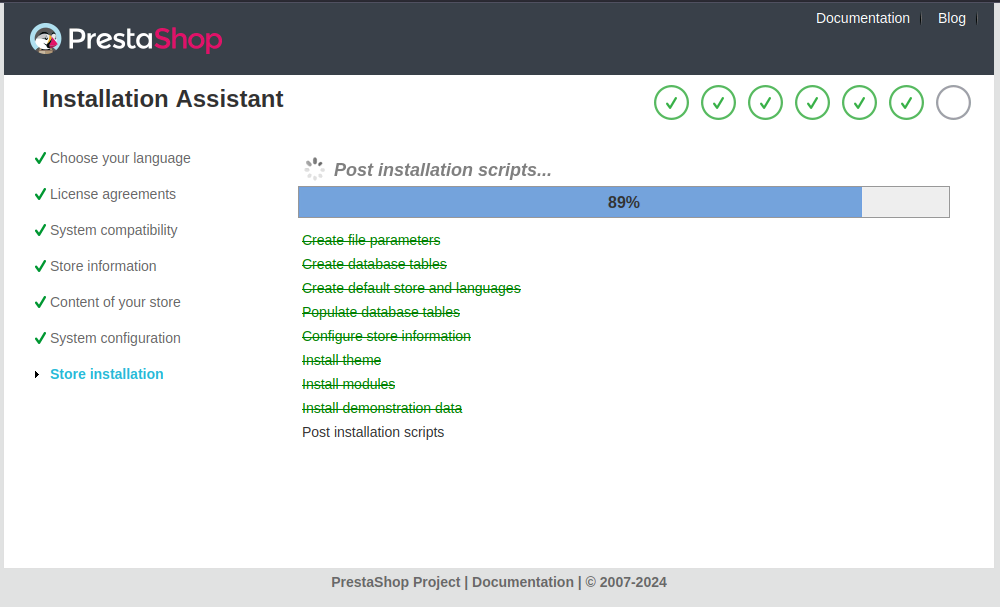
7- Wait for the setup to be completed.
8- After completion, you will see the Back Office and Front Office links.
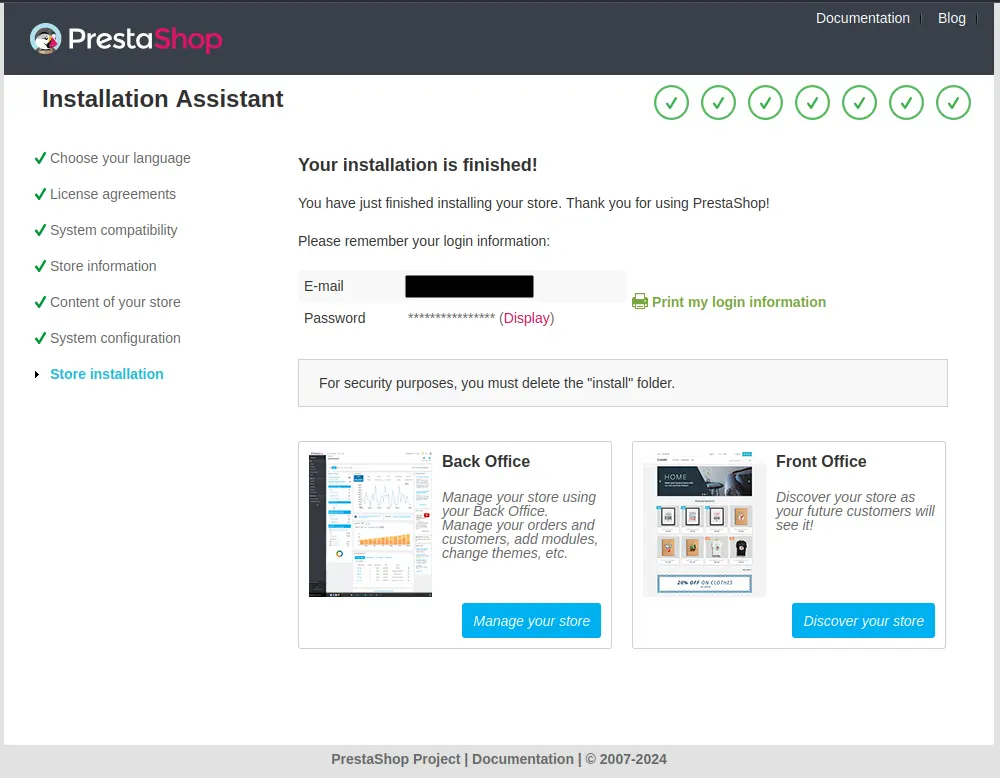
Before accessing the Back Office and Front Office links, we need to remove the install directory.
rm -r /var/www/html/install8- SSL certificate
If you already have SSL certificates from a provider, you can skip this step. Here, we’ll cover how to get a free SSL certificate from Let’s Encrypt.
apt install certbot

certbot certonly --webroot -w /var/www/html -d DOMAIN.COM
Note down the path to the certificate files.
To enable automatic renewal, add it to a cron job.
crontab -eAdd the following in it:
30 5 * * * certbot renewThis will run the renewal command at 5:30 a.m. server time.
9- Update virtual host
We now have the certificates, so we need to update our Apache virtual host file with a 443 block for SSL.
vim /etc/apache2/sites-available/prestashop.conf<VirtualHost *:443>
ServerName DOMAIN.COM
DocumentRoot /var/www/html
SSLCipherSuite EECDH+AESGCM:EDH+AESGCM:AES256+EECDH:ECDHE-RSA-AES128-SHA:DHE-RSA-AES128-GCM-SHA256:AES256+EDH:ECDHE-RSA-AES256-GCM-SHA384:ECDHE-RSA-AES128-GCM-SHA256:DHE-RSA-AES256-GCM-SHA384:ECDHE-RSA-AES256-SHA384:ECDHE-RSA-AES128-SHA256:ECDHE-RSA-AES256-SHA:DHE-RSA-AES256-SHA256:DHE-RSA-AES128-SHA256:DHE-RSA-AES256-SHA:DHE-RSA-AES128-SHA:ECDHE-RSA-DES-CBC3-SHA:EDH-RSA-DES-CBC3-SHA:AES256-GCM-SHA384:AES128-GCM-SHA256:AES256-SHA256:AES128-SHA256:AES256-SHA:AES128-SHA:DES-CBC3-SHA:HIGH:!aNULL:!eNULL:!EXPORT:!DES:!MD5:!PSK:!RC4
SSLProtocol All -SSLv2 -SSLv3 -TLSv1 -TLSv1.1
SSLHonorCipherOrder On
Header always set Strict-Transport-Security "max-age=63072000; includeSubDomains; preload"
Header always set X-Frame-Options DENY
Header always set X-Content-Type-Options nosniff
Header set X-XSS-Protection "1; mode=block"
Header set X-Permitted-Cross-Domain-Policies "none"
Header set Referrer-Policy "no-referrer-when-downgrade"
Header set Permissions-Policy "accelerometer=(), camera=(self), geolocation=(), gyroscope=(), magnetometer=(), microphone=(self), payment=(), usb=()"
Protocols h2 http/1.1
<Directory "/var/www/html">
AllowOverride All
Options +Indexes
Require all granted
</Directory>
ErrorLog /var/log/apache2/prestashop.error.log
SSLEngine on
SSLCertificateKeyFile /etc/letsencrypt/live/DOMAIN.COM/privkey.pem
SSLCertificateFile /etc/letsencrypt/live/DOMAIN.COM/fullchain.pem
</VirtualHost>Restart Apache:
apachectl -t
systemctl restart apache2
If everything is set up correctly, you can also redirect HTTP traffic to HTTPS. Add the following to the port 80 section in the virtual host file and restart Apache afterward.
RewriteEngine On
RewriteCond %{HTTPS} off
RewriteRule (.*) https://%{HTTP_HOST}%{REQUEST_URI}
Troubleshooting
Update the cookie check IP in the database.
The table prefix in our case is ps_, which we specified during the database setup step of the installation process. Login to the database and run:UPDATE ps_configuration SET value = 0 WHERE name = 'PS_COOKIE_CHECKIP';
If you have SSL enabled for your store, log in to the Back Office, go to Shop Parameters, then click General. Set ‘Enable SSL‘ and ‘Enable SSL on all pages‘.


