
AI is all the rage nowadays, and that’s the harsh reality. Many players provide access to their AI ecosystem and API for use. There are lots of open-source models that we can install for our own use on machines or servers. In this article, I will show you how to set up DeepSeek R1 with Ollama and Open WebUI to access the models in your browser for local deployment on the Linux operating system. This could be on your local system or a remote server.
Without wasting much time, let’s get into it. You can read more about DeepSeek R1 here.
1- Install Ollama
I am using Arch Linux, and Ollama is available in the repositories.
sudo pacman -S ollamaIf you are using a different distribution and it is not available in the package repository, you can install it by running the following command.
curl -fsSL https://ollama.com/install.sh | sh

ollama serveYou can run ollama help to get assistance and see the supported commands.
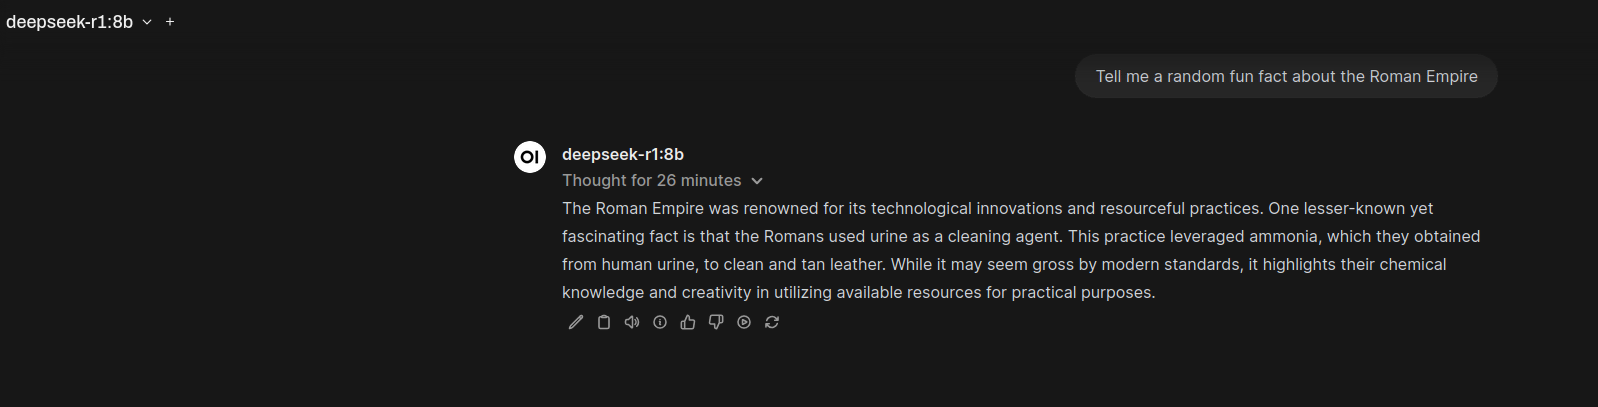
2- Install DeepSeek R1
You can install any model depending on your system specifications. Please note that a GPU is required for this. My system is an older one with an NVIDIA GeForce GTX 970, which doesn’t have the capacity to load models quickly. For better performance, you should have a modern GPU on your system.
I have tried the 8b model. Check the models and choose the one that suits your needs.
Note: You can also download and run models within the Open WebUI app.
ollama run deepseek-r1:8bWait for the download to finish.
3- Install Anaconda
We will install Open WebUI using conda. For that, we need to install Anaconda on our system. If you already have it, you can skip this step.
Click on the button below to download Anaconda for Linux. Download page.
Once downloaded run the following command to install Anaconda. Follow the prompts on the installer screens.
bash Anaconda3-2024.10-1-Linux-x86_64.shAfter a successful installation, you can test the setup by running conda list.
If you are getting the error “conda: command not found” on Zsh, which I am using, run the following commands to create an alias for it in .zshrc.
source $HOME/anaconda3/bin/activate

conda init zsh
4- Install Open WebUI
Once you have Anaconda set up, we can proceed to install Open WebUI with conda.
conda create -n open-webui python=3.11Activate the created environment.
conda activate open-webuiWe will now install open-webui with pip.
pip install open-webuiWait for the installation to finish and then run the following to start the service.
open-webui serveYou can now access it in the browser via http://localhost:8080.
If you want to install new models in Open WebUI, go to Settings and click on Models.


