I was working on a web project and needed to share the VirtualBox appliance(OVA file) with others to test it out(hosting and Internet is not an option, an offline solution). To accomplish this without the user configure anything, I created host only network on VirtualBox before sharing. That way they can just import the appliance and run it. To access the web app through an IP, we will create a host only network for it.
I have Ubuntu 20.04 cloud image as a guest and Manjaro as a host OS.

Setup host only network
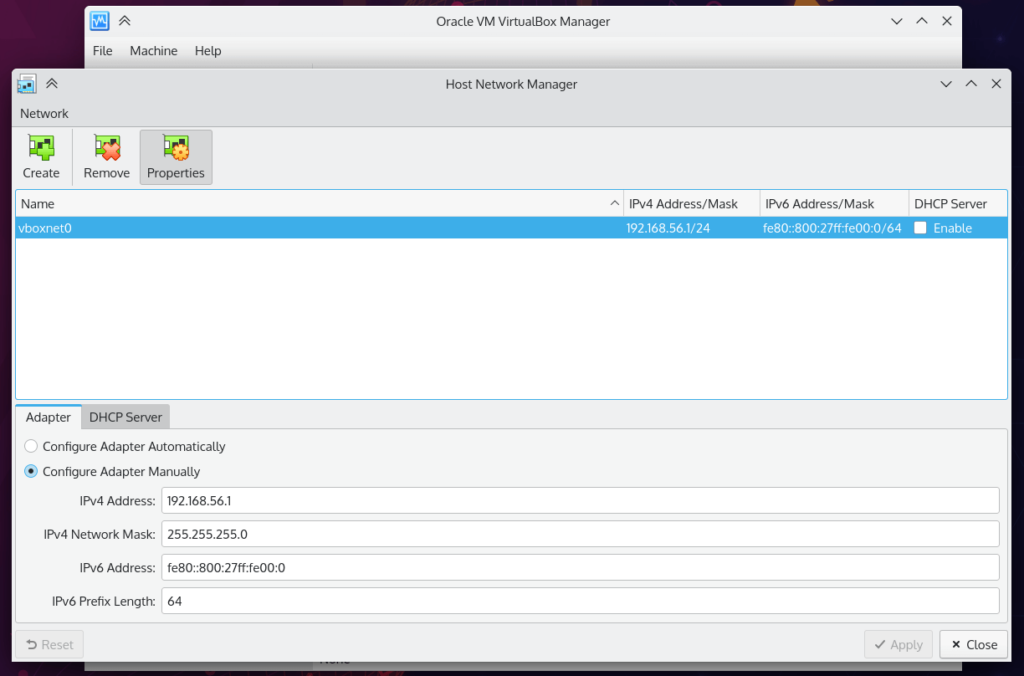
Click on File in the menu of VirtualBox and then Host Network Manager.
Click on Create button to create a new network interface.
Make sure to uncheck the DHCP Server checkbox. The rest of the things just keep them as is.

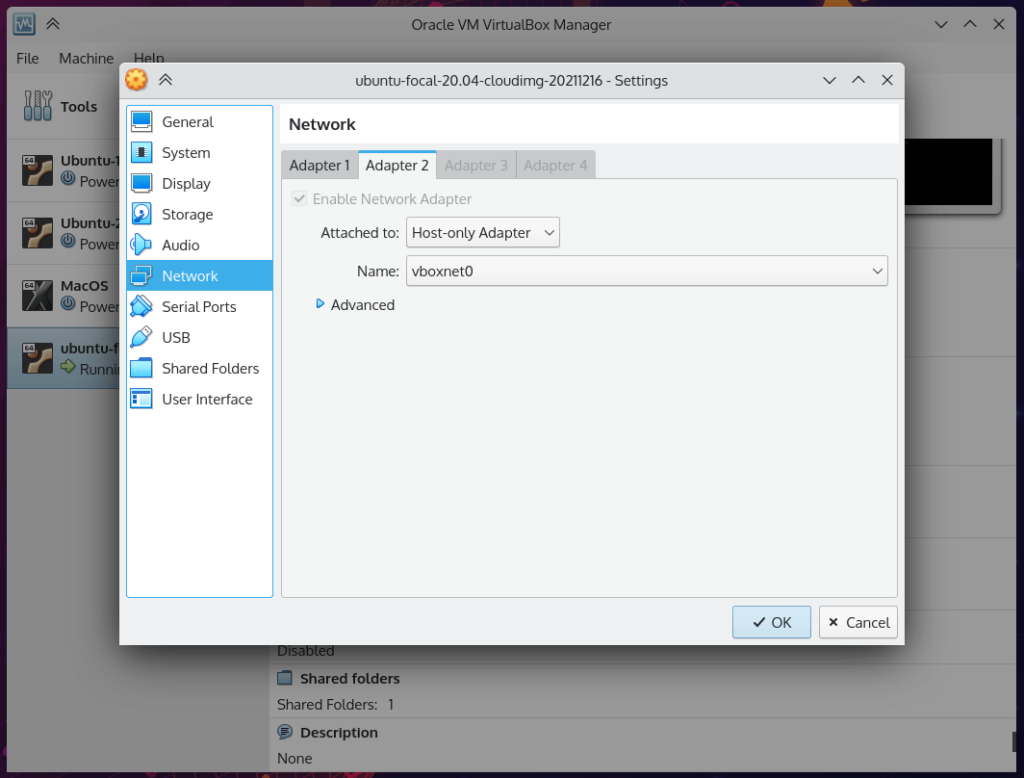
Next go to Settings for the VM and switch to Network tab.
Click on Adapter 2 and select Host Only Network from the dropdown. The newly created network will be selected automatically, if not you can just choose it from the list.

Setup networking interface on the guest
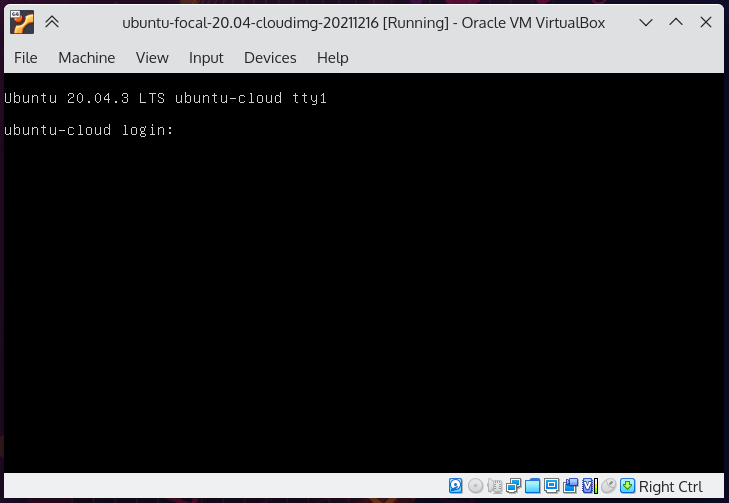
Start the virtual machine and login to the OS. If you type ip add you will see a new interface(enp0s8) but without any IP assigned to it. Ubuntu now uses netplan for networking.
1st let’s disable the cloud init network configuration, if you have already skip this part.
sudo vim /etc/cloud/cloud.cfg.d/99-disable-network-config.cfgPaste/write the following in it:
network: {config: disabled}I have 50-cloud-init.yaml file for networking, it could be different based on your setup and OS.
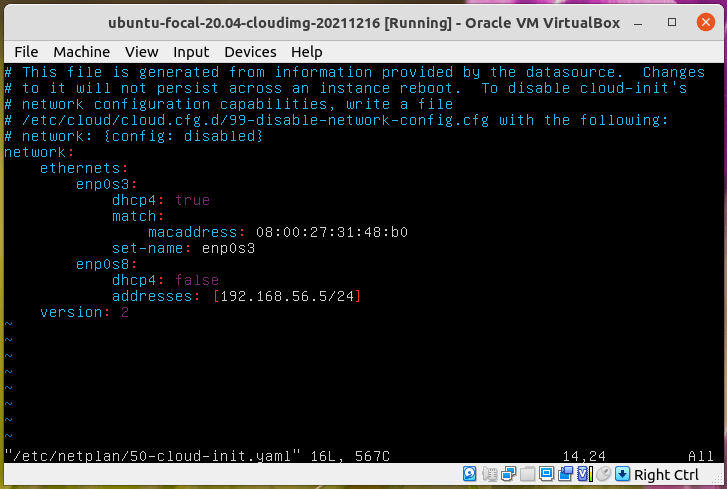
sudo vim /etc/netplan/50-cloud-init.yamlPaste the following in it:
enp0s8:
	dhcp4: false
	addresses: [192.168.56.5/24]
I have assigned 192.168.56.5 to this machine.

Run after saving the file:
sudo netplan applyNow ip add will show you the assigned IP to this newly added interface. You can now also ssh to it using this new IP.
Note: This IP only allow access to the guest from the host, not from the network.
Troubleshooting
If you have Ubuntu cloud image and get the following error when ssh to it.
“[email protected]: Permission denied (publickey).”
That’s because sshd is configured to accept only keys and password auth is disabled. You can enable it in sudo vim /etc/ssh/sshd_config by changing PasswordAuthentication no to PasswordAuthentication yes.
Export / Import appliance
You can now shutdown the virtual machine and click on the Export Appliance from File menu to export the appliance file for sharing.
Once done, you are ready to share the VM ova file for testing.
One last thing which is important because unfortunately VirtualBox does not create a network interface in network manager.
On the machine where you want to import the appliance, go to Host Network Manager and create a new interface with defaults except to uncheck the DHCP Server checkbox.


