
OpenProject is another web based project management tool written in Ruby and Angular available under GPLv3 license. If you want to give it a try and know what it offer, follow this article to setup OpenProject on Ubuntu 20.04.
If you want to have a look at Leantime, similar(less features) but lighter application for project management.
It has two editions, community and enterprise as paid with extra features. We will install the community edition(deb package).
It has three installation methods: DEB/RPM, Docker and Univention.
Highlighted features
- Task management and issue tracking
- Project planning and scheduling
- Agile, Scrum & Kanban
- Time tracking, cost reporting, budgeting
- Team collaboration
- Product roadmap and release planning
- Workflows and customization
- Integrations with third party apps like Nextcloud
- REST API
- Security(2FA, SSO, E2E encryption)
*Some of these are enterprise features
What you will need?
- Ubuntu 20.04
- VPS(or local machine) with minimum 4GB RAM and 20GB disk space
- SMTP credentials(for sending out mails, we will skip it in this tutorial but will explain how to configure it)
- If you want to use SSL, point your domain or sub domain to the server IP
This setup can support up to 200 users on a single node.
What tools are required?
- Apache as a reverse proxy
- PostgreSQL database
- SSL certificate(from Let’s Encrypt)
As I mentioned above we will use DEB package for installation, but you are free to use docker if that’s your thing.
Also we will not use the default web server for external requests, ssl certificate and PostgreSQL database. We will set these up separately to have more control over our installation and setup.
PostgreSQL
apt install postgresql postgresql-contribCheck if after installation PostgreSQL is started.
systemctl status postgresqlIf not, start it with:
systemctl start postgresqlEnable it at boot time:
systemctl enable postgresqlEnter to PostgreSQL space as postgres(default and super user for PostgreSQL) user for creating users and databases easily.
sudo -i -u postgresPostgreSQL provides built-in scripts for creating users and databases. Let’s just use that.
createuser openproject
createdb openproject
You can use dropdb and dropuser for deleting databases and users. But be careful when doing any delete operations.
You may also want to setup password for this user and assign it to the database.
psql

ALTER USER openproject PASSWORD 'testpassword';
GRANT ALL PRIVILEGES ON DATABASE openproject TO openproject;
Apache installation
apt install apache2Enable required Apache modules.
a2enmod ssl rewrite headers proxy proxy_http deflate cache proxy_wstunnel http2 proxy_fcgi env expiresRestart and enable at boot time.
systemctl restart apache2
systemctl enable apache2
OpenProject installation
Import the PGP key:
wget -qO- https://dl.packager.io/srv/opf/openproject/key | sudo apt-key add -Add the package repository:
wget -O /etc/apt/sources.list.d/openproject.list \
  https://dl.packager.io/srv/opf/openproject/stable/12/installer/ubuntu/20.04.repo
Update the system and install OpenProject:
apt update
apt install openproject
It will automatically install all the required tools and dependencies.
OpenProject configuration
sudo openproject configureIf you want to cancel the setup process, press ctlr+c to do so. You can restart anytime by either configure or reconfigure.
What does configure option do?
From the project page:
Every time you will run the OpenProject wizard, your choices will be persisted in a configuration file at
/etc/openproject/installer.datand subsequent executions ofsudo openproject configurewill re-use these values, only showing you the wizard steps for options you have not yet been asked for.
What does reconfigure option do?
In case you want to run through all the wizard options again, you can do so by executing
sudo openproject reconfigure. This will show all wizard steps, but again keep values you entered before showing in the input fields. You can skip dialogs you do not want to change simply by confirming them withENTER.
Installation steps
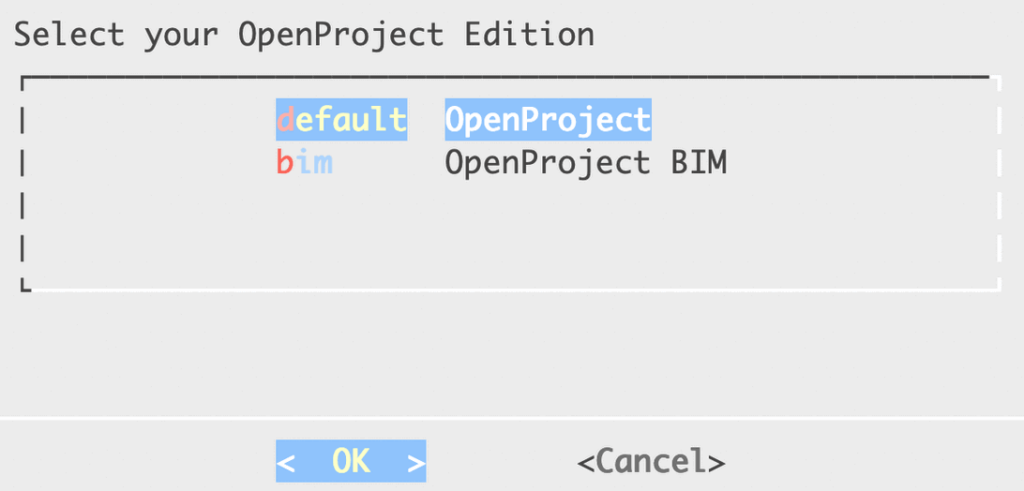
1- On the 1st screen choose default(OpenProject)
2- For PostgreSQL choose reuse and enter the database name and other values when asked
3- Choose skip on the Apache screen
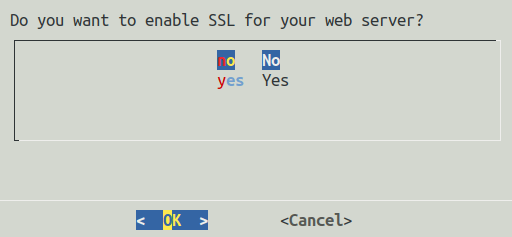
4- Select no for SSL certificate part
5- If you have SMTP values ready, choose it and enter the values. If you do not have yet, skip it for now. You can always comeback to this step using configure or reconfigure
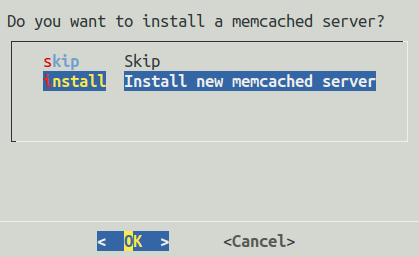
6- For Memcached part, choose install
With that, the OpenProject installation wizard will complete, and apply all the configurations.
Apache virtual host
At this point OpenProject is installed and working but we need a proxy to forward all the outside(external) requests internally to OpenProject.
cd /etc/apache2/sites-available
vim openproject.conf
Paste/enter the following in it, change text in bold.
<VirtualHost *:80>
        ServerName      DOMAIN.COM
        ServerAdmin     [email protected]
        DocumentRoot    /opt/openproject/public

        ProxyRequests off
        ProxyPass / http://127.0.0.1:6000/ retry=0
        ProxyPassReverse / http://127.0.0.1:6000/

        <LocationMatch "^/sys">
                <IfModule mod_authz_core.c>
                        Require local
                </IfModule>

                <IfModule !mod_authz_core.c>
                        Order Deny,Allow
                        Deny from all
                        Allow from 127.0.0.1
                </IfModule>
        </LocationMatch>

        Alias /assets /opt/openproject/public/assets
        Alias /uploads /opt/openproject/public/uploads
        <Directory "/opt/openproject/public">
                Options -Indexes
                <IfModule mod_authz_core.c>
                        Require all granted
                </IfModule>

                <IfModule !mod_authz_core.c>
                        Order deny,allow
                        Allow from all
                </IfModule>
        </Directory>

        ProxyPass /assets/ !
        <Location /assets/>
                FileETag Size
                ExpiresActive On ExpiresDefault "access plus 1 year"
        </Location>

        <FilesMatch "\.(ico|pdf|flv|jpg|jpeg|png|gif|js|css|swf)$">
                ExpiresActive On
                ExpiresDefault "access plus 1 year"
        </FilesMatch>

        AddOutputFilterByType DEFLATE text/html text/css application/x-javascript application/javascript

        ErrorLog    /var/log/apache2/DOMAIN.COM-error.log
</VirtualHost>
Save and enable:
a2dissite 000-default.conf
a2ensite openproject.conf
Test if the configuration is correct.
apachectl -tIf everything is good, restart Apache.
systemctl restart apache2Till here the base setup is completed. Open it in the browser and see how it goes. Initial load may take sometime.
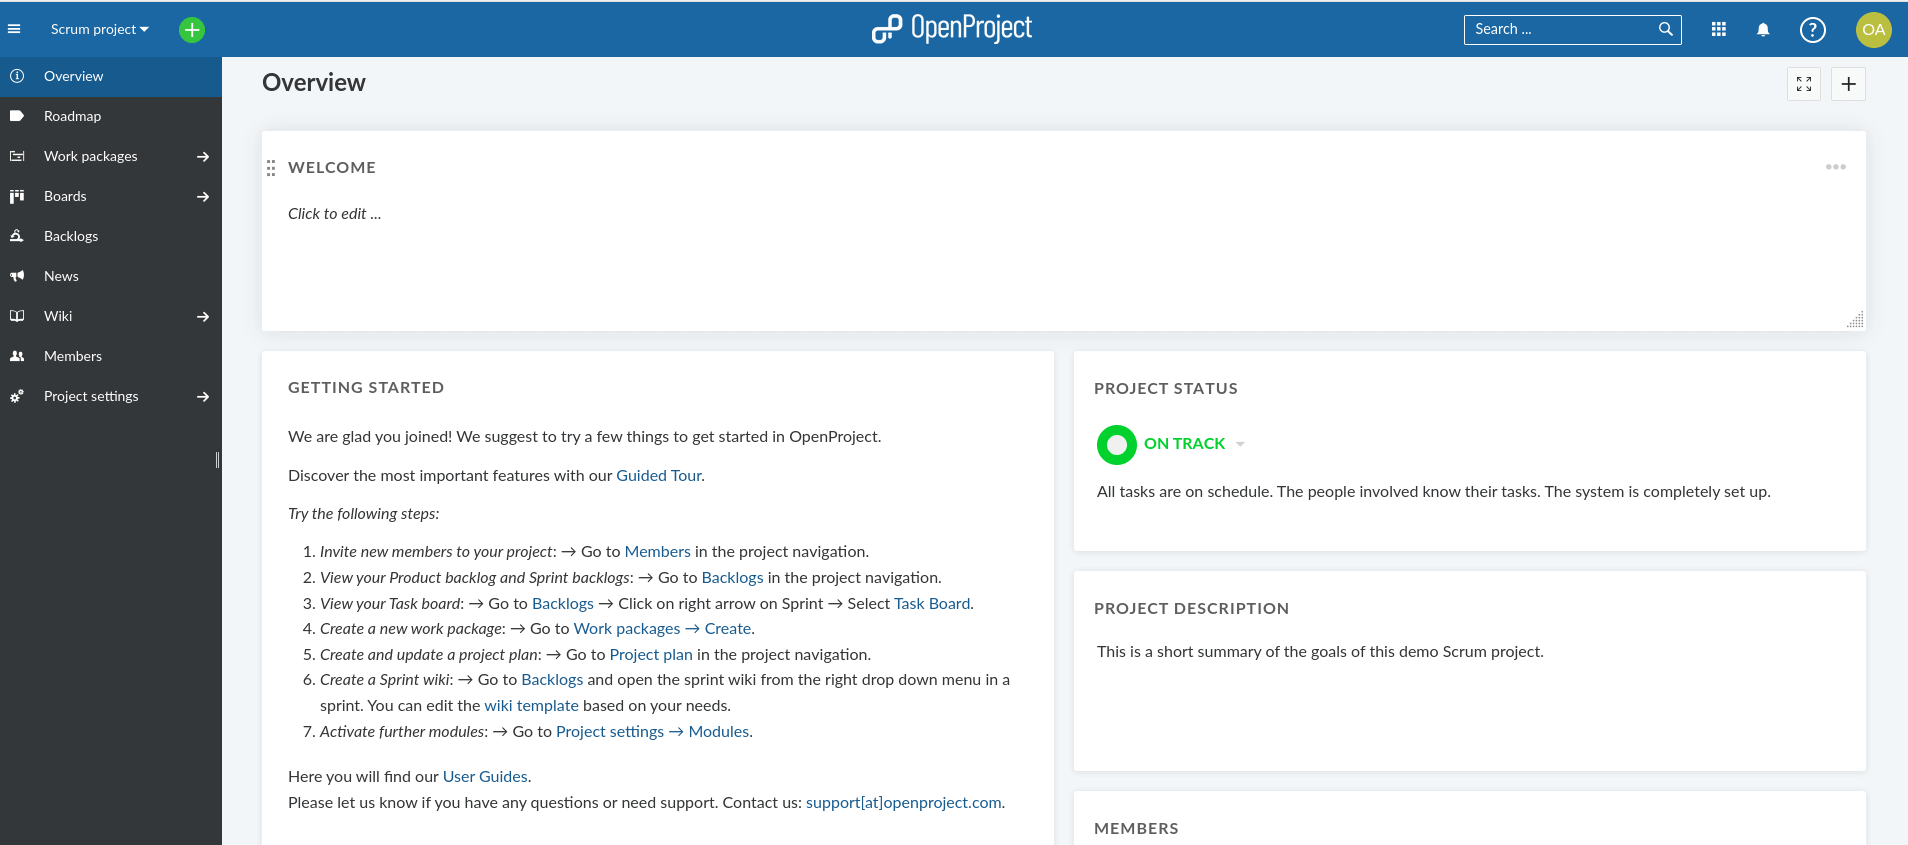
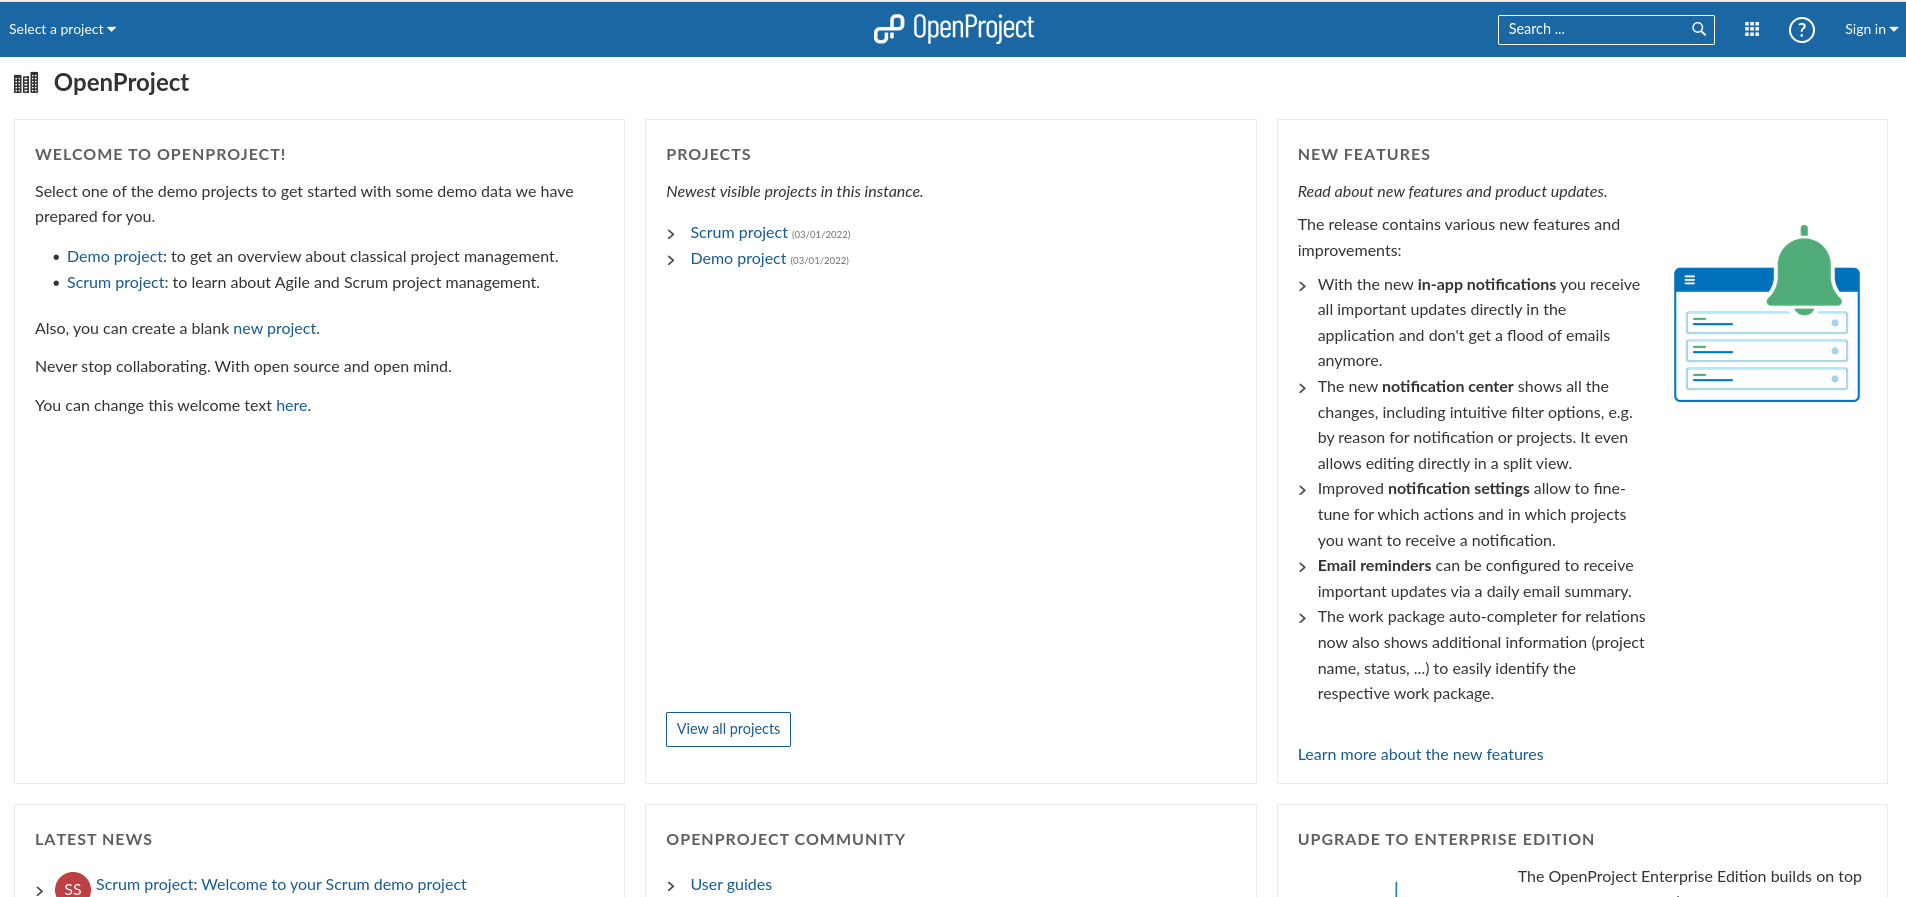
Default login username is admin and password is admin. You will be asked to change it after login.
SSL certificate and Apache vhost for 443
snap install certbot --classicCheck the link below for more about Certbot.
Get a certificate:
certbot certonly --webroot -w /opt/openproject/public -d DOMAIN.COMIf you have successfully retrieved a certificate, it’s time to make use of it.
cd /etc/apache2/sites-available
vim openproject-ssl.conf
Paste the following in it. Change DOMAIN.COM, the rest are fine unless you have other changes to make.
<VirtualHost *:80>
        ServerName DOMAIN.COM
        redirect permanent / https://DOMAIN.COM/
</VirtualHost>

<VirtualHost *:443>

        SSLEngine On
        SSLCertificateKeyFile /etc/letsencrypt/live/DOMAIN.COM/privkey.pem
        SSLCertificateFile /etc/letsencrypt/live/DOMAIN.COM/fullchain.pem

        RequestHeader set X_FORWARDED_PROTO 'https'

        ServerName      DOMAIN.COM
        ServerAdmin     [email protected]
        DocumentRoot    /opt/openproject/public

        ProxyRequests off
        ProxyPass / http://127.0.0.1:6000/ retry=0
        ProxyPassReverse / http://127.0.0.1:6000/

        <LocationMatch "^/sys">
                <IfModule mod_authz_core.c>
                        Require local
                </IfModule>

                <IfModule !mod_authz_core.c>
                        Order Deny,Allow
                        Deny from all
                        Allow from 127.0.0.1
                </IfModule>
        </LocationMatch>

        Alias /assets /opt/openproject/public/assets
        Alias /uploads /opt/openproject/public/uploads
        <Directory "/opt/openproject/public">
                Options -Indexes
                <IfModule mod_authz_core.c>
                        Require all granted
                </IfModule>

                <IfModule !mod_authz_core.c>
                        Order deny,allow
                        Allow from all
                </IfModule>
        </Directory>

        ProxyPass /assets/ !
        <Location /assets/>
                FileETag Size
                ExpiresActive On ExpiresDefault "access plus 1 year"
        </Location>

        <FilesMatch "\.(ico|pdf|flv|jpg|jpeg|png|gif|js|css|swf)$">
                ExpiresActive On
                ExpiresDefault "access plus 1 year"
        </FilesMatch>

        AddOutputFilterByType DEFLATE text/html text/css application/x-javascript application/javascript

        ErrorLog    /var/log/apache2/DOMAIN.COM-error.log
</VirtualHost>
Disable openproject.conf and enable this one:
a2dissite openproject.conf
a2ensite openproject-ssl.conf

apachectl -t
If there no errors, you can restart Apache. Otherwise check the error message and fix it accordingly(sometime they are just syntax issues).
systemctl restart apache2Congratulations, you have installed OpenProject with SSL successfully.


