
Cloudflare is a content delivery network which is easy to use with any website. If you are running a WordPress site, it will help distribute your site contents using Geolocation feature. In this article I am going to show you how to use Cloudflare as CDN for your website.
Note that the nameserver records will be changed to Cloudflare. But you can bypass certain DNS records to not use Cloudflare. I will show you how later in this article.
Add website
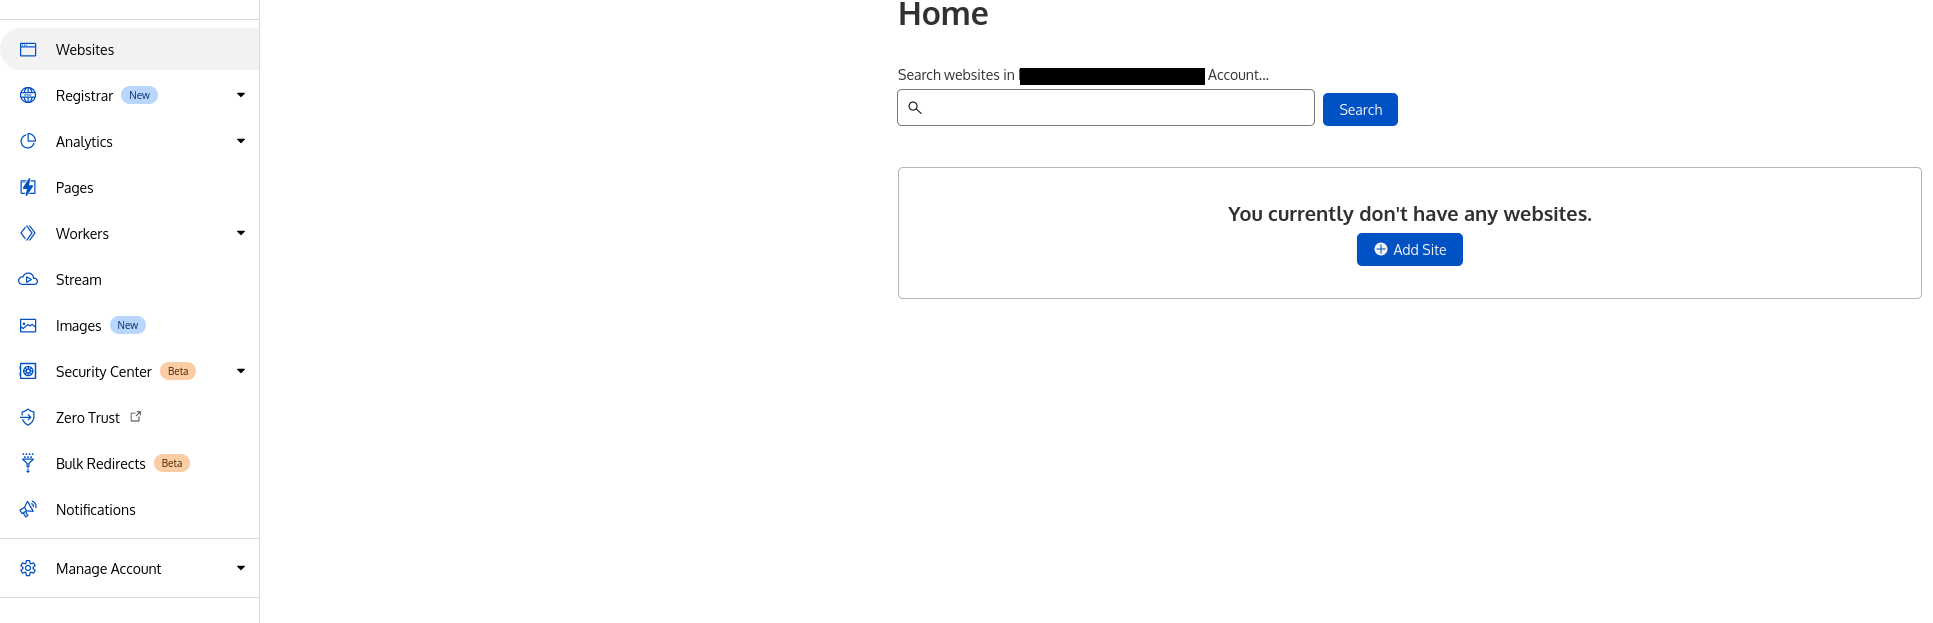
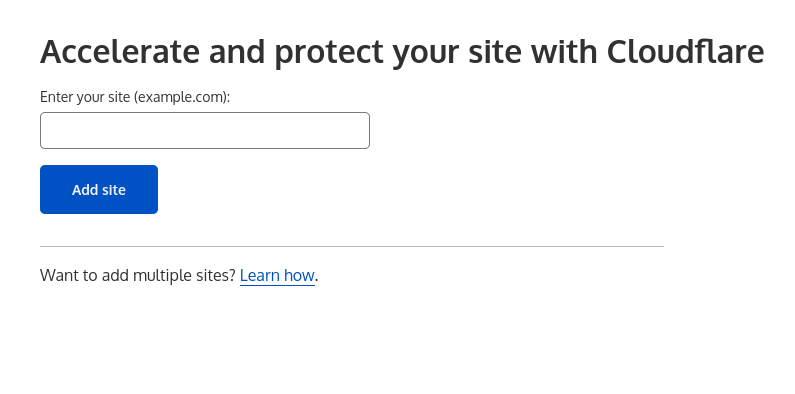
Login to Cloudflare and click on Websites. Click on Add Site button.
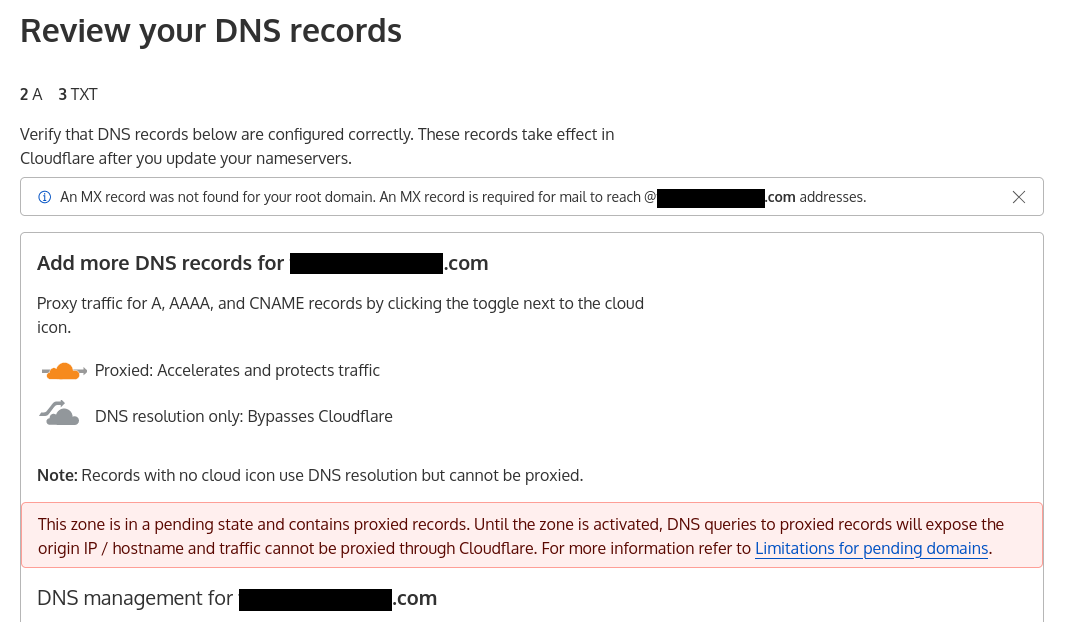
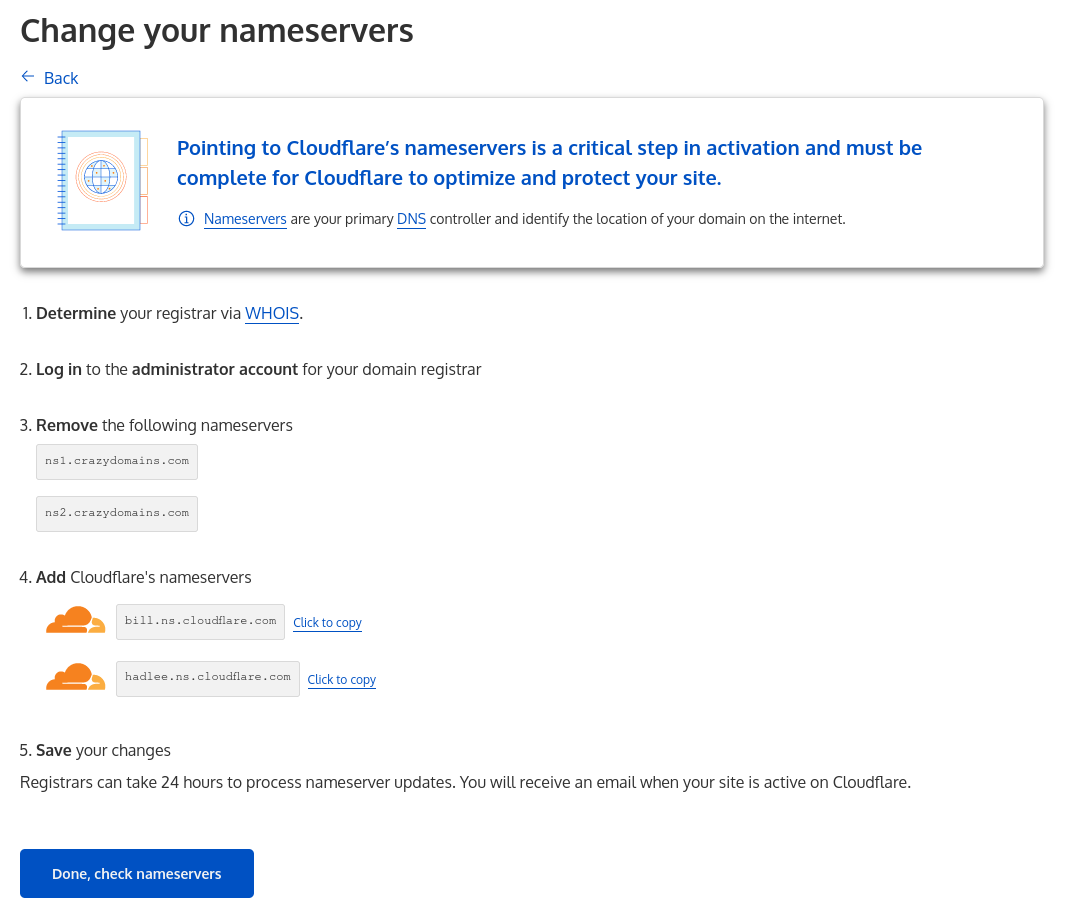
Cloudflare will try to copy over your DNS records if possible. In case it miss some entries, you can add them manually later. After confirming them, you can add the nameserver(NS) records to your domain to point to Cloudflare DNS.
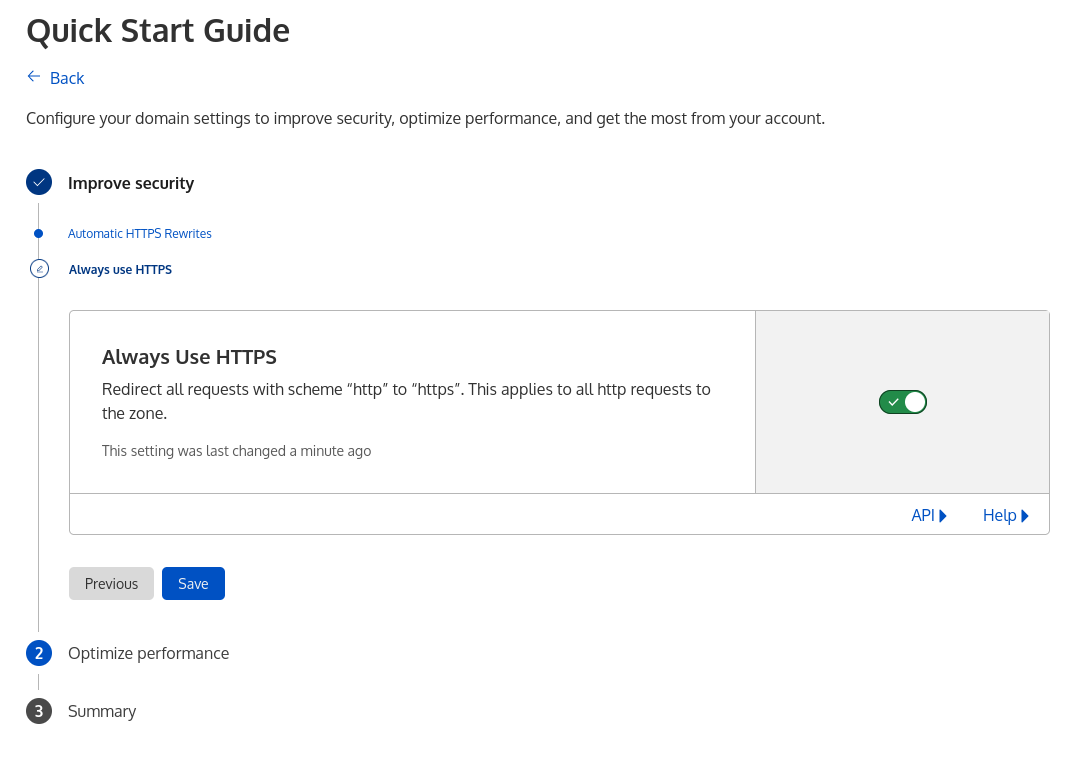
Follow quick start guide
To go through the basic setup of Quick Start Guide, you will see a link at the top. Click on it to start the setup. If for some reasons, it’s not there. You can perform the basic tasks from the menu at left hand side. I will show where you can find them.
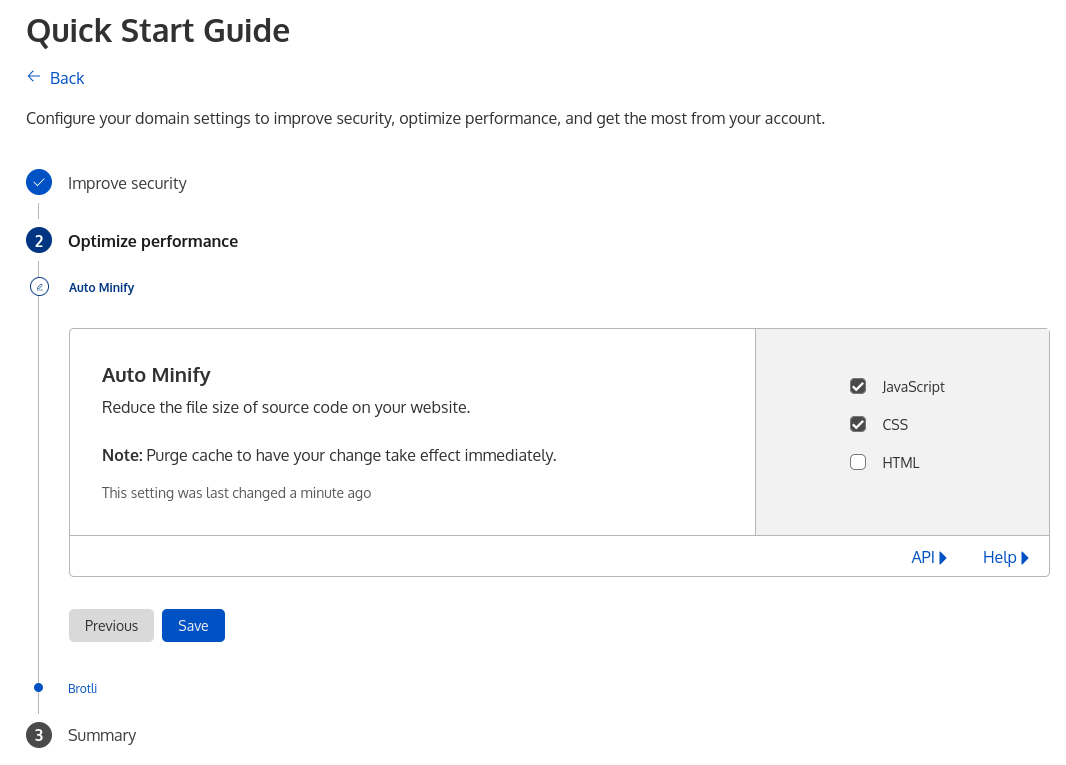
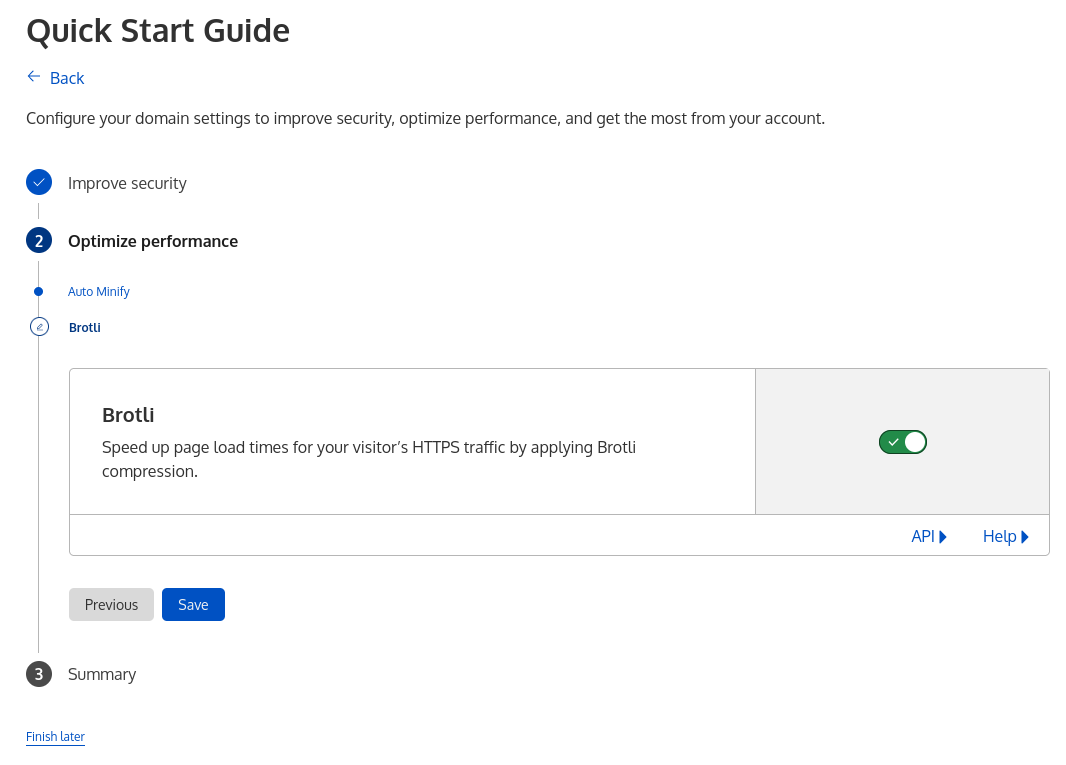
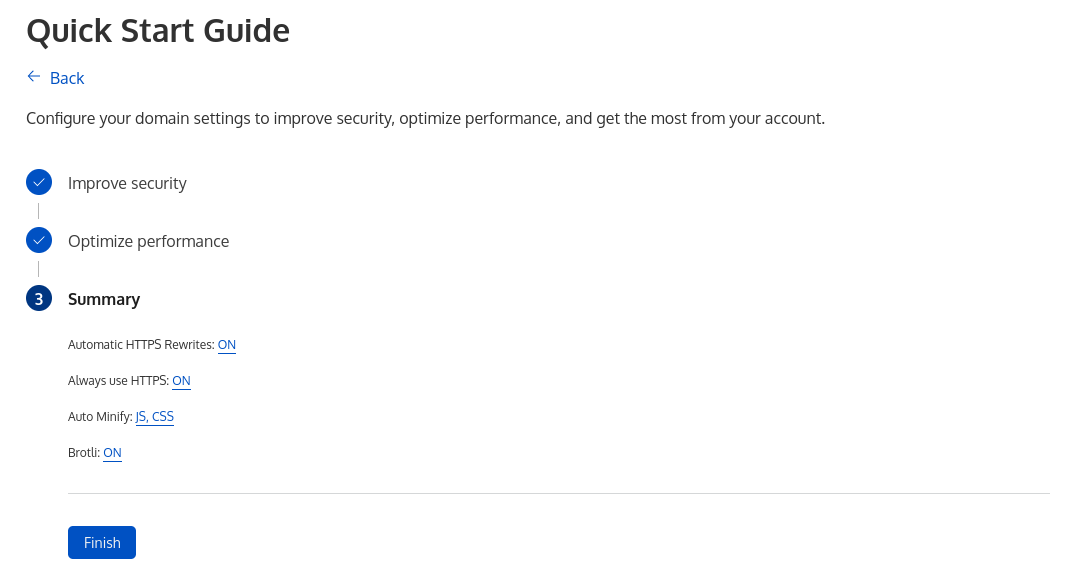
Quick Start Guide will guide you through a series of actions like Automatic HTTPS Rewrites, Always Use HTTPS, Auto Minify, Enable Brotli for compression.

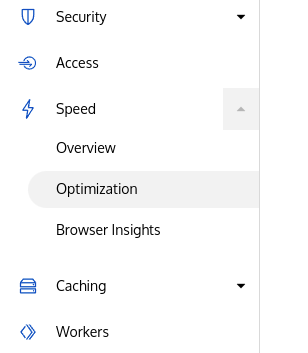
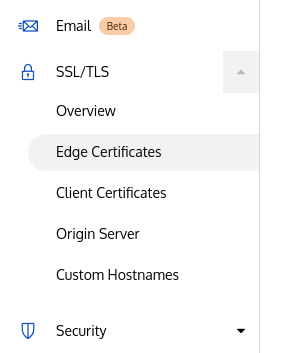
In case you missed the Quick Start Guide link or is not shown, you can find the these settings under SSL/TLS -> Edge Certificates and Speed -> Optimization.
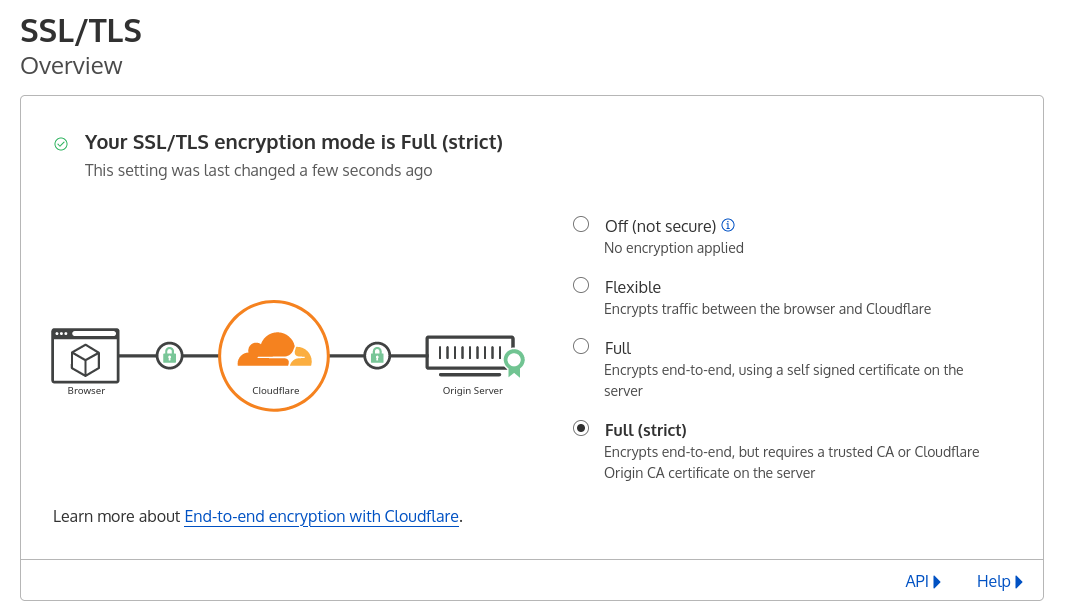
Enable SSL
If you have a valid certificate on your server already, switch to Full(strict) mode in SSL/TLS.
Wait for the DNS/NS propagation.
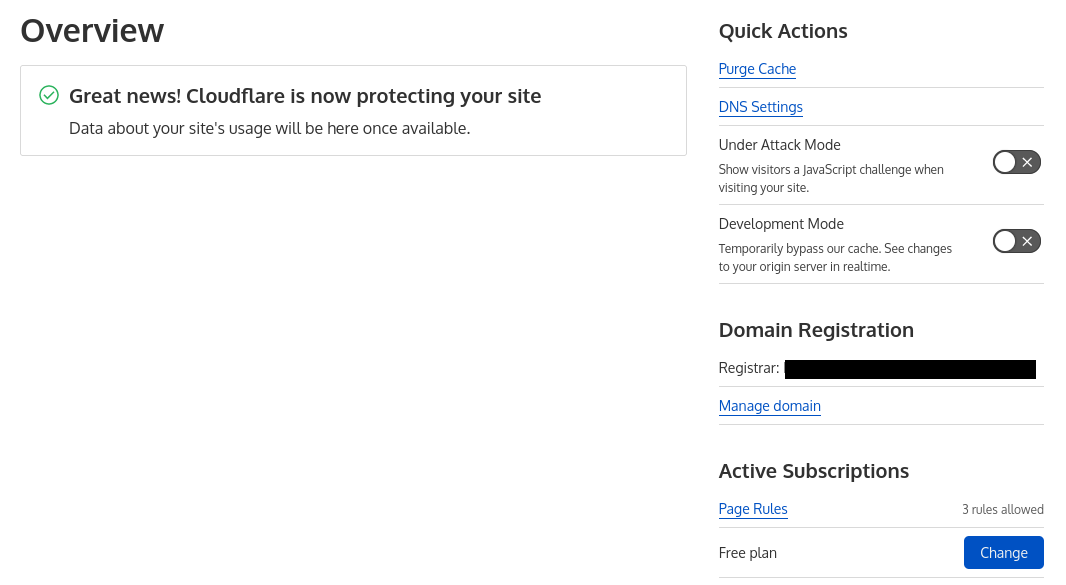
To bypass DNS records, click on DNS and click on Edit in front of that DNS record. Click the disable switch for Cloudflare proxy (the icon will turn gray). Now this record will not use Cloudflare IP, instead will use your server IP directly.


