
Mailgun is one of the best SMTP service provider for some time already. Here I will show you how to setup Mailgun as SMTP and mail forwarder. Which means you can use it as mail sending(WordPress, custom scripts) and receiver* too.
*Receive will only forward it to your destination email.
Add domain
Note: Mailgun does not allow to add custom domains without payment method to avoid spam. Even after adding CC you still get 6k/m free mails.
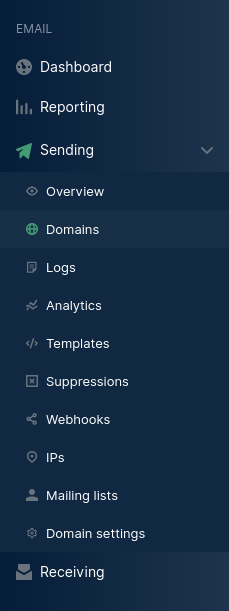
First thing you need to do is add your domain to the dashboard. Click on the Domains under Sending menu.
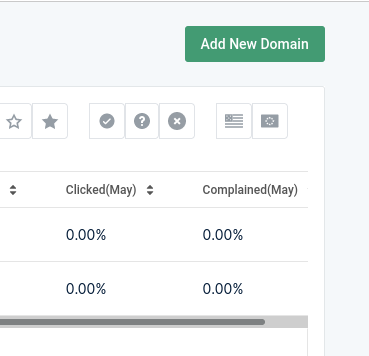
Click the Add New Domain button.
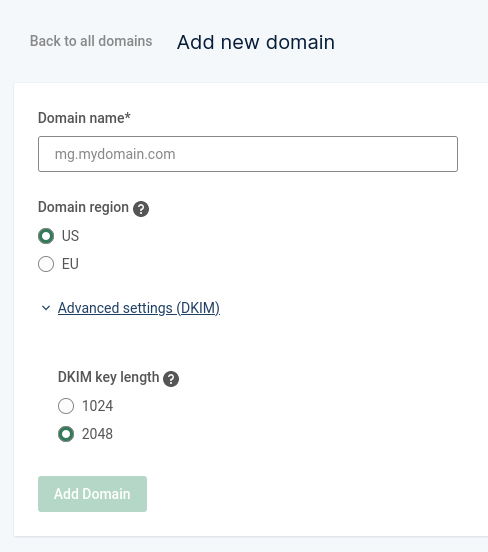
Enter your domain name and select region, DKIM key length.
After adding the domain successfully, you will get TXT, MX and CNAME records. Go to your domain provider and add them for the domain you entered above in the DNS section. Click the button to check for validity after adding them. Wait for it until all turn green.
New SMTP account
It’s time to create a new SMTP record. Click on Domain settings under Sending, click SMTP tab.
Add new SMTP credential here, it could be any text like no-reply, info etc.
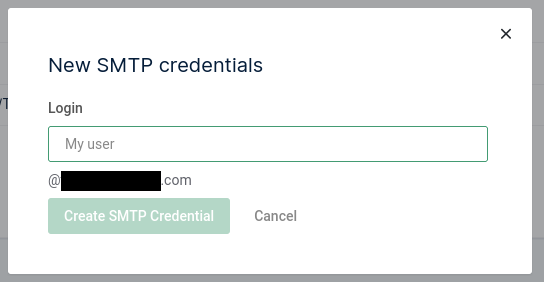
A key will be created, which can be used in apps for sending emails. Copy that somewhere safe.
Until here you are ready to use Mailgun as SMTP provider in your apps like WordPress etc. The details will be listed in that page for you.
Mailgun as mail forwarder
Now, let’s assume for a minute that you do not have a mail server for the domain you added above. Which means you cannot send emails to that domain alias etc. Imagine something like Gmail.
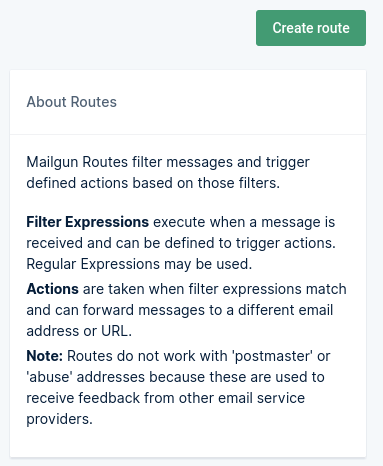
Worry not, there is a nice feature in Mailgun called Receiving. It forwards all the mails sent to a specific email address for that domain.
Let’s say you added mydomain.com to Mailgun for SMTP. Now you want to receive mails too on [email protected]. We will forward all queries from [email protected] to your working email on Gmail/Fastmail/Outlook or any other mail service etc.
To do this, click on Receiving in the menu and click Create route button.
I will show how to setup for one recipient. But you can change that from the drop down menu. Even can use Catch All. For a single route, choose Match Recipient. Enter recipient email, [email protected] from our example above. Tick the Forward checkbox and add the email(s), for example [email protected].
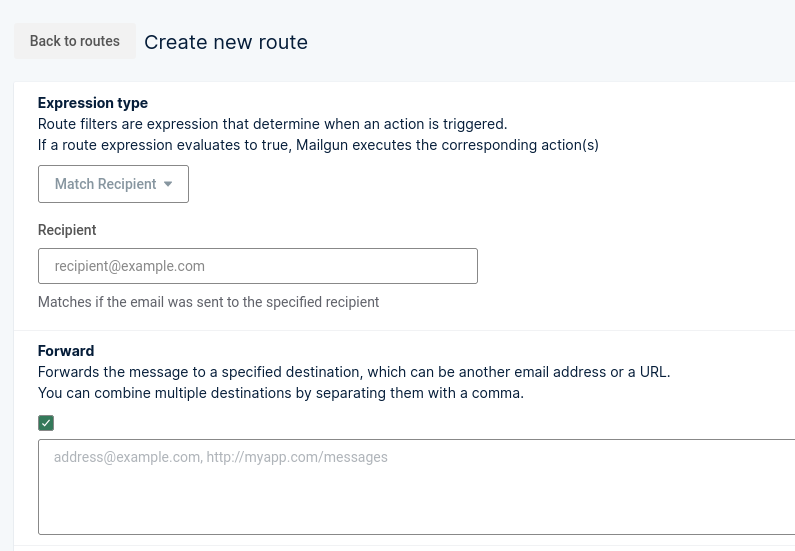
Now when somebody send an email to [email protected], you will receive it at [email protected]. 🙂


