
Shopware is an API-first and headless core open commerce platform. If you have used or worked on e-commerce platforms like Magento OR WooCommerce, you will find Shopware similar to them with some extra features and clean UI. We are going to install Shopware on Ubuntu 22.04 (step by step guide) in this article.
Shopware is the highly customisable, future-oriented open commerce platform that turns ambitious business ideas into inspiring success stories. Set your own rules, innovate fast, and stand out with an expertly executed brand strategy and a powerful platform to support your vision.
Why Shopware
Alternatives to Shopware:
- Magento [open source]
- WooCommerce [open source]
- Shopify
- PrestaShop [open source]
Requirements
Please note that Shopware is not designed to run on a Windows server.
- PHP 7.4 with memory_limit 512MB, max_execution_time 30 seconds
- MariaDB 10.3.22 or higher
- Apache 2.4 or higher
Ubuntu 22.04 comes with latest stable packages, so all the requirements are covered by default. For setup and installation of PHP (modules), Apache and MariaDB, head over to this article and follow the following steps from it.
- Firewall setup
- LAMP stack installation
- PHP configuration
- Database setup (create a shopware database and assign a user to it)
Once done, come back here and follow the rest of this article to complete the installation.
Apache vhost
Create a vhost file shopware.conf in /etc/apache2/sites-available/.
cd /etc/apache2/sites-available
vim shopware.conf
And paste the following in it. Change DOMAIN.COM accordingly.
<VirtualHost *:80>
	ServerName DOMAIN.COM
	DocumentRoot /var/www/html/public

	<Directory "/var/www/html">
		Options Indexes FollowSymLinks MultiViews
		AllowOverride All
		Order allow,deny
		allow from all
	</Directory>

	ErrorLog ${APACHE_LOG_DIR}/shopware-platform.error.log
	CustomLog ${APACHE_LOG_DIR}/shopware-platform.access.log combined
	LogLevel debug
</VirtualHost>
Test and enable it.
a2dissite 000-default.conf
a2ensite shopware.conf

apachectl configtest
systemctl restart apache2
Installation
Download the latest shopware community version using wget.
* Right click on the download button to copy the link. Remember to change it in the command below.
cd /var/www

wget https://www.shopware.com/en/Download/redirect/version/sw6/file/install_v6.4.14.0_812d867f6f77d6d5b0475ba9dd540c97550ac108.zip
Unzip and change the dir ownership.
unzip install_v6.4.14.0_812d867f6f77d6d5b0475ba9dd540c97550ac108.zip -d html

chown -R www-data:www-data html
Open a browser and point it to your domain to start the installation process.
1- The first page you will see in the browser after hitting the Enter key. Choose a language to get started.

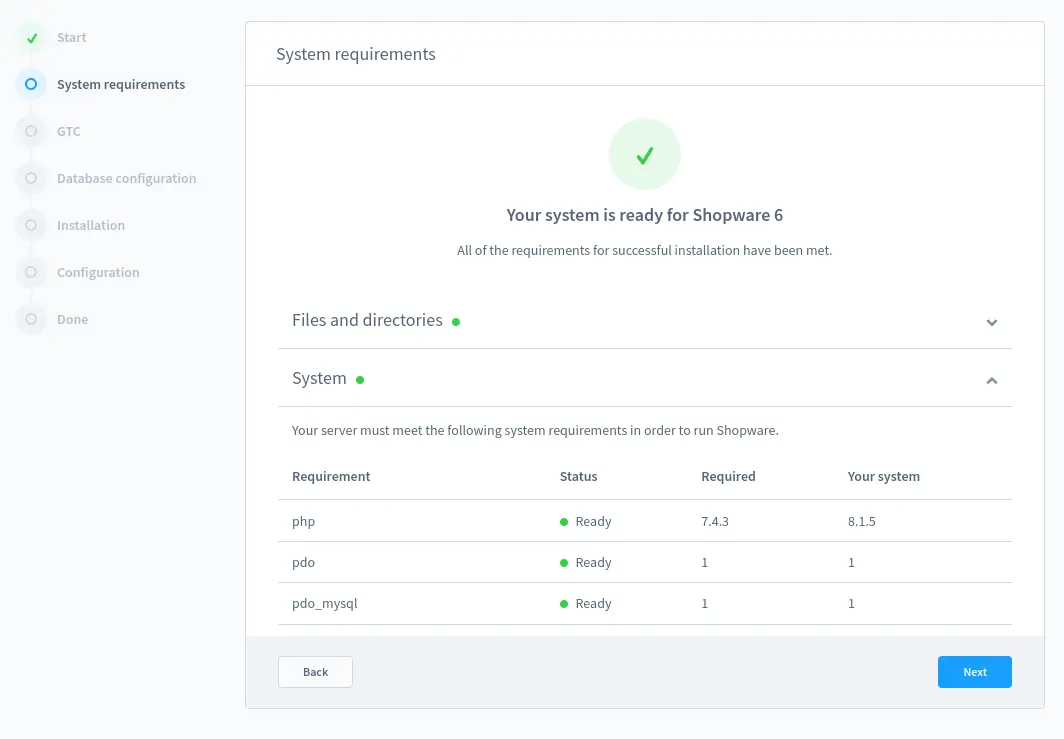
2- This is the screen where it will tell you if there are anything missing from the required modules and versions. If you have followed the article above, everything will be green here.
3- Read and accept terms and conditions.

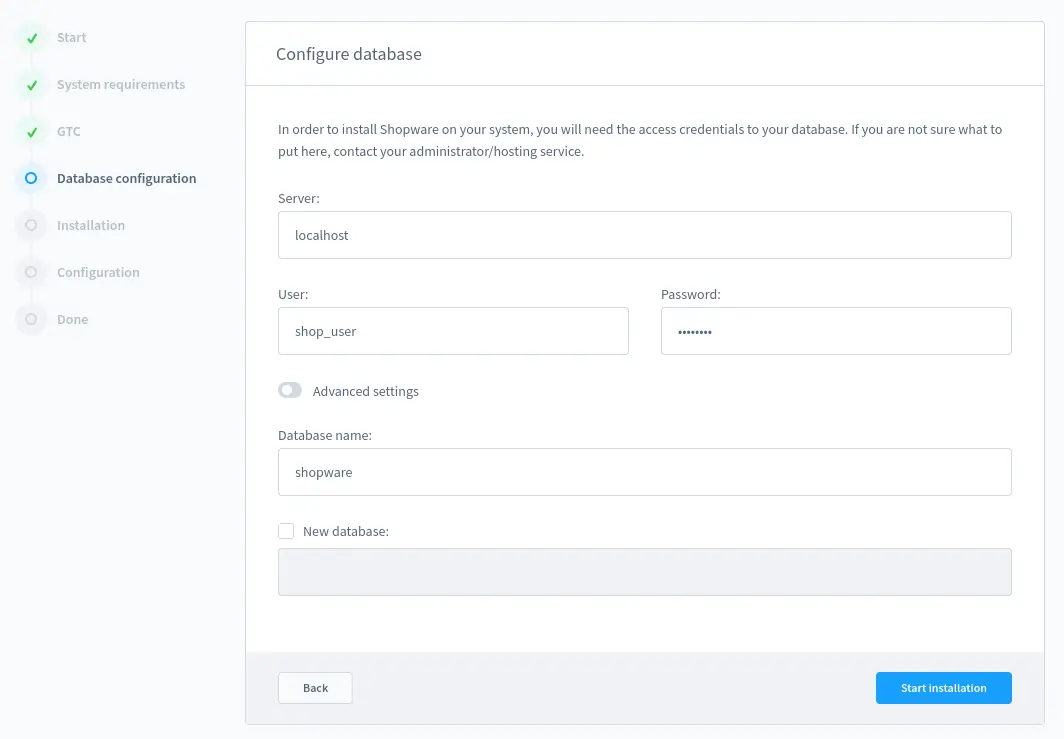
4- Enter the database name, username and it’s password which you have created earlier.
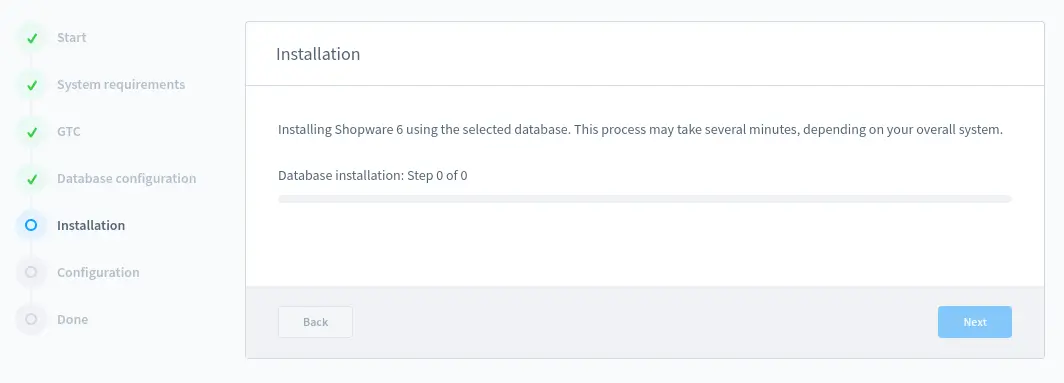
5- This will take a few minutes while importing the database tables and other data.
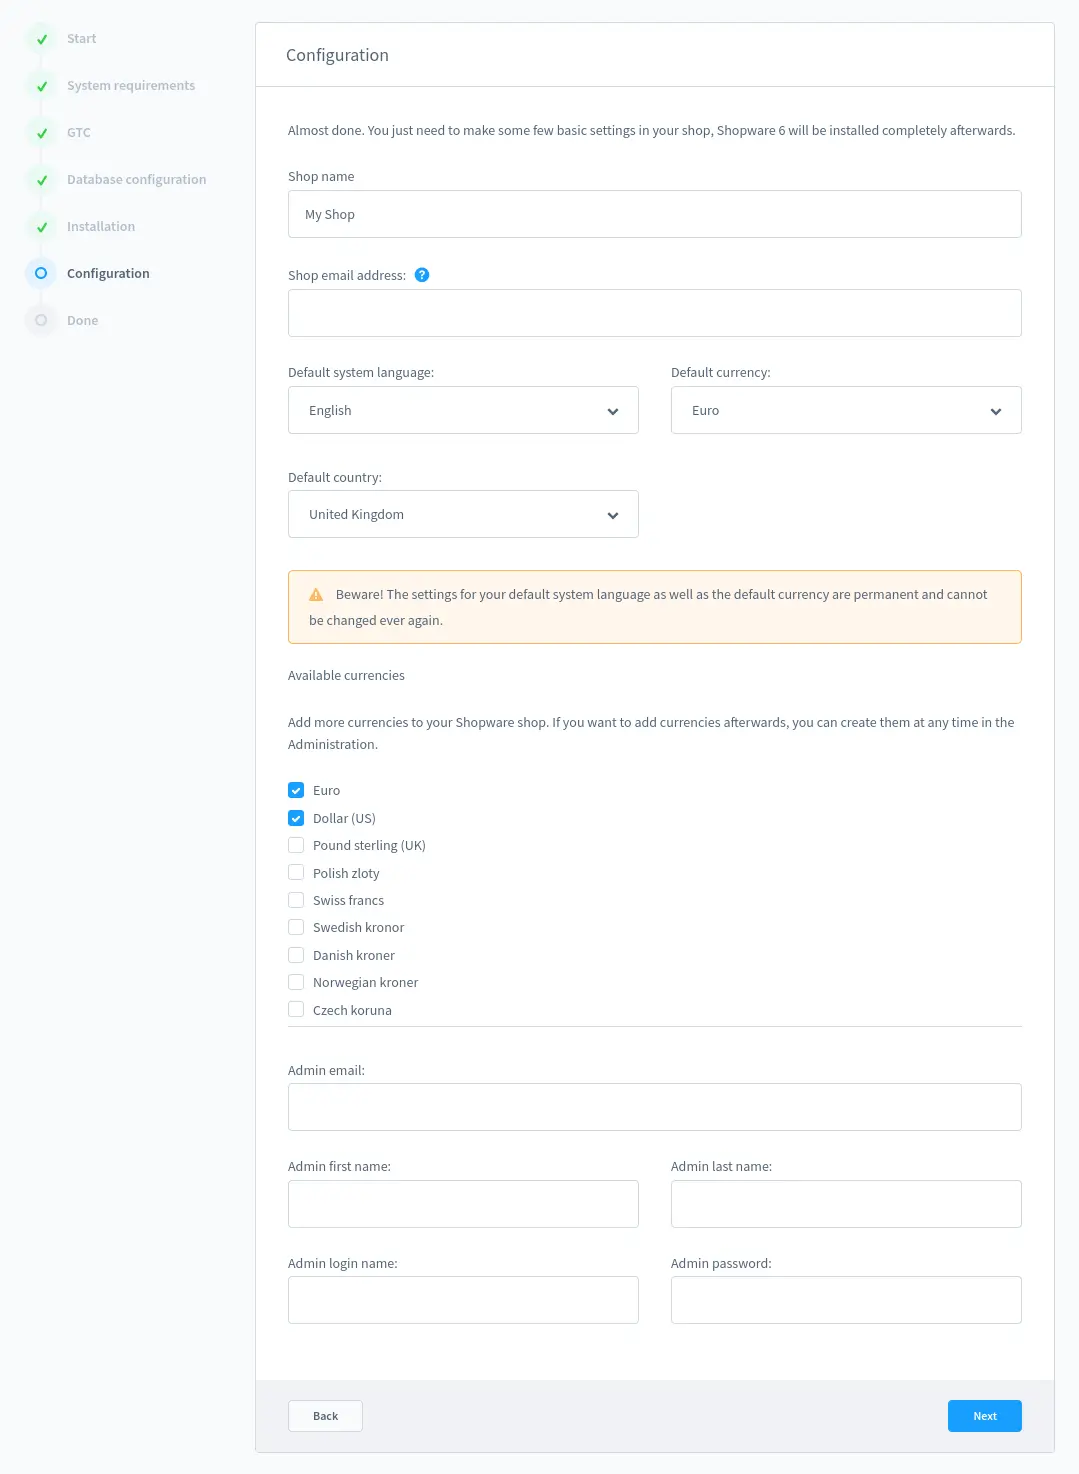
6- The basic configuration screen to input your store name, store email address, default currency and admin name, email, password etc.
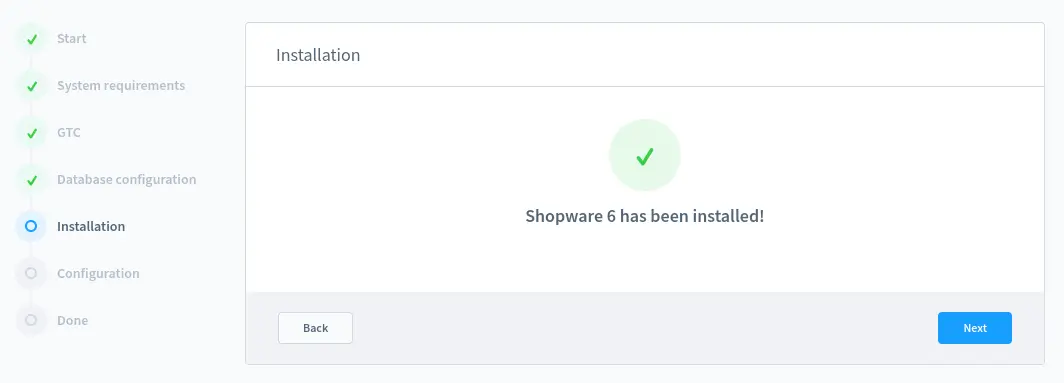
7- Once done, you will see the following screen.

Initial setup
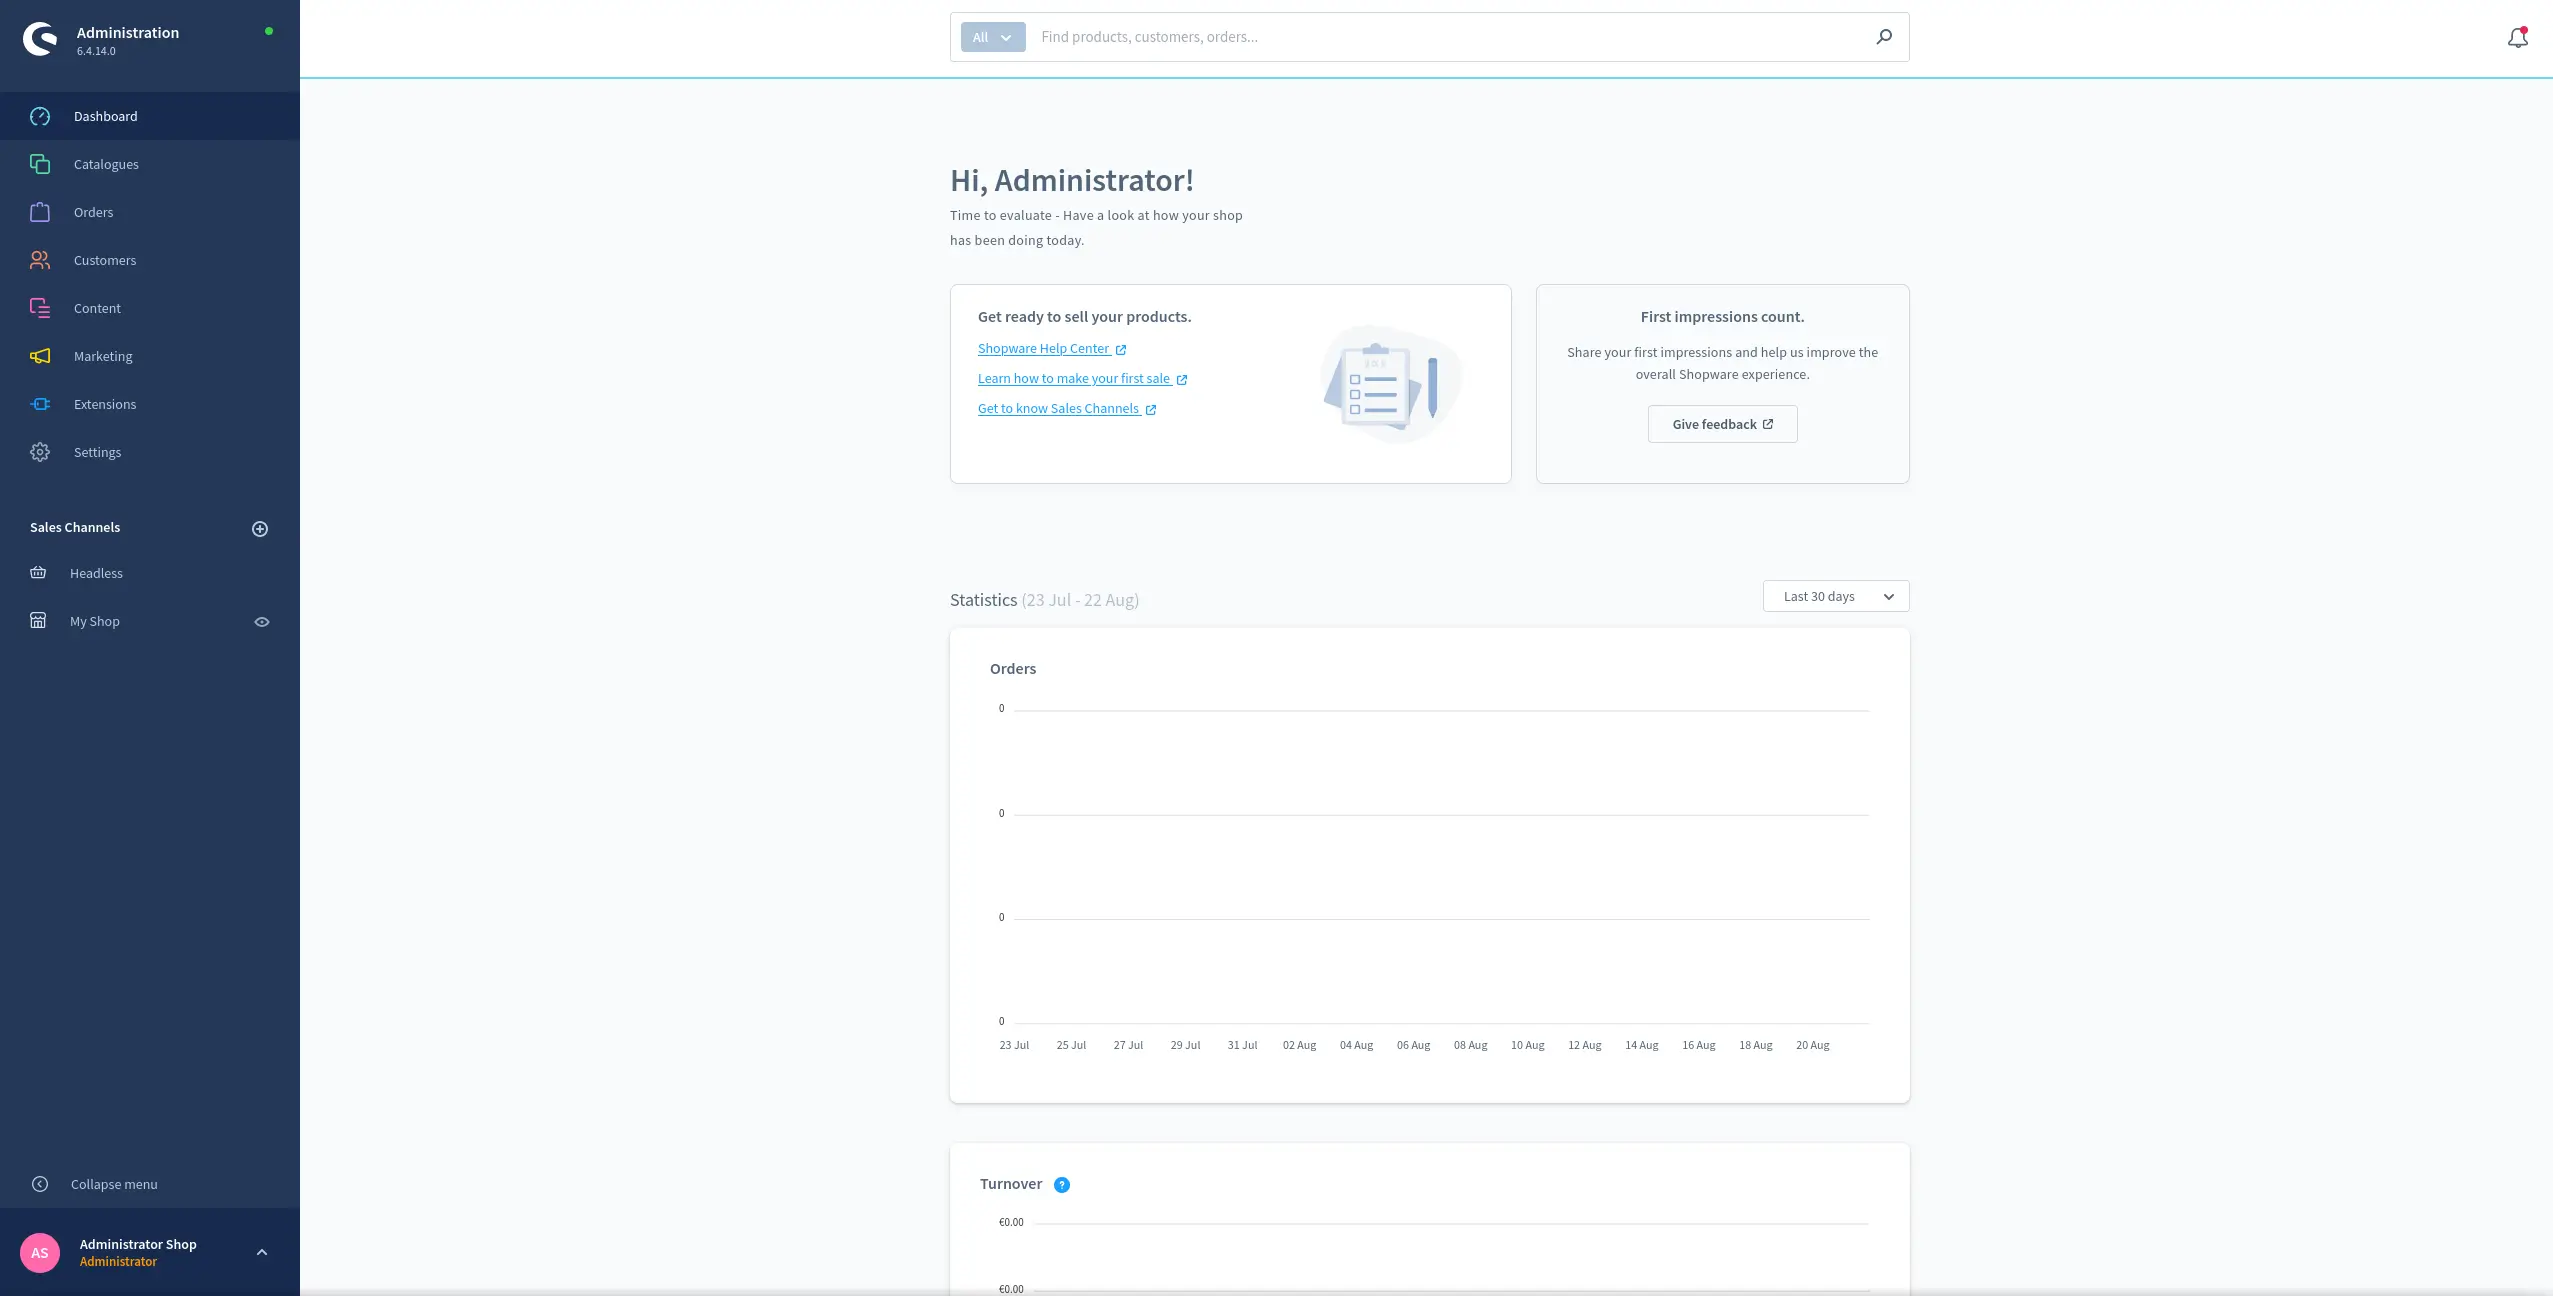
When installation is finished, you will be automatically logged in as admin and Shopware will start a first run wizard to get you started with the basic store functionality.
1- If you have data to import from another installation, you can import them here.

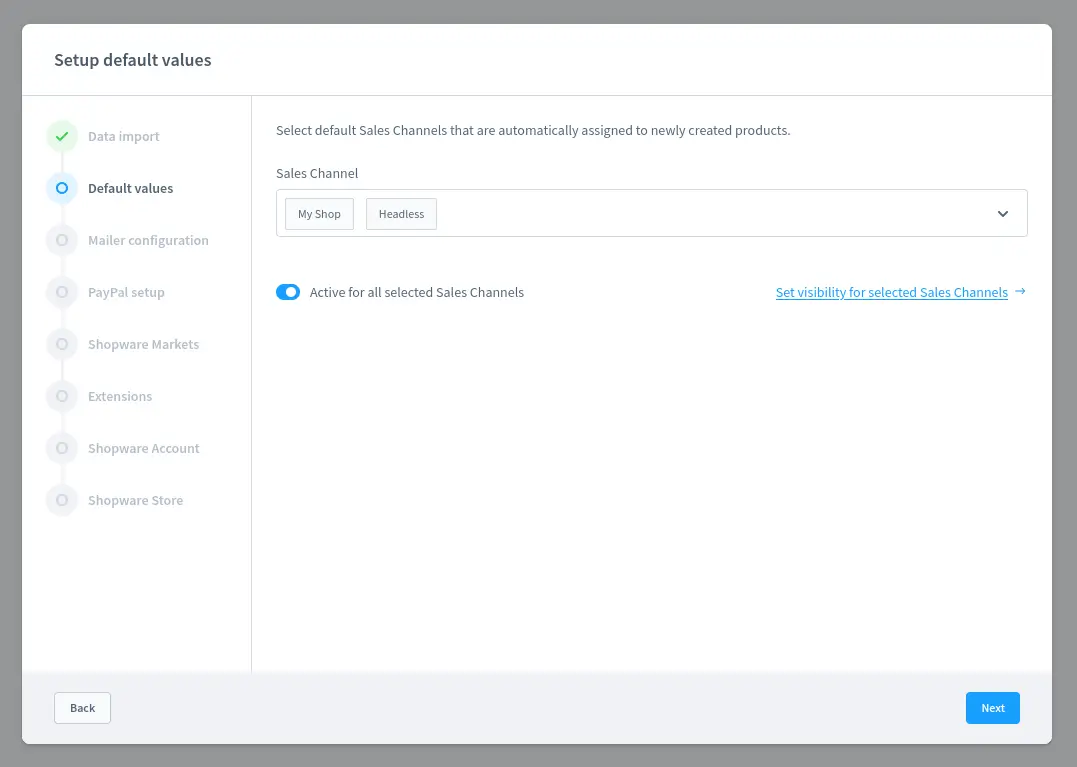
2- Select your sales channels.
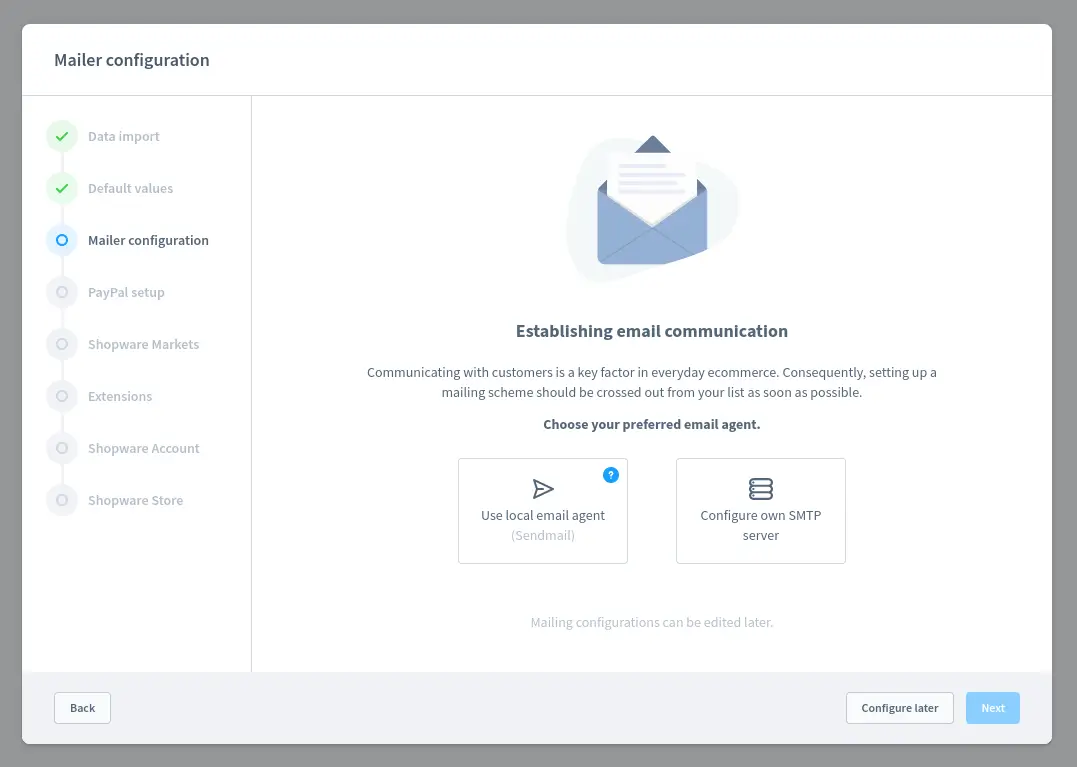
3- Mail is very important aspect of online stores. Here you can setup mailer configuration. I recommend to use SMTP server either your own or third party service like Mailgun etc.
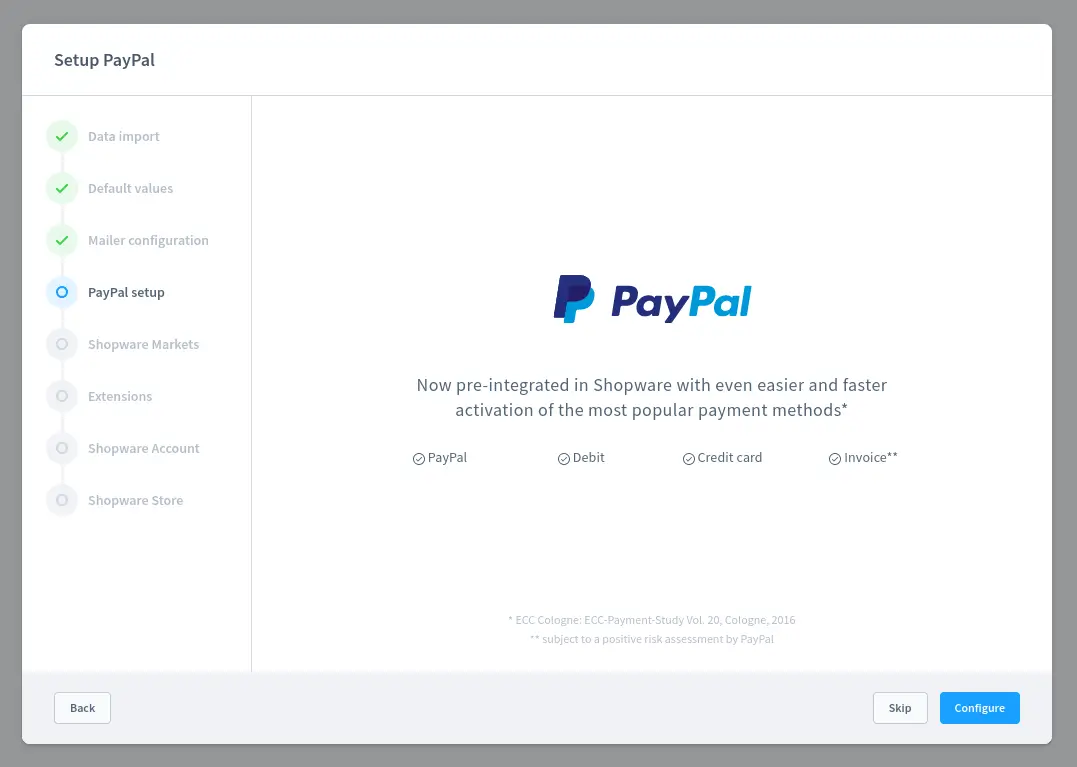
4- If you want to setup PayPal as a payment processor, Shopware makes it easier to setup.
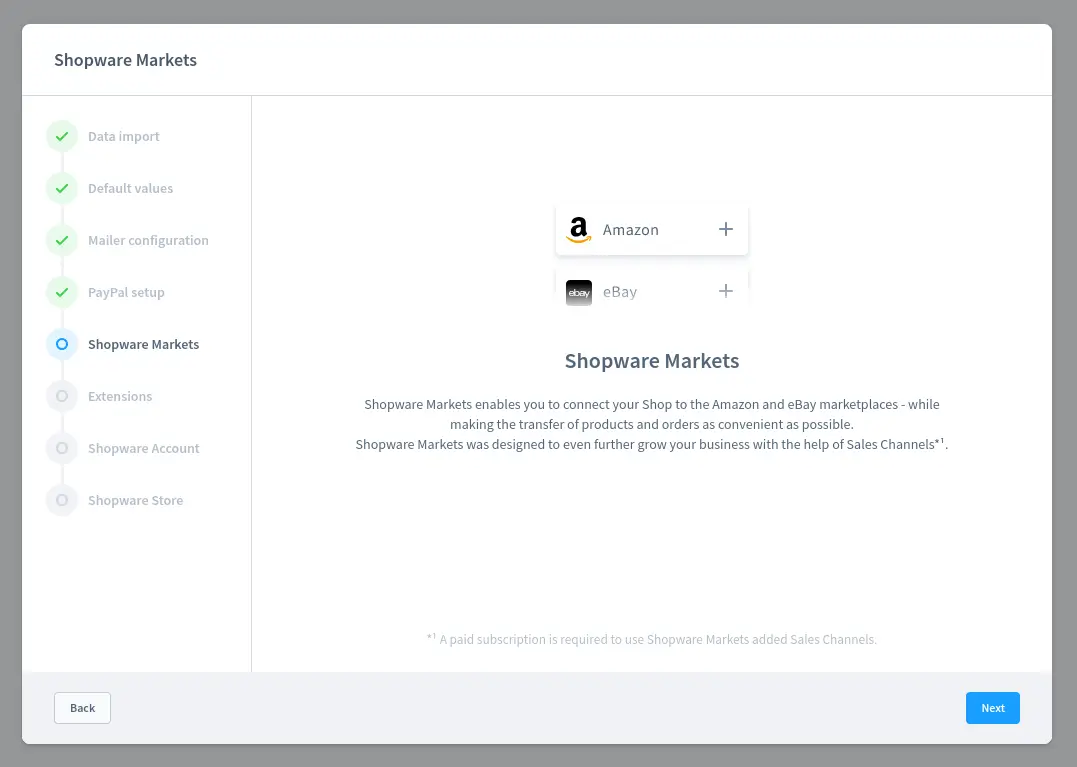
5- Click next for markets.
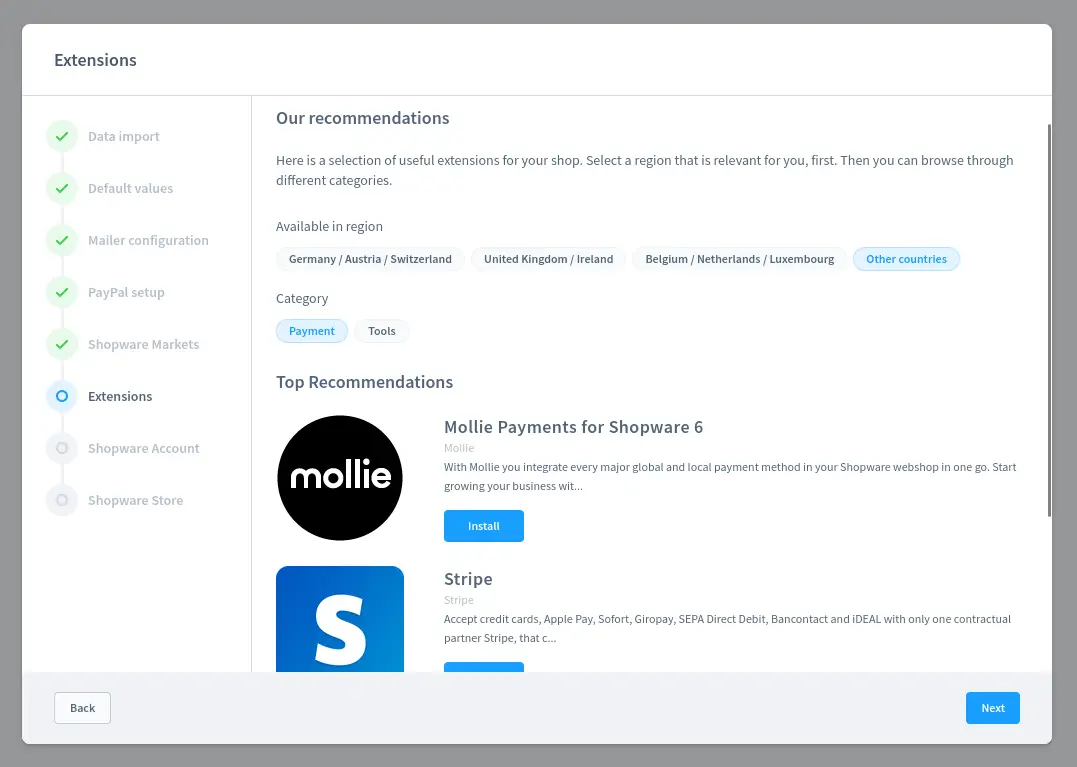
6- If you would like to install an extension here based on your region, just click the region. Otherwise you can install them later from settings.
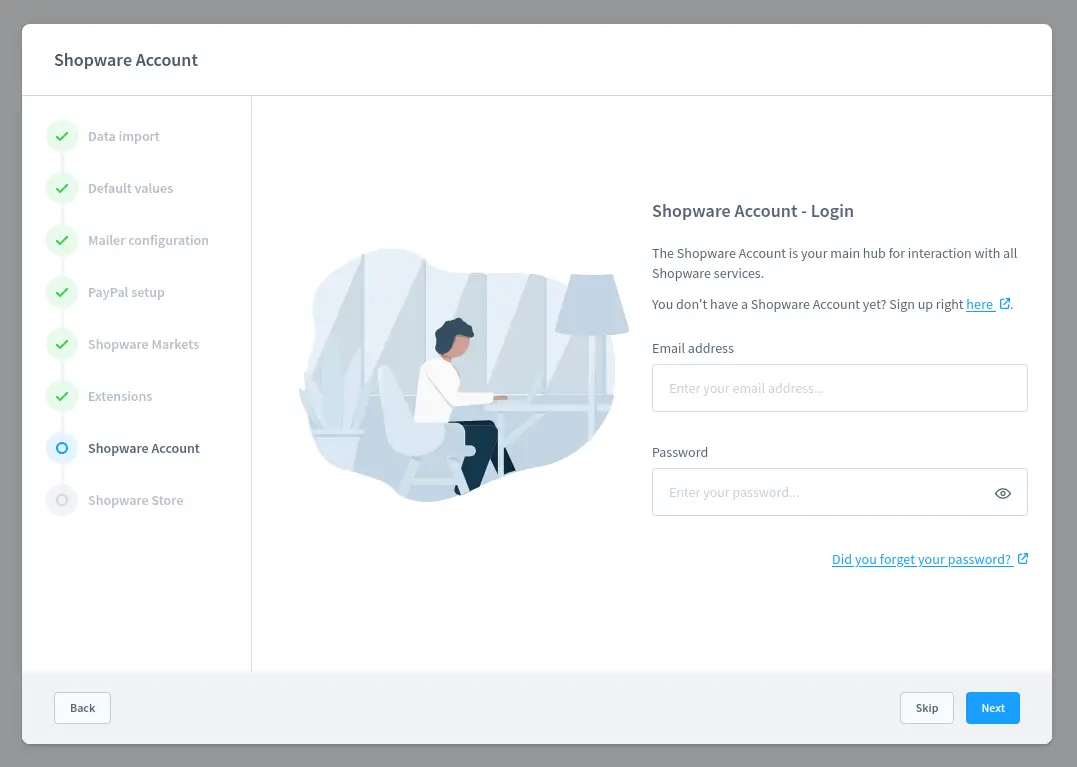
7- You can use your Shopware credentials to login to Shopware account. If you want to buy extensions or Professional Edition (PE) later, this account will be used for it.
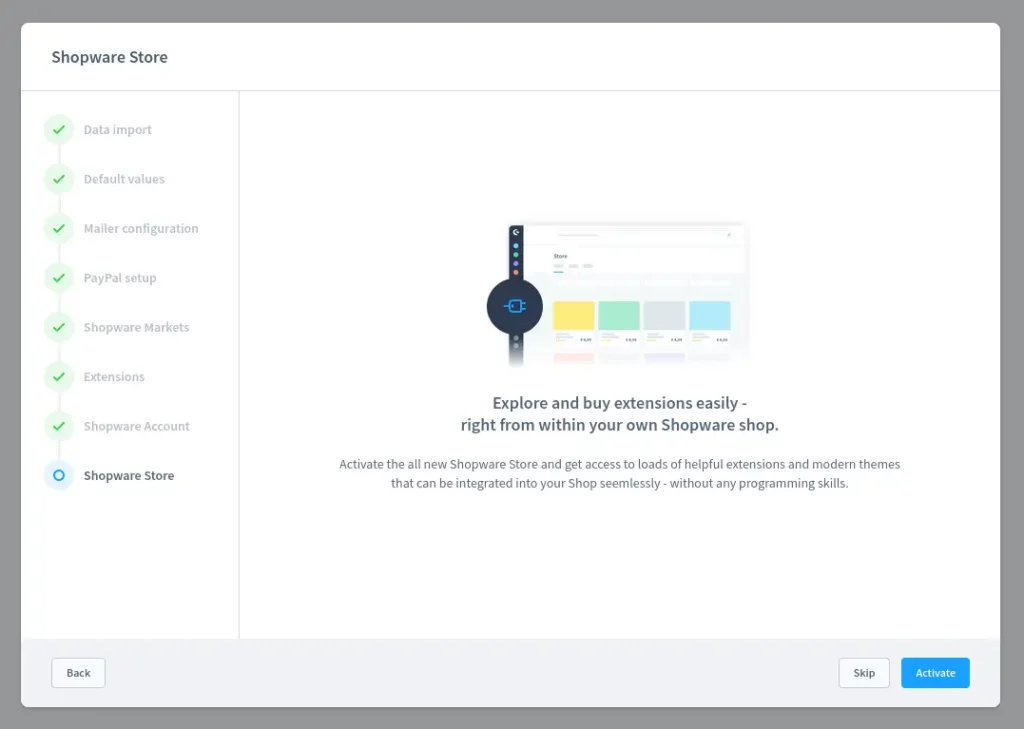
8- Activate the extension plugin or just skip it.
9- Congratulations, your shop setup is done.

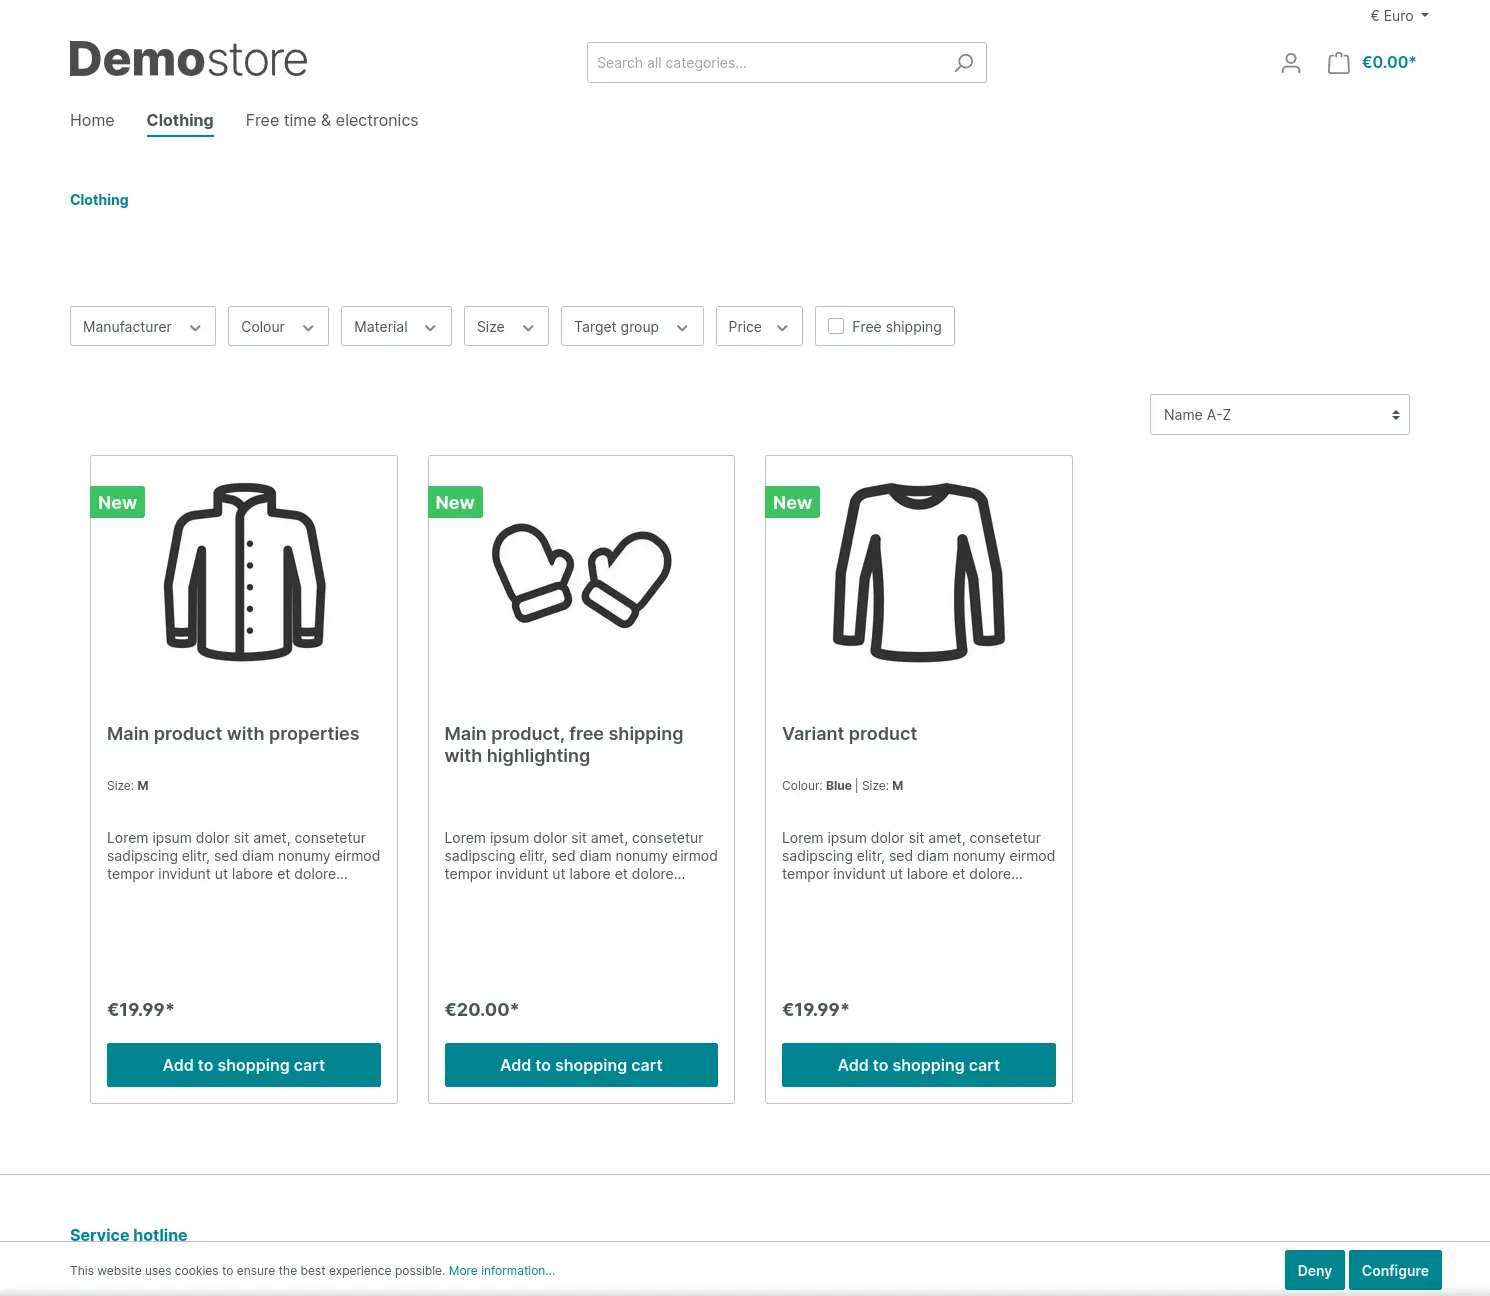
I have imported the demo data, here is the store front page. You can install themes, customize the page layouts etc. Shopware provides tons of options.
SSL certificate
Now that everything is setup and done. We can move to our next step, installing SSL certificate to secure our store.
I am going to install Certbot and get a free certificate from Let’s encrypt, but if you have your own certificates from a vendor you only need to change it in 443 block in the configuration file with the exact paths.
snap install certbot --classic
certbot certonly --webroot -w /var/www/html -d DOAMIN.COM
Below is the final configuration file (/etc/apache2/sites-available/shopware.conf) which will:
- Redirect to https from http
- Use http2
- Strong ciphers
- Cache static files
<VirtualHost *:80>
	ServerName DOMAIN.COM
	DocumentRoot /var/www/html/public
	RewriteEngine On
	RewriteCond %{HTTPS} off
	RewriteRule (.*) https://%{HTTP_HOST}%{REQUEST_URI}

	<Directory "/var/www/html">
		Options Indexes FollowSymLinks MultiViews
		AllowOverride All
		Order allow,deny
		allow from all
	</Directory>

	ErrorLog ${APACHE_LOG_DIR}/shopware-platform.error.log
	CustomLog ${APACHE_LOG_DIR}/shopware-platform.access.log combined
	LogLevel debug
</VirtualHost>

<VirtualHost *:443>
	ServerName DOMAIN.COM
	DocumentRoot /var/www/html/public

	SSLCipherSuite EECDH+AESGCM:EDH+AESGCM:AES256+EECDH:ECDHE-RSA-AES128-SHA:DHE-RSA-AES128-GCM-SHA256:AES256+EDH:ECDHE-RSA-AES256-GCM-SHA384:ECDHE-RSA-AES128-GCM-SHA256:DHE-RSA-AES256-GCM-SHA384:ECDHE-RSA-AES256-SHA384:ECDHE-RSA-AES128-SHA256:ECDHE-RSA-AES256-SHA:DHE-RSA-AES256-SHA256:DHE-RSA-AES128-SHA256:DHE-RSA-AES256-SHA:DHE-RSA-AES128-SHA:ECDHE-RSA-DES-CBC3-SHA:EDH-RSA-DES-CBC3-SHA:AES256-GCM-SHA384:AES128-GCM-SHA256:AES256-SHA256:AES128-SHA256:AES256-SHA:AES128-SHA:DES-CBC3-SHA:HIGH:!aNULL:!eNULL:!EXPORT:!DES:!MD5:!PSK:!RC4
	SSLProtocol All -SSLv2 -SSLv3 -TLSv1 -TLSv1.1
	SSLHonorCipherOrder On
	Header always set Strict-Transport-Security "max-age=63072000; includeSubDomains; preload"
	Header always set X-Frame-Options DENY
	Header always set X-Content-Type-Options nosniff

	Protocols h2 http/1.1

	<Directory "/var/www/html">
		Options Indexes FollowSymLinks MultiViews
		AllowOverride All
		Order allow,deny
		allow from all
	</Directory>

	<FilesMatch ".(ico|pdf|flv|jpg|jpeg|png|gif|js|css|swf|ttf|woff)$">
		Header set Cache-Control "max-age=31536000, public"
	</FilesMatch>

	ErrorLog ${APACHE_LOG_DIR}/shopware-platform.error.log
	CustomLog ${APACHE_LOG_DIR}/shopware-platform.access.log combined
	LogLevel debug

	SSLEngine on
	SSLCertificateKeyFile /etc/letsencrypt/live/DOMAIN.COM/privkey.pem
	SSLCertificateFile /etc/letsencrypt/live/DOMAIN.COM/fullchain.pem
</VirtualHost>
Test the configuration and restart Apache.
apachectl configtest
systemctl restart apache2
That’s about it, happy selling.


