If you have followed the tutorial to install FreePBX with Asterisk using the FreePBX ISO, you may want to configure SSL for FreePBX without accessing the server and running additional commands. This can be achieved entirely through the FreePBX UI.
The first thing you need to do is activate your FreePBX setup. Without activation, you will not be able to complete this process. Activation is easy. Go to Admin > System Admin and click on Activation.
Note: Don’t forget to access your FreePBX using the domain you have pointed to your server’s IP address.
Redirect to other port
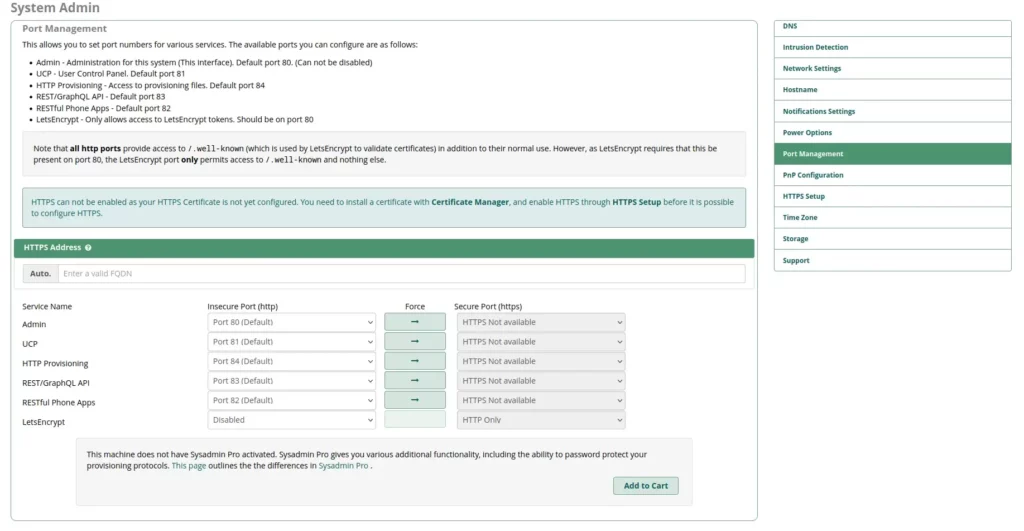
Once activated, navigate to Admin > System Admin and click on Port Management. You may encounter something similar to the following image.

Change the Admin port to a different value and set LetsEncrypt to port 80. Click on Update Now to apply the changes.

After making this change, you will be redirected to the new port, which in this case is 8080.
Generate certificate
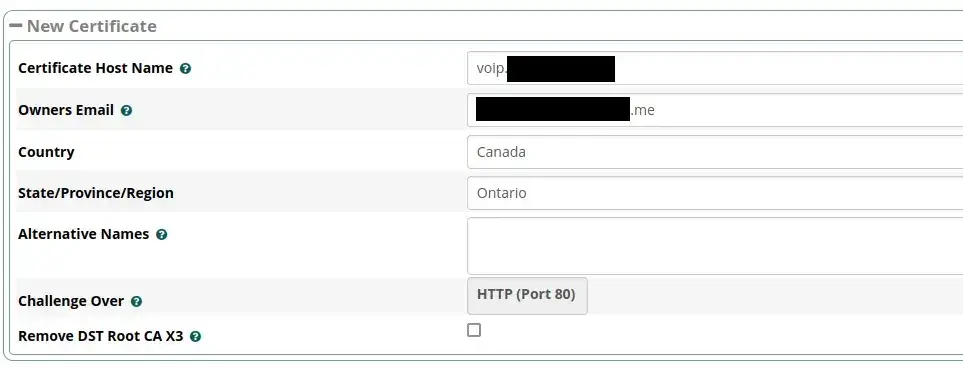
To generate a new certificate, navigate to Admin > Certificate Management and click on New Certificate > Generate Let’s Encrypt Certificate.
Fill out the form based on your settings and click on Generate Certificate.

After obtaining the certificate, set it as the default certificate.

Install certificate
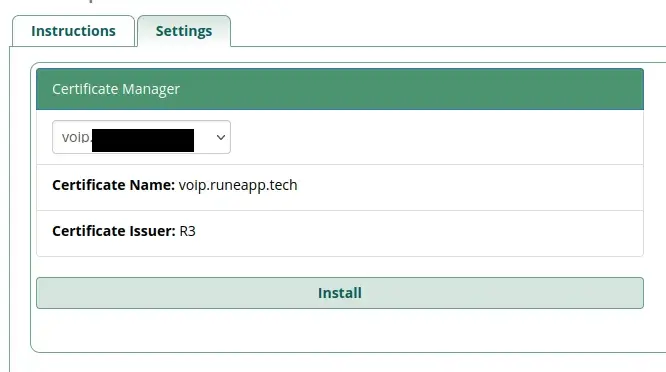
Now, navigate to Admin > System Admin > HTTPS Setup and then go to the Settings tab. Here, choose the recently generated certificate and click on Install. Wait for the installation to complete, and then select the protocols TLS 1.2 and 1.3.


Click on Save and Restart Apache. You can now test your domain using HTTPS.
Redirect to HTTPS
The final and most important step is to redirect port 8080 to 443 (HTTPS). Navigate to Admin > System Admin > Port Management, select your FQDN. Furthermore, click on the Force button (arrow) and choose Port 443 (Default) under the Secure Port (https) option and click Update Now.

Congratulations! You now have a FreePBX server with a valid SSL certificate, ensuring secure HTTPS communication.


