
FreePBX needs no introduction if you are into VOIP products or have used Asterisk. FreePBX is considered a frontend for communicating with the Asterisk server. There are different ways to install and set up Asterisk and FreePBX. Some cloud providers provide ready-made images through their marketplaces. Today I will share how to set up FreePBX (Asterisk) on a cloud server using FreePBX ISO.
FreePBX provide an ISO image which include all the necessary apps to set up Asterisk with FreePBX and it’s modules.
1- Upload ISO
Go to your cloud provider and create a new server with the ‘upload ISO’ option. I am using Vultr, which has an easy-to-use method for this. Simply provide the ISO path in the ‘Upload ISO’ textbox, and you’re done. I will show you how to do that.
Click on the button below and copy the link for the version you want to download (click the ‘View all Versions‘ toggle).
You can upload an ISO by clicking on ‘ISOs / Snapshots / Scripts‘ from the products dashboard.
Or another way is to click on the ‘Deploy New Server‘. Scroll down and under ‘Server Image‘ click on the ‘Upload ISO‘ tab. If you have already uploaded the ISO, it will be listed here; otherwise, click on ‘Manage‘.
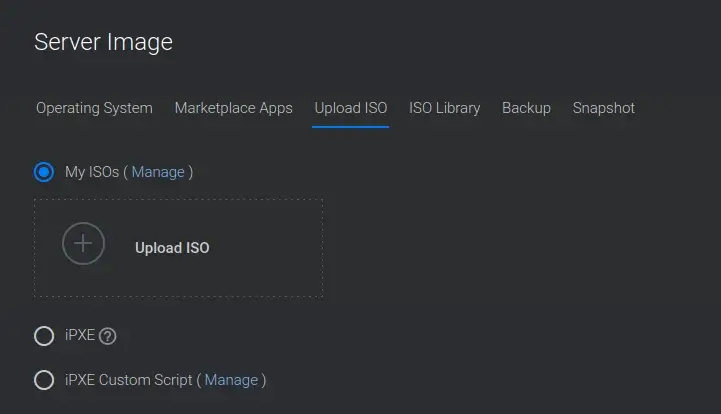
Manage will bring you to the ISO page, where you can see the uploaded images or can just upload a new one.
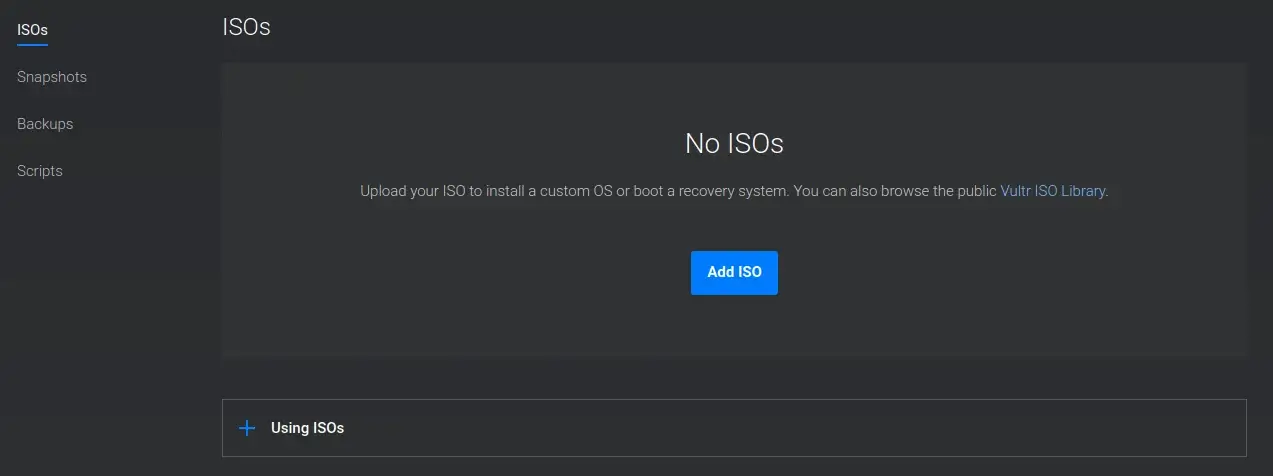
Click Add ISO and enter the ISO link in the textbox.

After completion, go to the New Server section again and select the uploaded ISO.
2- Installation
Access the server via the console (noVNC) from the cloud provider dashboard. Most cloud providers provide some sort of access to the server via their control panel. As this is a custom ISO, we have to install the operating system first.
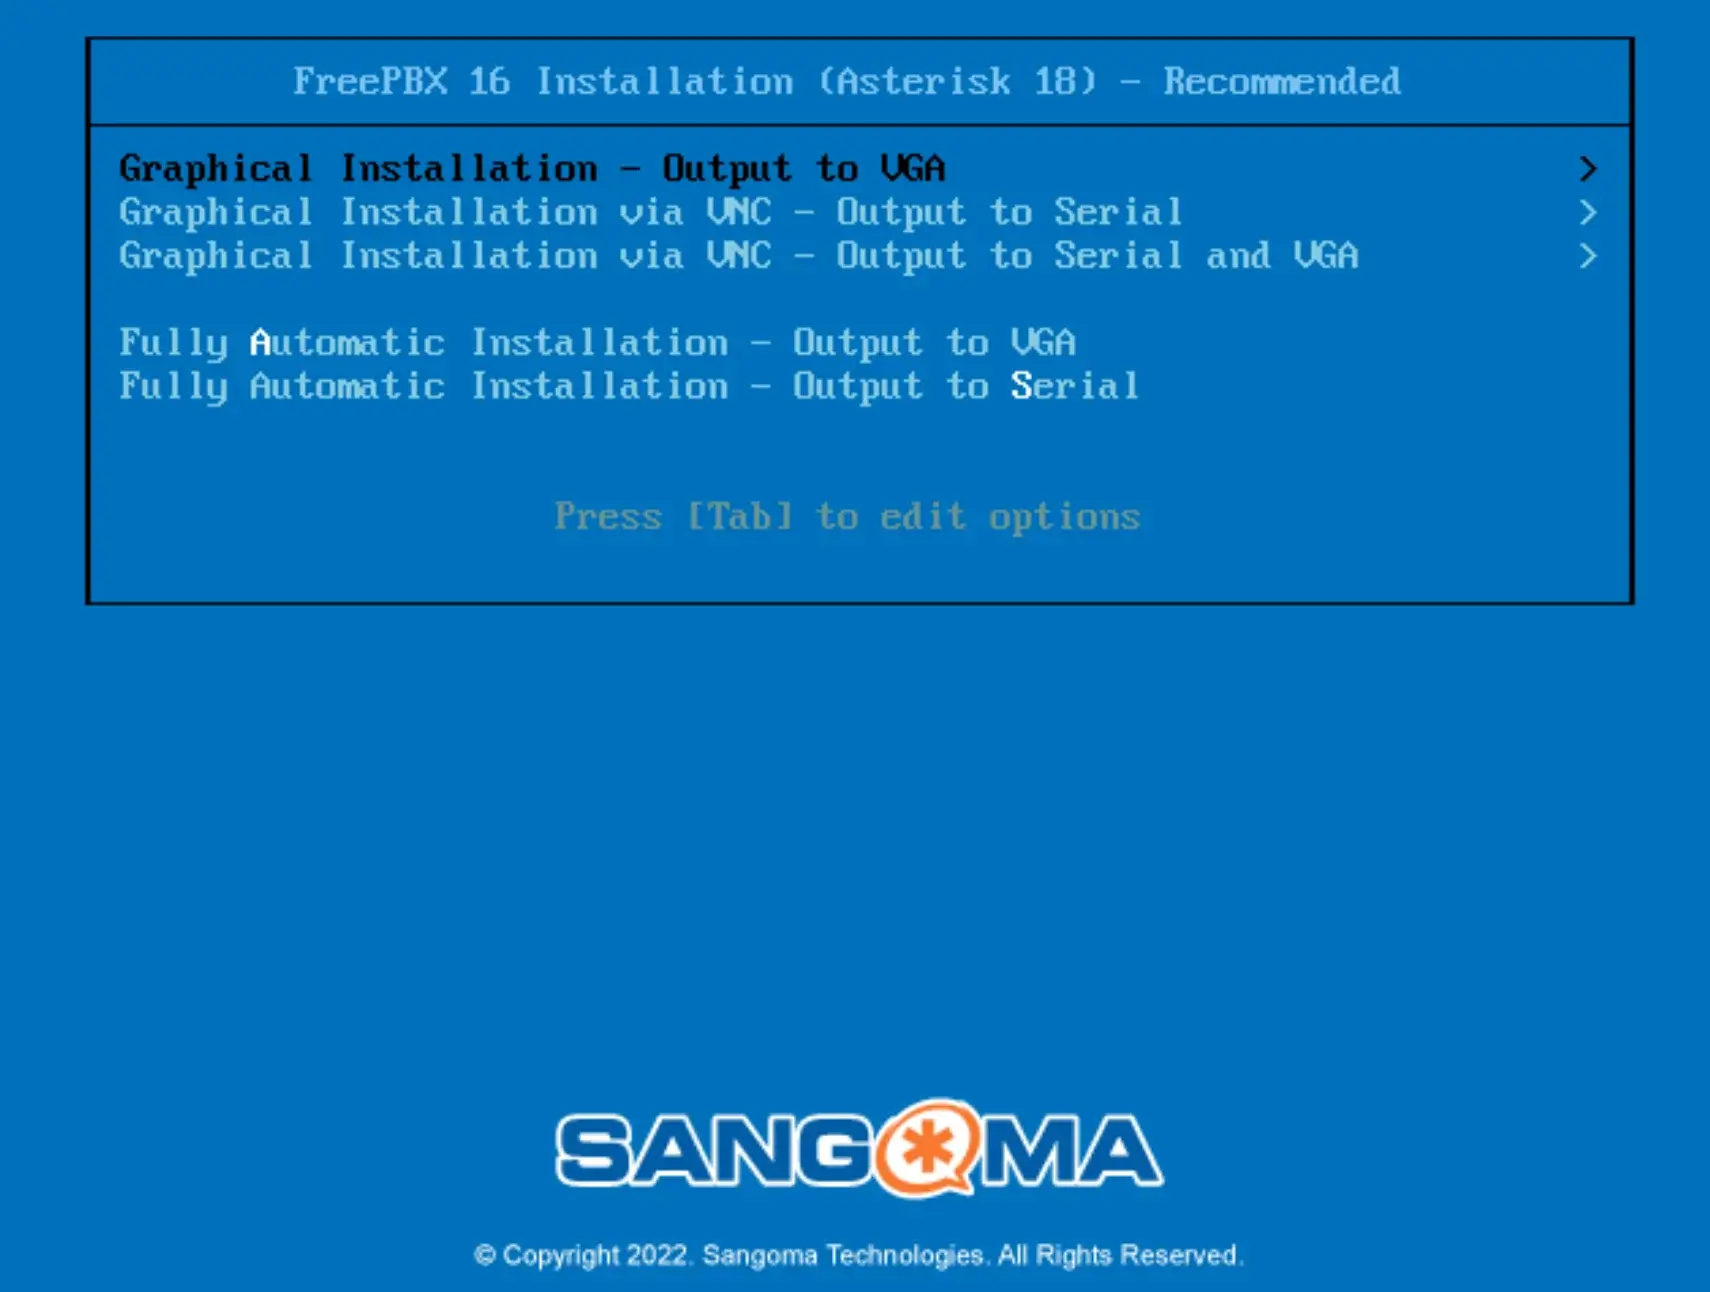
1- Boot screen
At this stage, you will see a boot screen where you can select what to install.The next screen will ask for an Output. The default option is fine to proceed with.
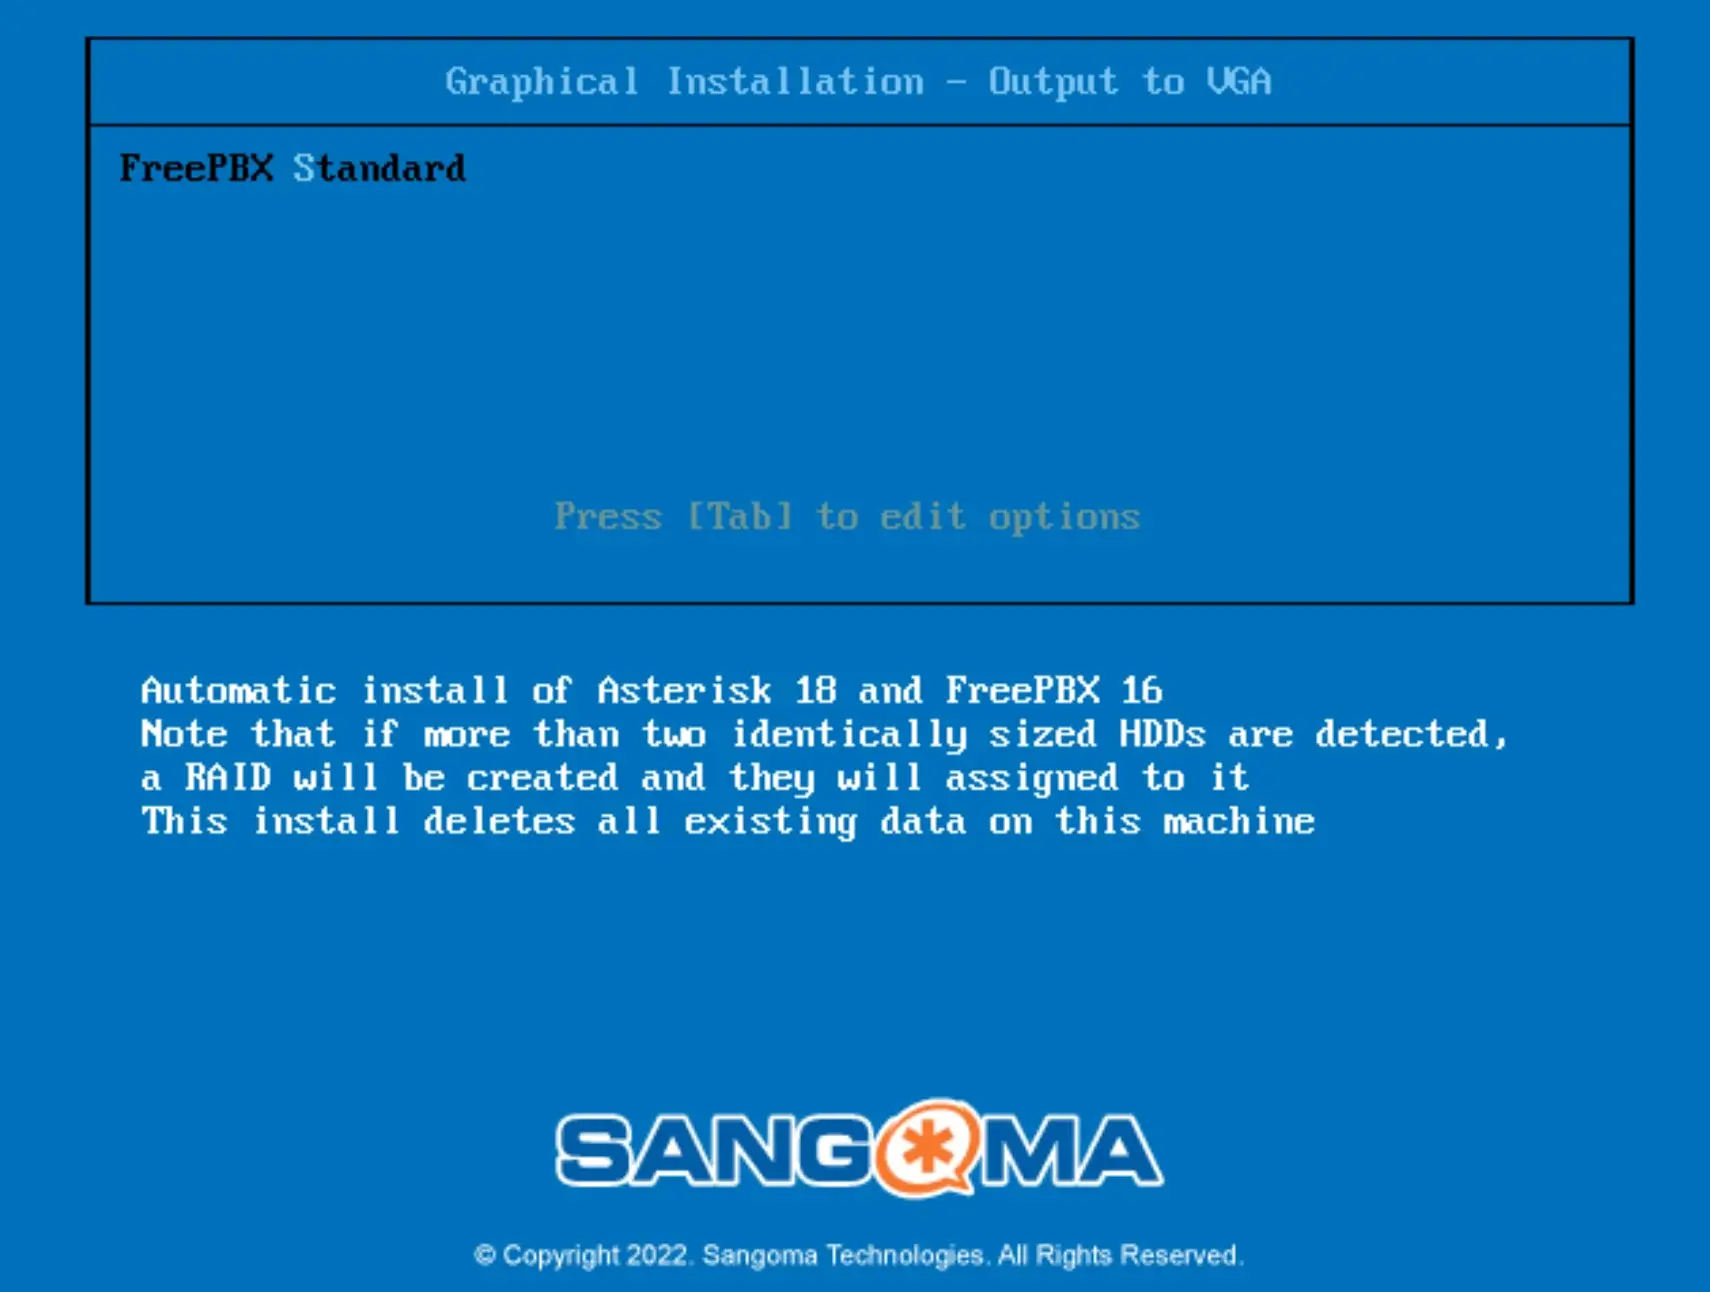
2- Selection screen
FreePBX will provide a selection screen for the installation. I only saw ‘Standard‘ here.
3- Installation
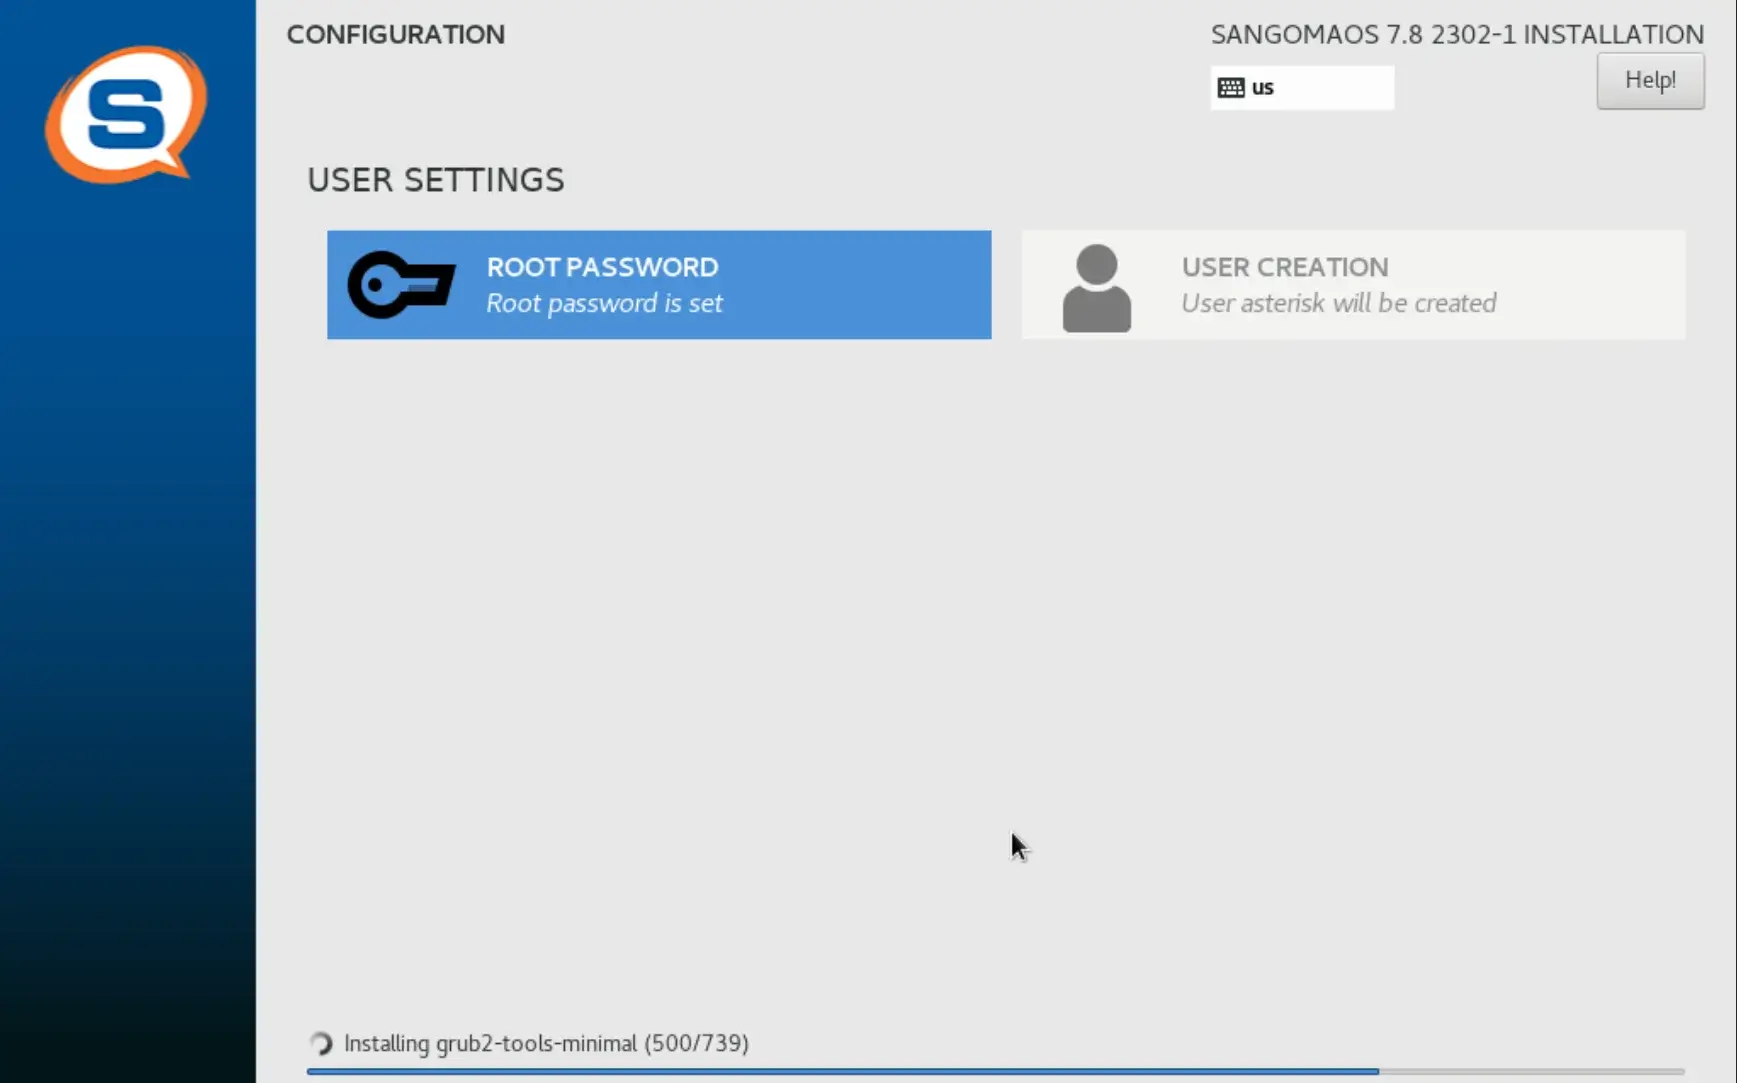
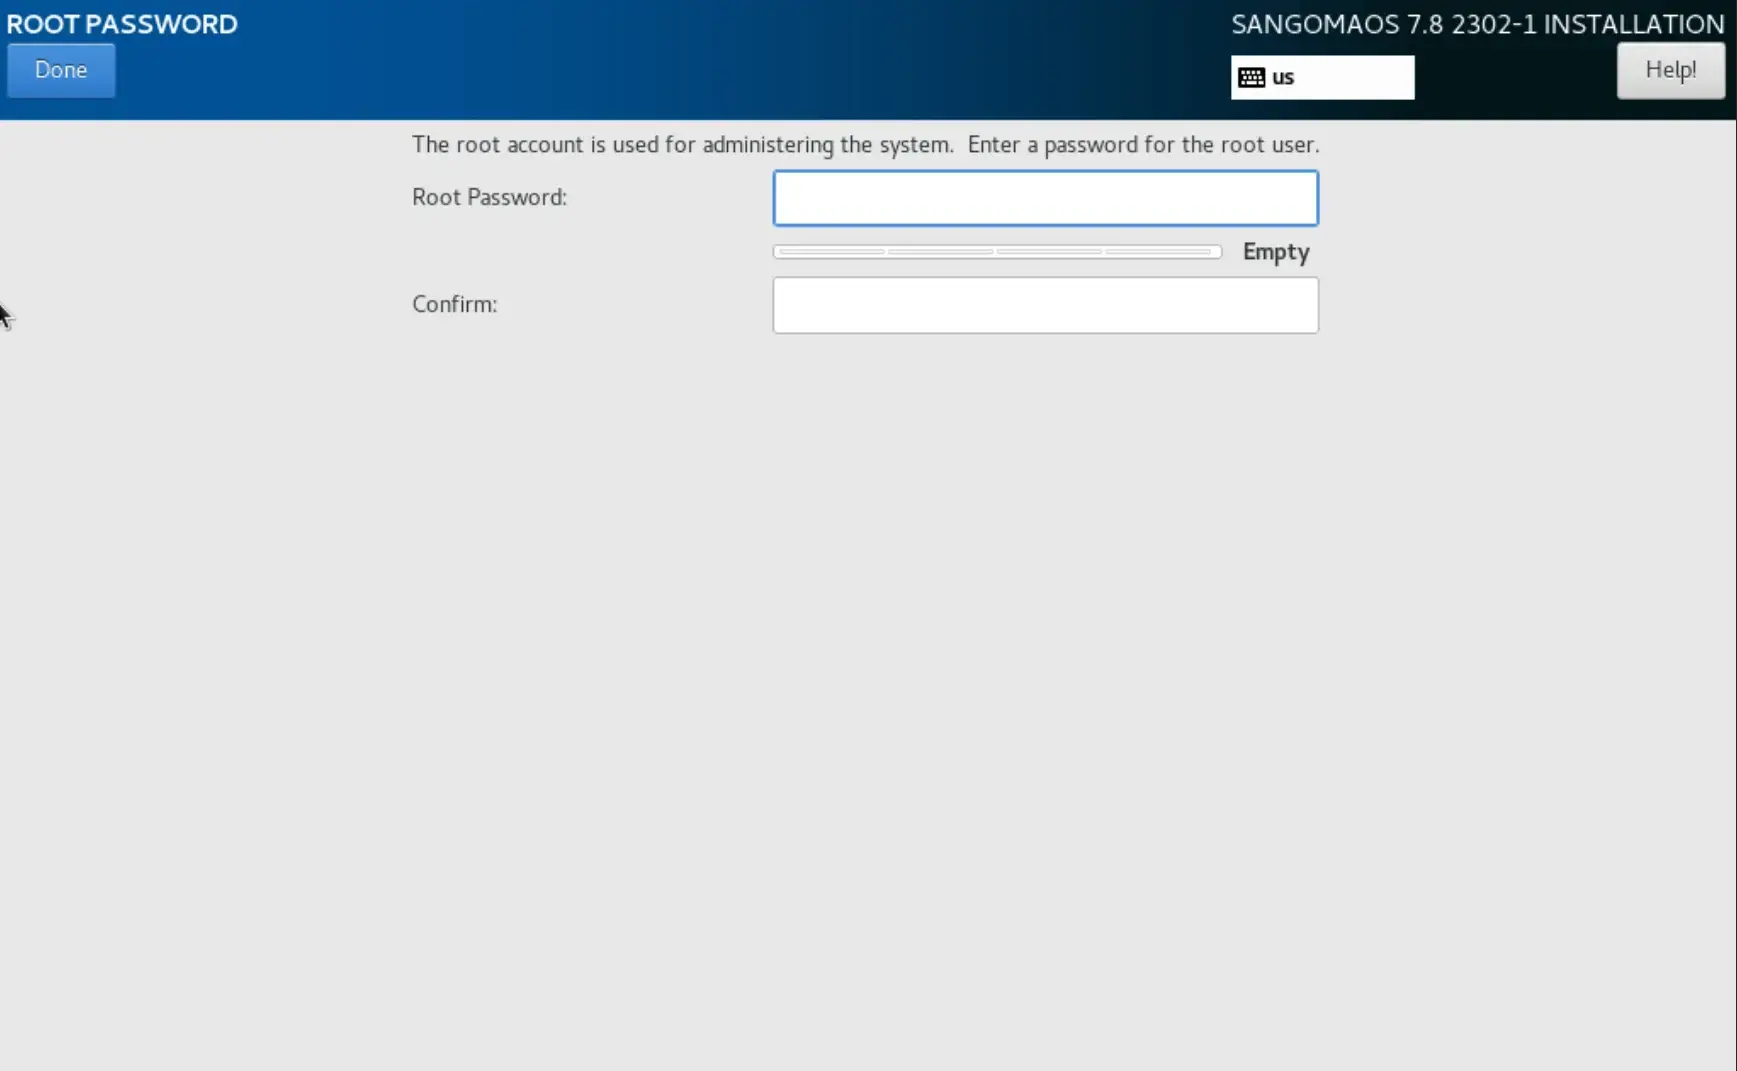
After boot, the rest of the things can be automated. Just make sure to enter a new root password.
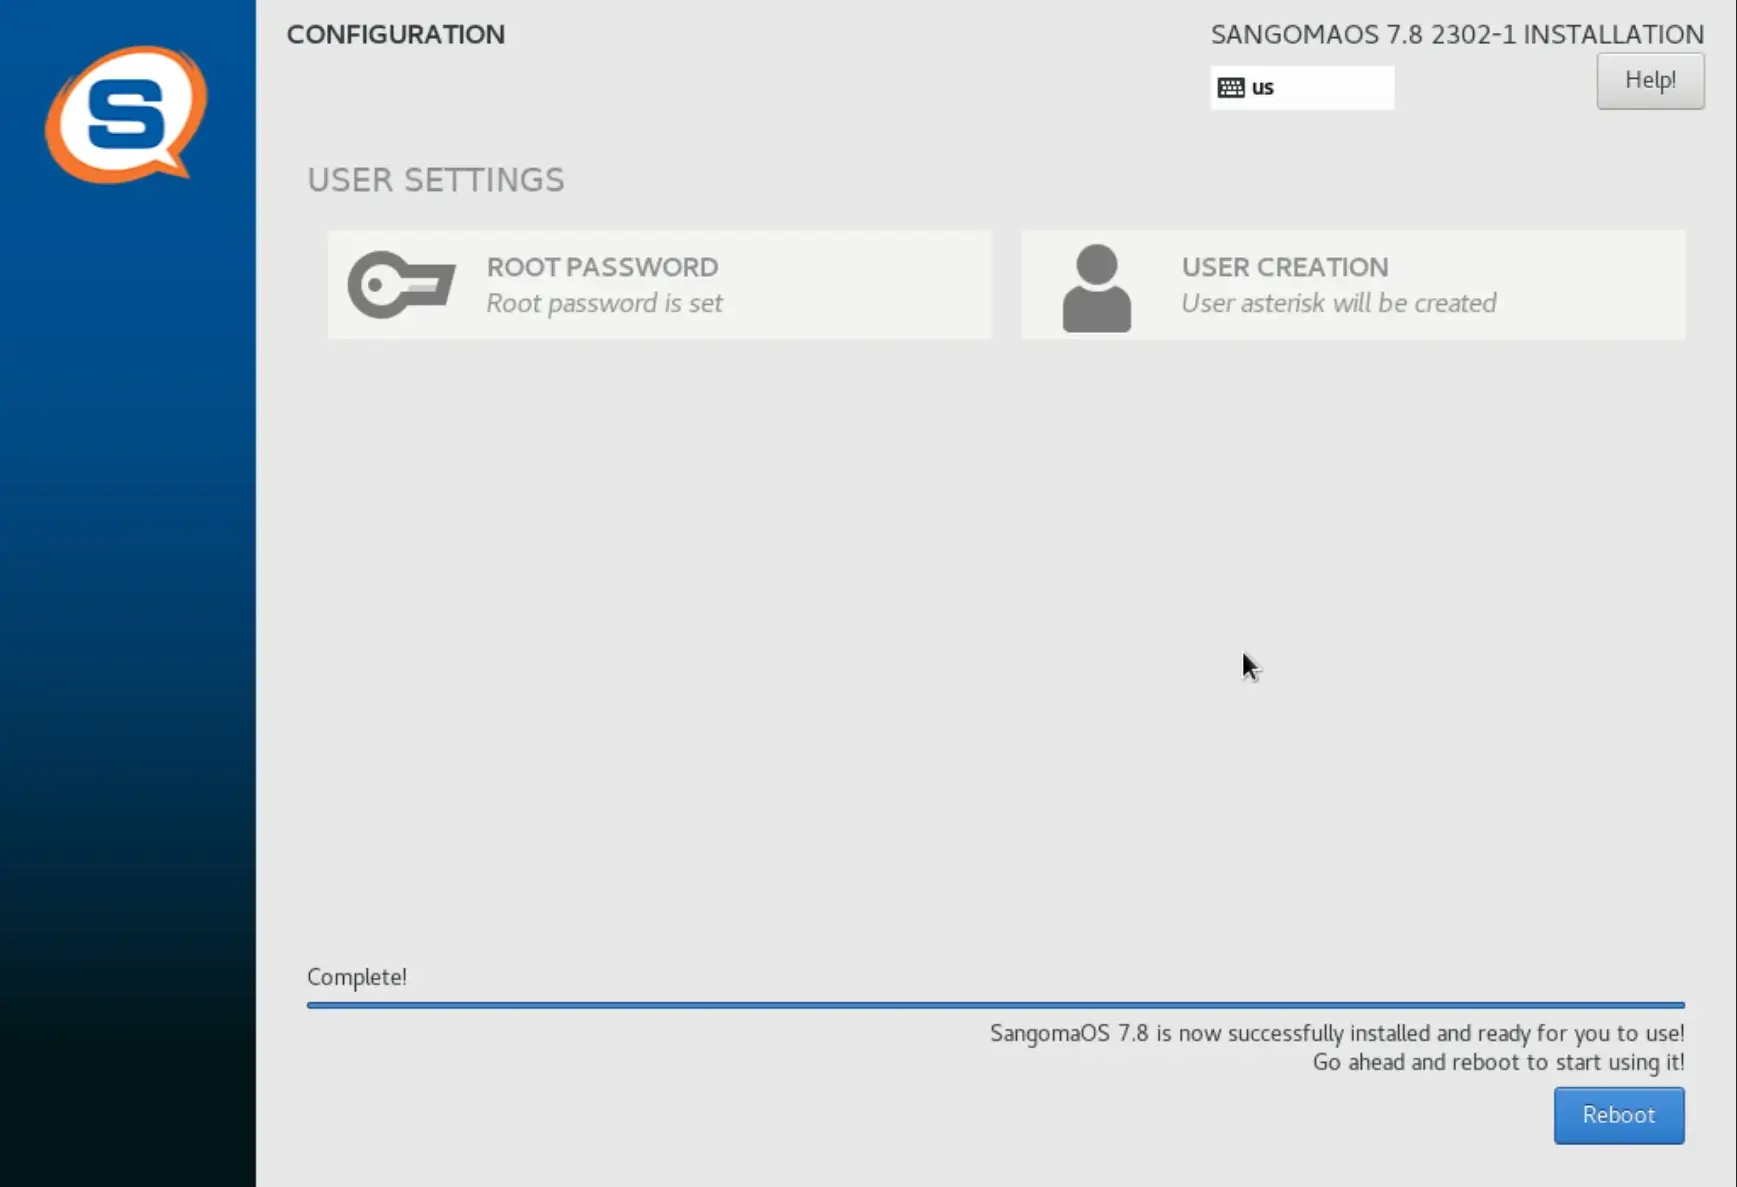
Click Reboot to restart the server.
The installation process is very simple. You can now go to your browser and enter the server IP to access the FreePBX UI and set up the admin account and basic options.
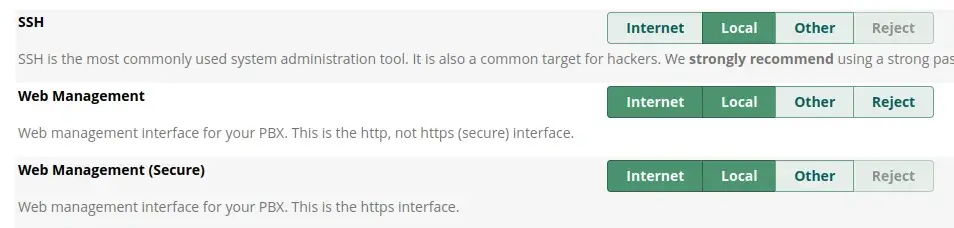
To avoid locking yourself out, go to ‘Connectivity’ > ‘Firewall’ > ‘Services’ and enable ‘Web Management (Internet)’ and ‘Web Management (Secure) (Internet).’ You can also enable ‘SSH (Internet)’ if you want to access the server from anywhere via a terminal, but it is optional.
You can now activate your system via ‘Admin’ > ‘System Admin’ to install commercial modules, if desired.


