
React is a popular JavaScript library for building user interfaces. If you’re a Windows user and want to get started with React development, this guide will walk you through the steps to set up your development environment and create your first React application.
1- Install Node.js
If you haven’t installed Node.js yet on your system, it’s time to do so. Visit the Node.js website and download the Node.js LTS version for Windows.
Click on the downloaded file and follow the instructions to install it.
2- Create a new React project
Open the command prompt in the directory where you want to create the project and run the following command.
npx create-react-app my-profile-websiteIt will create a folder called “my-profile-website” and set up a basic React project structure inside it. This will also install the required dependencies.
3- Start the server
To work on your profile website, you will need to start a server inside the project folder.
cd my-profile-websiteStart the development server with:
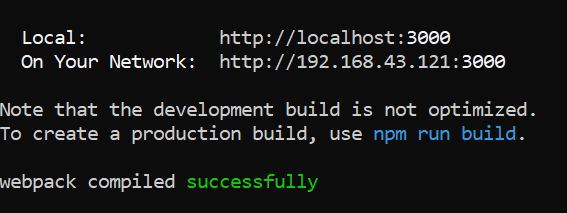
npm startThis will start a server on your local machine with port 3000. The complete address can be either your IP address with the port or “localhost:3000“.
4- Work on your website
All the project files are inside the “my-profile-website” folder. There, you will find an “src” folder where all the React files related to the website will be located. You can add files and folders according to the needs of your website.


