
I have previously written about how to use DDclient with Cloudflare for dynamic DNS on your Raspberry Pi. You will mostly find that the latest version is not available in the repositories. For example, when I was setting up my new Orange Pi with Ubuntu 22.04, the repository only had version 3.9.x available. While this version may be fine for some users, for unknown reasons, it was not updating Cloudflare entries for me. Then I decided to install the latest DDclient and see if that fixed the issue for me, and it actually did. So, let me show you how to install the latest DDclient.
1- Uninstall the current version
If you have installed it through the package manager, uninstall it with the following command.
Note: Before removing it, make sure you have a backup of the protocol(s) you used in the ddclient.conf file.
apt purge ddclient2- Download
If you are installing from scratch, install the following dependencies.
apt install libjson-any-perl libdata-validate-ip-perl libio-socket-ssl-perlNow, download the latest archive (3.11.2 at the time of writing this) and unzip it.
cd /opt
wget https://github.com/ddclient/ddclient/archive/refs/tags/v3.11.2.zip

unzip v3.11.2.zip
cd ddclient-3.11.2/
3- Build
Once we have the sources at hand, we can now proceed to compile it. Run the following commands one by one.
./autogen

./configure \
    --prefix=/usr \
    --sysconfdir=/etc/ddclient \
    --localstatedir=/var

make
make VERBOSE=1 check
make install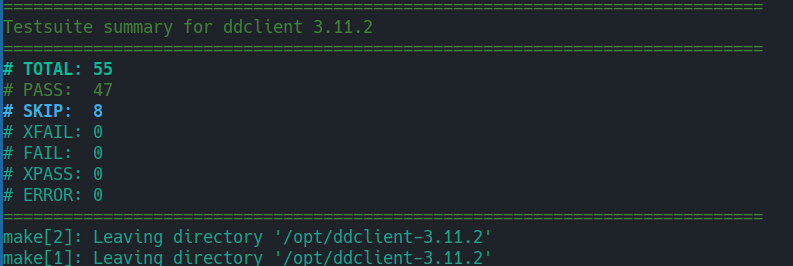
The last command will install DDclient on the system. What we need to do now is configure it.
4- Configure
First, let’s set up the systemd daemon file.
cp /opt/ddclient-3.11.2/sample-etc_systemd.service /etc/systemd/system/ddclient.serviceNext, add your protocols and settings to the ddclient.conf file. It is located in /etc/ddclient/.
vim /etc/ddclient/ddclient.confDo not remove the daemon, syslog, and pid lines. If you prefer, you can disable the mail parts. The ssl option depends on the check IP source. Mine looks like the following.
daemon=300                              # check every 300 seconds
syslog=yes                              # log update msgs to syslog
#mail=root                               # mail all msgs to root
#mail-failure=root                      # mail failed update msgs to root
pid=/var/run/ddclient.pid               # record PID in file.
ssl=no                                 # use ssl-support.  Works with
Below these lines, you can add your protocols. The file already contains examples if you want to check them out.
After we are done with the above, we can now the start ddclient daemon.
systemctl start ddclient
systemctl enable ddclient
Check the status and, if needed, the journal logs with:
systemctl status ddclient
journalctl -xeu ddclient


