
The new prerequisites such as CPU, TPM and Secure Boot pose significant challenges for many PC owners like myself, whose systems lack support for either. My PC serves as a workhorse and Windows is rarely utilized for my tasks, primarily limited to building a few applications. Consequently, upgrading isn’t a pressing necessity for me. However, I pondered, why not attempt to bypass these requirements and see if it’s feasible? So read on to learn how to upgrade to or install Windows 11.
Note the following:
- You don’t need a flash drive to write the ISO file.
- You don’t need to do any registry hacks.
The installation will be done inside Windows 10 itself and no extra steps are needed.
Before we delve into details, please read the following message.
⚠️ Installing Windows 11 on unsupported systems carries the risk of exposing your machine to security vulnerabilities. I advise against doing this on a production system. However, if you still choose to proceed, you take full responsibility for any associated risks.
When Windows 11 was announced, Microsoft itself provided a registry hack for upgrading/installing it. However, that was a while back, and now it’s 2024. Windows 10 support doesn’t end until October 2025, so there’s still a long way to go. Many of the hacks found on the internet are no longer effective. Fortunately, I stumbled upon one that actually worked (at least for me).
Once I run the PC Health Check on my machine on Windows 10, I get the following results. I have Secure Boot enabled in the system BIOS, so there are no Secure Boot issues here.
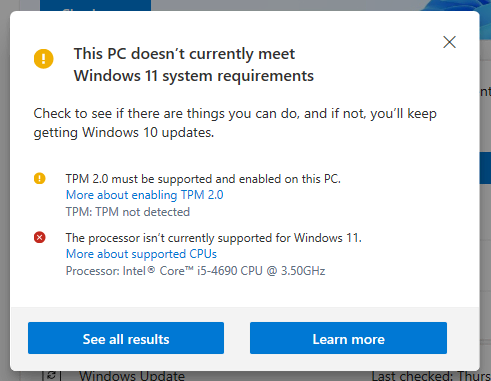
That’s fine because the latest version of Windows 11 requires TPM 2.0 and a supported CPU.
Let’s walk through the steps of installing Windows 11 on your unsupported machine.
1- Download Windows 11 ISO
Go to the Microsoft Windows 11 site and download the ISO. It will take some time depending on your Internet speed. The size of the ISO file at the time of writing is around 6.3GB.
2- Remove TPM/CPU checks
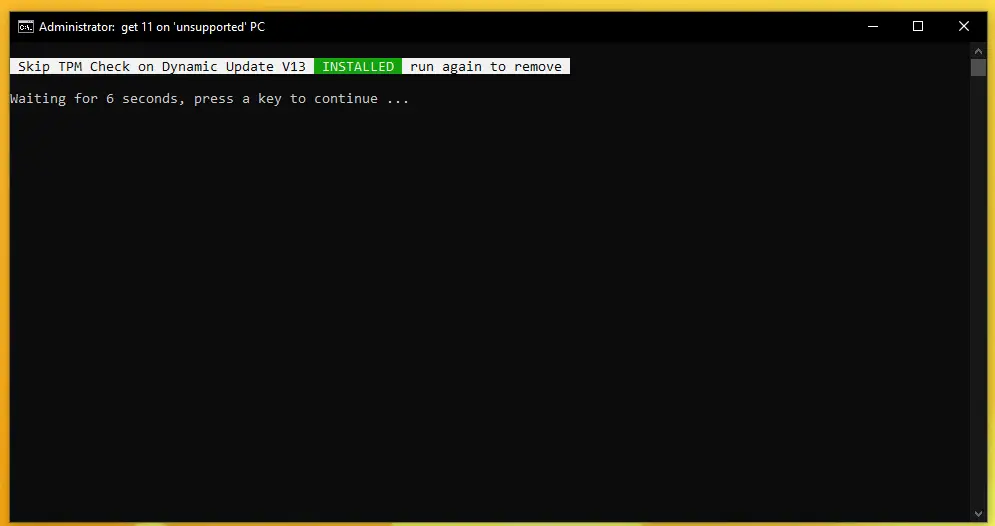
We are not going to use any registry hacks like LabConfig or MoSetup, etc. Instead, we will download the bypass11 script by AveYo from GitHub. Click on the ‘Copy raw file‘ icon on the right-hand side of the file, next to ‘Raw‘.
Open any editor of your choice and paste the content inside it, then save it as skip-tpm.cmd on your desktop. Ensure it does not end up as a .txt or any other file format when saving.
Click on the saved file, and CMD will open. If you see INSTALLED, everything is good. If it displays REMOVED, rerun the script to remove it.
3- Mount Windows ISO
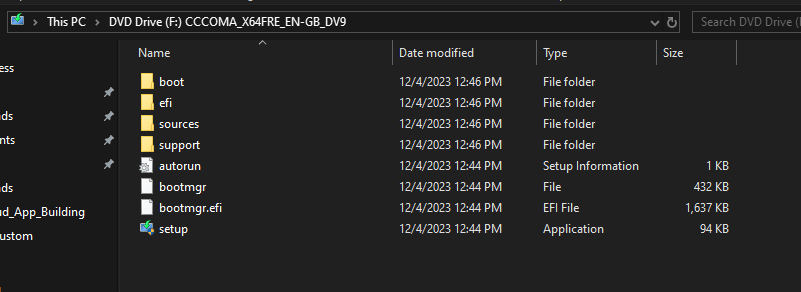
The next step is to navigate to the folder where you downloaded the Windows ISO file. Right-click on it and select Mount. Once opened, you will see contents similar to those below.
4- Start the installation
To be on the safe side, if you have any data on the C drive, back it up.
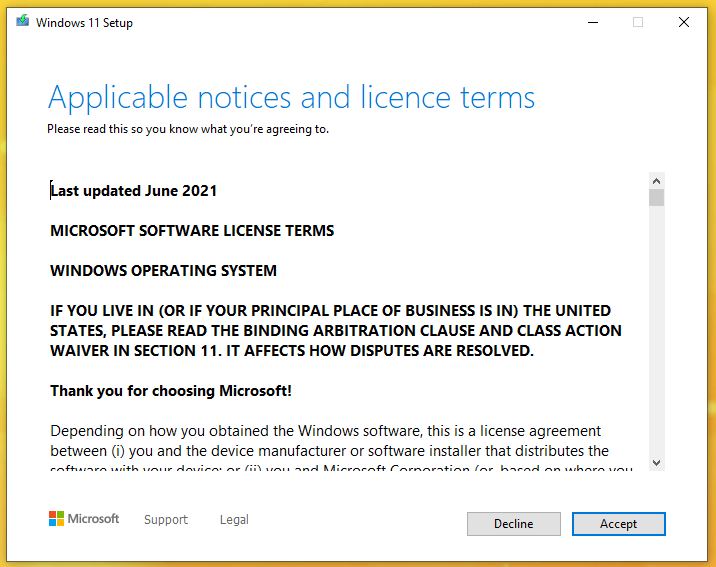
Right-click on the setup file and select Run as administrator. The first screen you will see will look like the one below.

If you don’t want to download updates, click on Change how Setup downloads updates. Then, click on the Next button.
Click the Accept button to accept the licenses and terms.
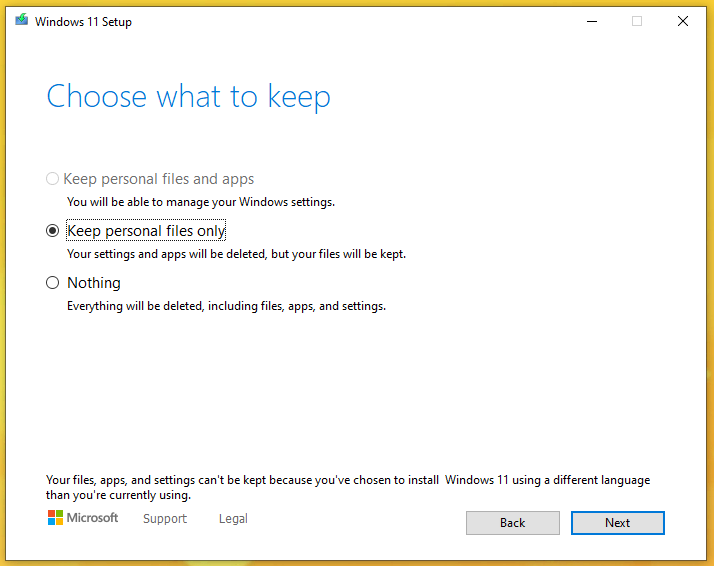
Here, you can choose to keep your files or delete everything and then click Next.
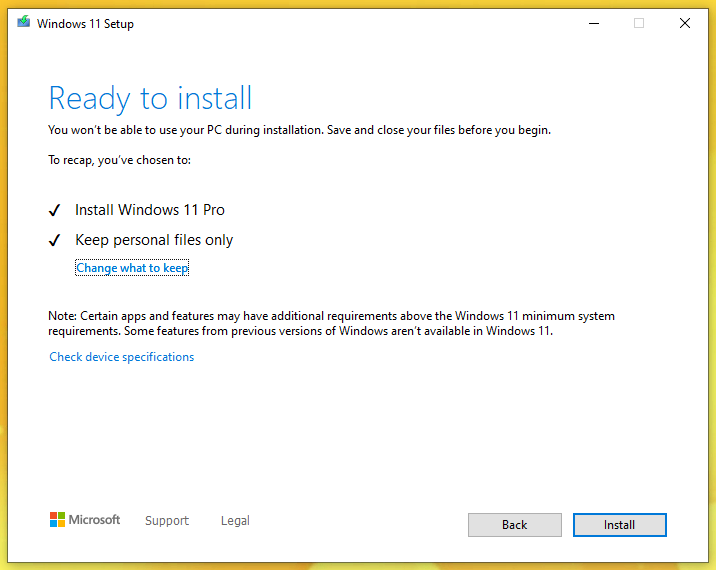
And we can now click on Install button to start the installation process.
The installation process will start, and as we know with Windows, the system will restart a few times during this entire process.
If you have a dual boot and find that GRUB is broken, simply go to the system BIOS, change the boot order, and prioritize Windows at the top. This ensures that the Windows installation completes first, and fix GRUB later.
Do you have a dual boot with Linux? Read below to fix the GRUB if it becomes broken.
5- Post installation
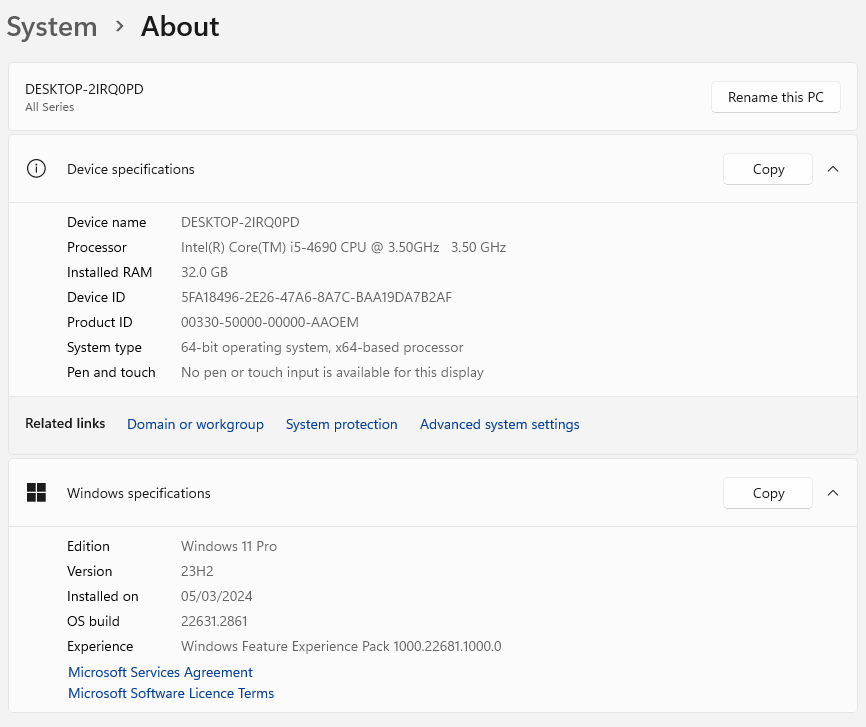
The installation process is automated. At the end, you will be asked about a few things to get Windows 11 ready. Once that is done, you are good to go and log in to the OS.
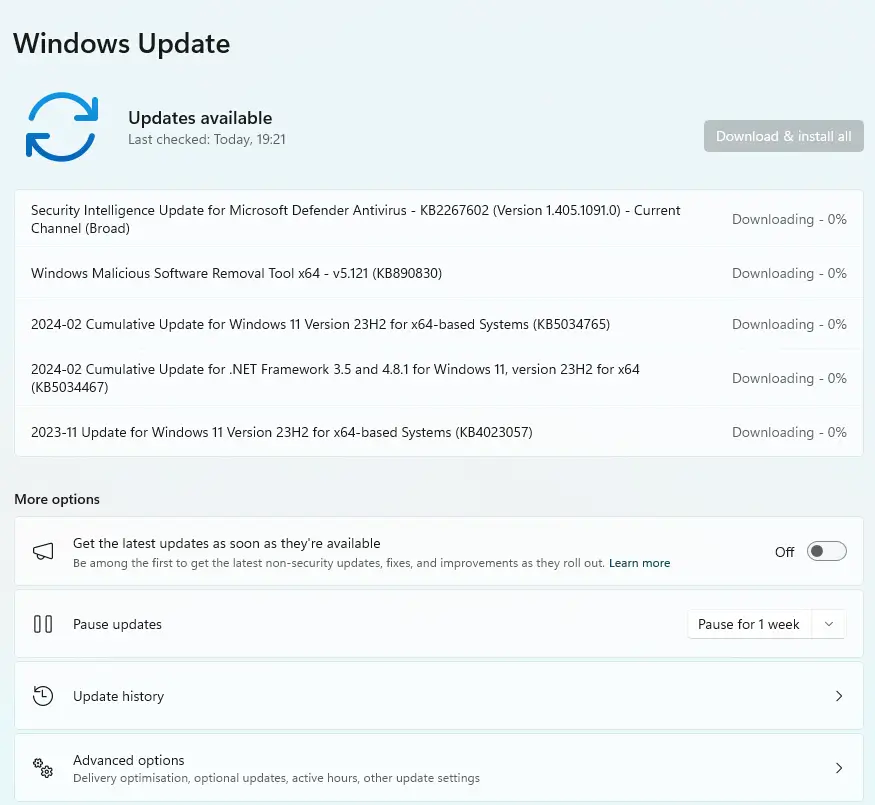
I also checked for updates, and everything is working fine. There are no issues here.
Fix GRUB
I have dual boot, and the Windows installation messed it up, which was expected. If you don’t have dual boot, skip this part.
I have Manjaro OS, so I can provide guidance on that, but the commands may be similar or the same. Please check for other distributions.
Create a Live USB of the Manjaro ISO and boot from it. Open the terminal in the Live session and type manjaro-chroot -a to enter chroot.
Run the following command:
grub-install --target=x86_64-efi --efi-directory=/boot/efi --bootloader-id=manjaro --recheckAnd then:
mkinitcpio -P && update-grubExit and reboot to the system BIOS to change the boot order if necessary.
If you don’t see the Windows entry in the GRUB menu, once logged into Manjaro, run the following command to update GRUB.
sudo update-grubWindows should now be added to the menu.


