
Do you have a mail server and want to use a webmail app to access your email in a browser? I recently wrote about Webmail Lite, which is a webmail app for connecting to an IMAP server. SnappyMail itself is not new and is a fork of the abandoned RainLoop app. You can check the comparison page to get an idea of what has changed or is new in SnappyMail since then. So, in today’s article, I will show you how to set up SnappyMail as your webmail app on an Ubuntu server with Apache.
The server size and specifications depend on your specific needs. However, here are the basic specifications to help you get started.
- Ubuntu 22.04 LTS
- 1GB RAM
- 20GB HDD space
- 1 CPU core
To get an SSL later, don’t forget to point your domain to the server IP.
Prepare the server
We will start with updating our server first.
apt update && apt upgrade

apt autoremove && apt autoclean
We will now proceed to install PHP, Apache and all the required packages.
apt install apache2 libapache2-mod-php php php-gmp php-dev php-bcmath php-gd php-gnupg php-json php-sqlite3 php-tidy php-curl php-mbstring php-intl php-imagick php-xml php-zip php-fpm php-apcu php-redis php-pear php-opcache php-ldap php-dompdf bzip2 zip unzip imagemagick vim ffmpeg zlib libxml2 gnupg tidy libsodium23 redis-server sqlitea2enmod ssl rewrite headers proxy proxy_http deflate cache proxy_wstunnel http2 proxy_fcgi env expiresEnable PHP 8.1 FPM and Apache configuration.
a2enconf php8.1-fpm
a2dismod php8.1
a2dismod mpm_prefork
a2enmod mpm_event
systemctl restart apache2Ensure that Apache and PHP FPM services are set to start automatically at boot.
systemctl enable apache2
systemctl enable php8.1-fpm
If you wish to modify any options in php.ini, you can find the file at /etc/php/8.1/fpm/php.ini. Remember to restart PHP FPM after making changes.
Download SnappyMail
Our web root is located at /var/www/html, and we will switch to it.
cd /var/www/htmlAfter switching, it’s time to download the latest build of SnappyMail.
wget https://snappymail.eu/repository/latest.tar.gz
tar -xzf latest.tar.gz
rm latest.tar.gz
We will move the data directory outside of the web root. To do this, we will create a directory outside of the web root for it.
mkdir /var/www/snappydataNext, rename the file /var/www/html/_include.php to /var/www/html/include.php.
mv /var/www/html/_include.php /var/www/html/include.phpOnce done, open it in your favorite editor (I use vim).
vim /var/www/html/include.phpAdd or uncomment the following line in it, and then save.
define('APP_DATA_FOLDER_PATH', '/var/www/snappydata/');Change the ownership at this point too.
chown -R www-data:www-data /var/www/snappydata
chown -R www-data:www-data /var/www/html
Apache virtual host
We will now create a virtual host file for our SnappyMail installation.
cd /etc/apache2/sites-available/
vim snappymail.conf
Add the following lines to it, and make sure to change DOMAIN.COM accordingly.
<VirtualHost *:80>
	ServerName DOMAIN.COM
	ServerAlias DOMAIN.COM
	DocumentRoot /var/www/html

	<Directory "/var/www/html">
		AllowOverride All
		Options -Indexes +FollowSymLinks
	</Directory>

	ErrorLog /var/log/apache2/snappy_error.log
</VirtualHost>
Activate the newly created configuration and restart the Apache server.
a2dissite 000-default.conf
a2ensite snappymail.conf

apachectl -t
systemctl restart apache2
Set up SnappyMail
There is one more thing we can do (SSL), but that can be done later too. So let’s set up SnappyMail first.
Go to http://DOMAIN.COM/?admin to perform a few initial admin tasks. To retrieve the admin password, use the cat command.
cat /var/www/snappydata/_data_/_default_/admin_password.txt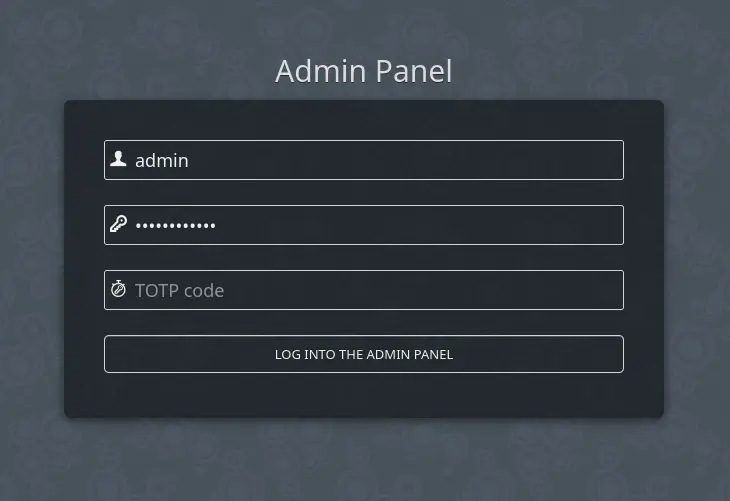
After logging in, you will be prompted to change your password. Click on the change link to proceed.
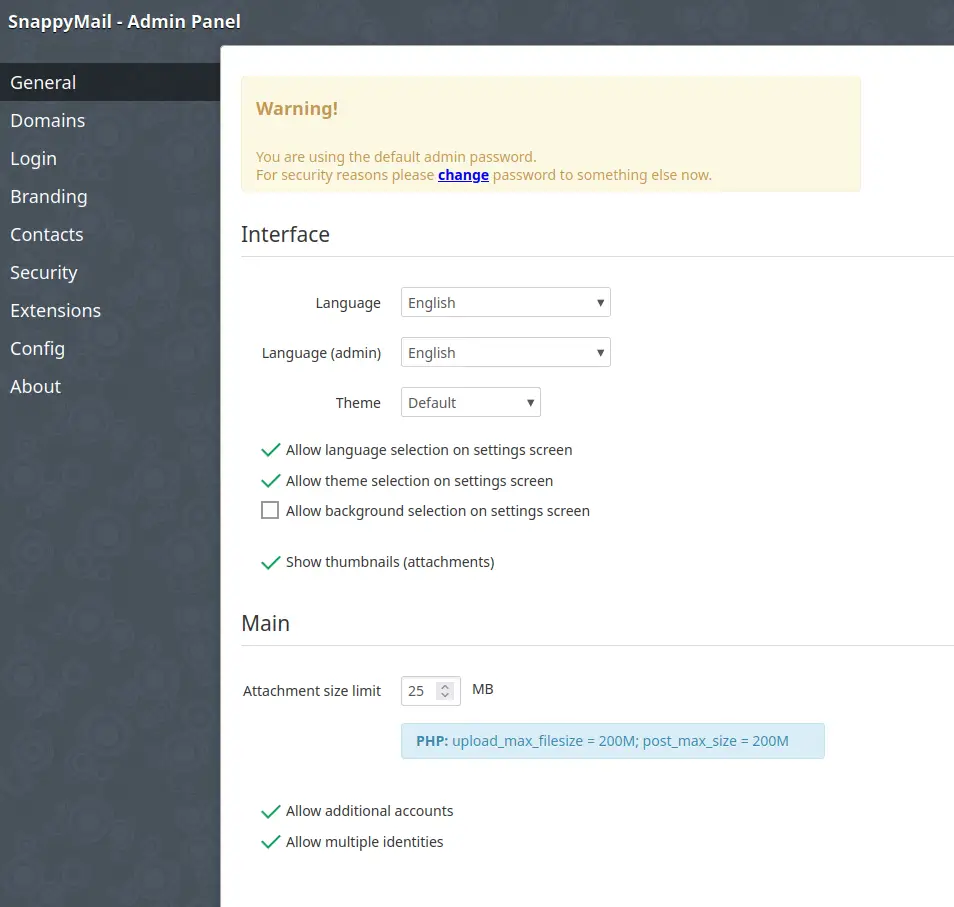
Few more tasks to do:
- If you plan to use SnappyMail for contacts, select Contacts and choose SQLite. It will work perfectly for this purpose.
- You can change the title, description, etc., under Branding.
- To add a new IMAP/SMTP server, click on Domains, and then click the Add Domain button.
- For other configuration changes, please check the Config page.
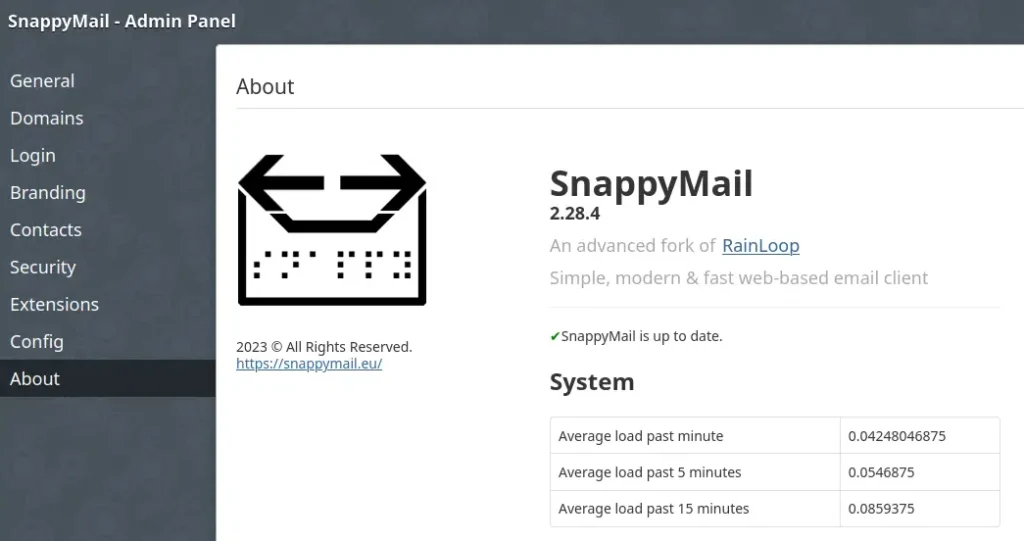
To check which extensions you have installed, click on the About link. Some PHP extensions need to be installed through PECL.
pecl listUpgrade the channel if needed (use sudo if you encounter write errors and you are not the root user).
pecl channel-update pecl.php.netpecl install uuid
pecl install xxteaWe are almost done. If you have your IMAP server ready, you can now log in to your email. However, there is one final step remaining: obtaining and setting up an SSL certificate.
SSL certificate
I will use Let’s Encrypt to obtain an SSL certificate here. However, if you already have your own certificates from another provider, you can simply use them in the virtual host configuration below.
snap install certbot --classic
certbot certonly --webroot -w /var/www/html -d DOAMIN.COMNext, we will proceed to update the Apache configuration file located at /etc/apache2/sites-available/snappymail.conf.
<VirtualHost *:443>
	ServerName DOMAIN.COM
	DocumentRoot /var/www/html

	SSLCipherSuite EECDH+AESGCM:EDH+AESGCM:AES256+EECDH:ECDHE-RSA-AES128-SHA:DHE-RSA-AES128-GCM-SHA256:AES256+EDH:ECDHE-RSA-AES256-GCM-SHA384:ECDHE-RSA-AES128-GCM-SHA256:DHE-RSA-AES256-GCM-SHA384:ECDHE-RSA-AES256-SHA384:ECDHE-RSA-AES128-SHA256:ECDHE-RSA-AES256-SHA:DHE-RSA-AES256-SHA256:DHE-RSA-AES128-SHA256:DHE-RSA-AES256-SHA:DHE-RSA-AES128-SHA:ECDHE-RSA-DES-CBC3-SHA:EDH-RSA-DES-CBC3-SHA:AES256-GCM-SHA384:AES128-GCM-SHA256:AES256-SHA256:AES128-SHA256:AES256-SHA:AES128-SHA:DES-CBC3-SHA:HIGH:!aNULL:!eNULL:!EXPORT:!DES:!MD5:!PSK:!RC4
	SSLProtocol All -SSLv2 -SSLv3 -TLSv1 -TLSv1.1
	SSLHonorCipherOrder On

	Header always set Content-Security-Policy "upgrade-insecure-requests"
	Header always set Strict-Transport-Security: "includeSubDomains; preload; max-age=63072000"
    Header always set X-XSS-Protection "0"
    Header always set X-Frame-Options: "SAMEORIGIN"
    Header always set Permissions-Policy "geolocation=self"
    Header always set Referrer-Policy "strict-origin-when-cross-origin"
    Header always set X-Content-Type-Options "nosniff"

	Protocols h2 http/1.1

	<Directory "/var/www/html">
		AllowOverride All
		Options -Indexes +FollowSymLinks
	</Directory>

	<FilesMatch ".(ico|pdf|flv|jpg|jpeg|png|gif|js|css|swf|ttf|woff)$">
		Header set Cache-Control "max-age=31536000, public"
	</FilesMatch>

	ErrorLog /var/log/apache2/snappy_error.log

	SSLEngine on
	SSLCertificateKeyFile /etc/letsencrypt/live/DOMAIN.COM/privkey.pem
	SSLCertificateFile /etc/letsencrypt/live/DOMAIN.COM/fullchain.pem
</VirtualHost>
To redirect HTTP to HTTPS, add the following lines to the port 80 block section.
RewriteEngine On
RewriteCond %{HTTPS} off
RewriteRule (.*) https://%{HTTP_HOST}%{REQUEST_URI}
Save, test and restart Apache.
apachectl -t
systemctl restart apache2
You can now open the URL in your browser without ?admin in it and log in to your email account.


