
PeerTube is a decentralized, open-source video hosting platform that empowers users to create their own video-sharing networks. Unlike centralized platforms, PeerTube allows for greater user control, content diversity, and reduced reliance on a single hosting provider. Whether you are a seasoned admin or just a hobbyist, this article will guide you on how to install PeerTube on your Ubuntu 22.04 LTS server from scratch.
PeerTube 6 was recently released with a bunch of new features. Check out the release blog for more details.
Note: This is going to be a long but easy-to-follow article, so don’t rush it and follow it thoroughly.
Let’s get started.
What you will need:
- Ubuntu 22.04 LTS server with public IP
- A domain name
- SMTP details for emails (optional)
Before you start:
- Point your domain to the server IP
Install dependencies
This section will walk you through how to install all the required dependencies and set them up.
The first thing to do is update the system.
apt update && apt upgradeInstall Python, PostgreSQL, Nginx, Certbot, Redis, and others.
apt install python3 python3-dev python-is-python3 curl sudo unzip vim ca-certificates gnupg nginx certbot ffmpeg postgresql postgresql-contrib openssl g++ make redis-server git cron wgetYou can check the versions:
python --version
redis-server -v
As we are on Ubuntu 22.04, most of the dependency versions will be met, and we do not need extra repositories.
Start the services:
systemctl start nginx
systemctl start redis-server
systemctl start postgresql
Enable them to start at boot time:
systemctl enable nginx
systemctl enable redis-server
systemctl enable postgresql
Install Nodejs
mkdir -p /etc/apt/keyrings
curl -fsSL https://deb.nodesource.com/gpgkey/nodesource-repo.gpg.key | sudo gpg --dearmor -o /etc/apt/keyrings/nodesource.gpg
PeerTube recommends to install Nodejs 18.
NODE_MAJOR=18
echo "deb [signed-by=/etc/apt/keyrings/nodesource.gpg] https://deb.nodesource.com/node_$NODE_MAJOR.x nodistro main" | sudo tee /etc/apt/sources.list.d/nodesource.list
Update the packages and proceed to install Nodejs.
apt update
apt install nodejs
At this time, I have the following version installed.
nodejs --versionv18.19.0Let’s proceed to install Yarn as well, utilizing npm.
npm install --global yarnFirewall
We will now set up the firewall, allowing only specific services and ports. Port 22 is the SSH port; change it if needed.
ufw default allow outgoing
ufw default deny incoming
ufw allow 22
ufw allow in "Nginx Full"

ufw enable
ufw status
PeerTube user and database
The PeerTube setup will run under a separate user from the OS main or root user. To achieve this, we will create a ‘peertube‘ user with a home dir at /var/www.
useradd -m -d /var/www/peertube -s /bin/bash -p peertube peertubeSet password for this newly added user:
passwd peertubeUpdate the permissions of the home directory.
chmod 755 /var/www/peertubeThis should set them as drwxr-xr-x when checked with the ls command.
ls -ld /var/www/peertubeSwitch to the directory we created and create a PostgreSQL user.
cd /var/www/peertubeThe following command will prompt you for the database user (peertube) password. Do not skip it or press enter without entering the password.
sudo -u postgres createuser -P peertubeNow, create a database named ‘peertube‘.
sudo -u postgres createdb -O peertube -E UTF8 -T template0 peertube_prodAfterward, enable the extensions required by PeerTube.
sudo -u postgres psql -c "CREATE EXTENSION pg_trgm;" peertube_prod
sudo -u postgres psql -c "CREATE EXTENSION unaccent;" peertube_prod
PeerTube directories
We will create some of the required directories before pulling PeerTube source.
sudo -u peertube mkdir /var/www/peertube/config /var/www/peertube/storage /var/www/peertube/versionsChange the permissions for the config directory.
sudo -u peertube chmod 750 /var/www/peertube/configDownload PeerTube
We will now download the latest stable version of PeerTube into the versions directory.
First, set a temporary VERSION variable to the latest version from GitHub in the command prompt.
cd /var/www/peertube/versions

VERSION=$(curl -s https://api.github.com/repos/chocobozzz/peertube/releases/latest | grep tag_name | cut -d '"' -f 4) && echo "Latest Peertube version is $VERSION"
At the time of writing this article, I got Latest Peertube version is v6.0.1.
Download PeerTube:
sudo -u peertube wget -q "https://github.com/Chocobozzz/PeerTube/releases/download/${VERSION}/peertube-${VERSION}.zip"After downloading, unzip the archive.
sudo -u peertube unzip -q peertube-${VERSION}.zipRemove the zip archive.
sudo -u peertube rm peertube-${VERSION}.zipLet’s now pull all the dependencies for PeerTube.
cd ..

sudo -u peertube ln -s versions/peertube-${VERSION} ./peertube-latest

cd ./peertube-latest && sudo -H -u peertube yarn install --production --pure-lockfile
Wait for the command to complete.
Configure PeerTube
After the initial setup, it’s now time to configure PeerTube.
cd /var/www/peertubeFor this, we will copy the configuration file to the config directory. It is advised not to edit or change anything in the default.yaml file.
sudo -u peertube cp peertube-latest/config/default.yaml config/default.yamlAlso, copy over the production.yaml file to the config directory.
sudo -u peertube cp peertube-latest/config/production.yaml.example config/production.yamlBefore updating the production.yaml file, create a secret key with OpenSSL and make a note of it.
openssl rand -hex 32Open production.yaml file for editing with vim.
sudo -u peertube vim config/production.yamlEdit the following parts for now. Some of these can be updated via the PeerTube UI once you login as Admin. I have added line numbers where you can find these options. Optionally, you can also update the SMTP details.
webserver:
	hostname: 'DOMAIN.COM' (line 8)
secrets:
	peertube: 'SECRET_KEY' (line 14)
database:
	username: 'peertube' (line 75)
	password: 'PASSWORD' (line 76)
admin:
	email: 'EMAIL' (line 451)
Webserver setup
PeerTube only supports Nginx officially. They also provide a production-ready configuration file for it. Let’s copy that.
cp /var/www/peertube/peertube-latest/support/nginx/peertube /etc/nginx/sites-available/peertubeUpdate WEBSERVER_HOST and PEERTUBE_HOST with the following commands. Change DOMAIN.COM to your actual domain before running them.
sed -i 's/${WEBSERVER_HOST}/DOAMIN.COM/g' /etc/nginx/sites-available/peertube

sed -i 's/${PEERTUBE_HOST}/127.0.0.1:9000/g' /etc/nginx/sites-available/peertube
Create a symlink for it.
ln -s /etc/nginx/sites-available/peertube /etc/nginx/sites-enabled/peertubeYou can change anything you would like by running, vim /etc/nginx/sites-available/peertube.
SSL
If you have your own certificates, skip this part and update /etc/nginx/sites-available/peertube configuration with yours. Otherwise, follow the following commands to obtain one from Let’s Encrypt.
apt install snapd
snap install --classic certbot
Stop Nginx and obtain a certificate.
systemctl stop nginx
certbot certonly --standalone --post-hook "systemctl restart nginx"
systemctl reload nginx
To auto renew, set the authenticator to webhook in /etc/letsencrypt/renewal/DOMAIN.COM.conf. Add webroot_path = /var/www/certbot.
TCP/IP update
Let’s fine-tune the TCP settings for PeerTube as recommended.
cp /var/www/peertube/peertube-latest/support/sysctl.d/30-peertube-tcp.conf /etc/sysctl.d/

sysctl -p /etc/sysctl.d/30-peertube-tcp.conf
Systemd service
To make things easier to start/stop, we will create a systemd unit file for PeerTube. Copy the already provided file to systemd directory.
cp /var/www/peertube/peertube-latest/support/systemd/peertube.service /etc/systemd/system/You can check and change anything with:
vim /etc/systemd/system/peertube.serviceOnce confirmed that all is good, reload the systemd daemon and enable the unit file.
systemctl daemon-reload

systemctl enable peertube
systemctl start peertube
Reset PeerTube root user password
Instead of peeking around log files, let’s change the root (admin) user password.
cd /var/www/peertube/peertube-latest && NODE_CONFIG_DIR=/var/www/peertube/config NODE_ENV=production npm run reset-password -- -u rootTime to test drive
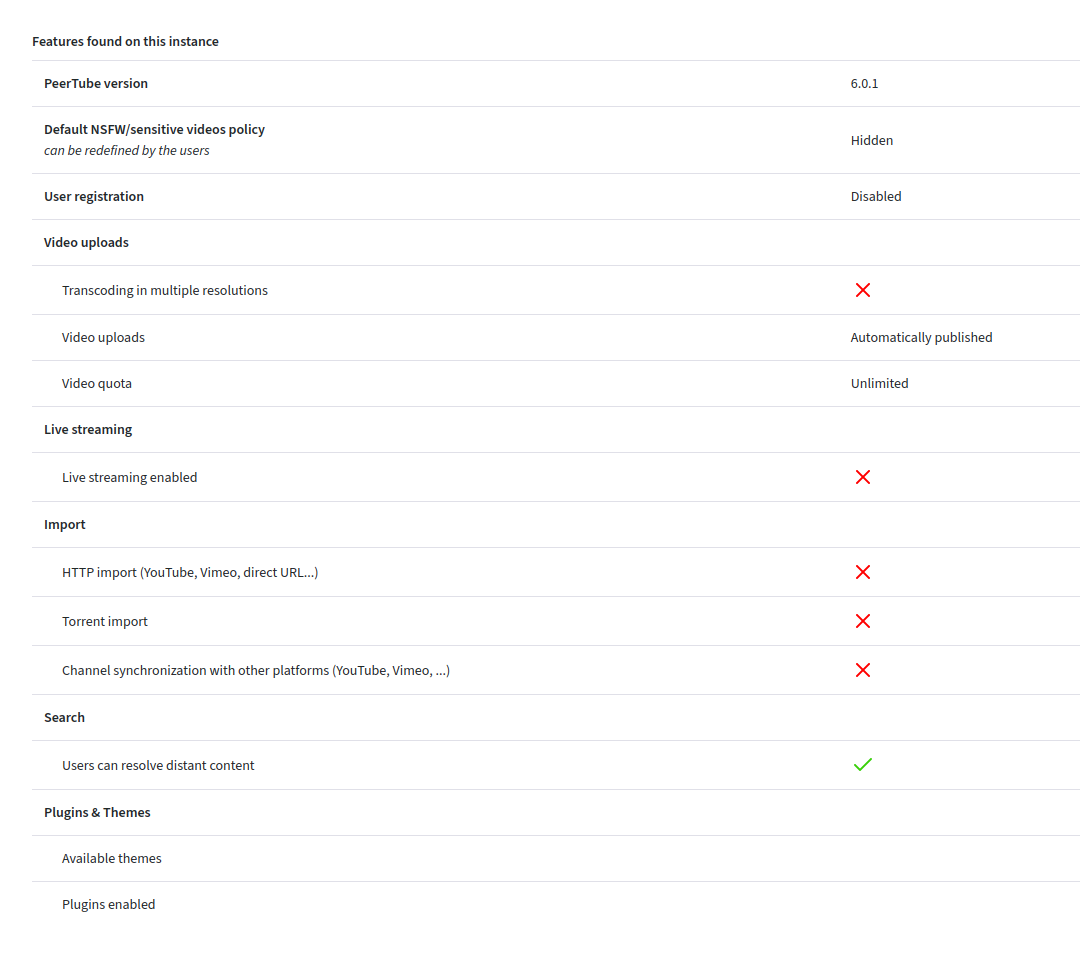
The setup is complete, and PeerTube should now be accessible through the chosen domain.
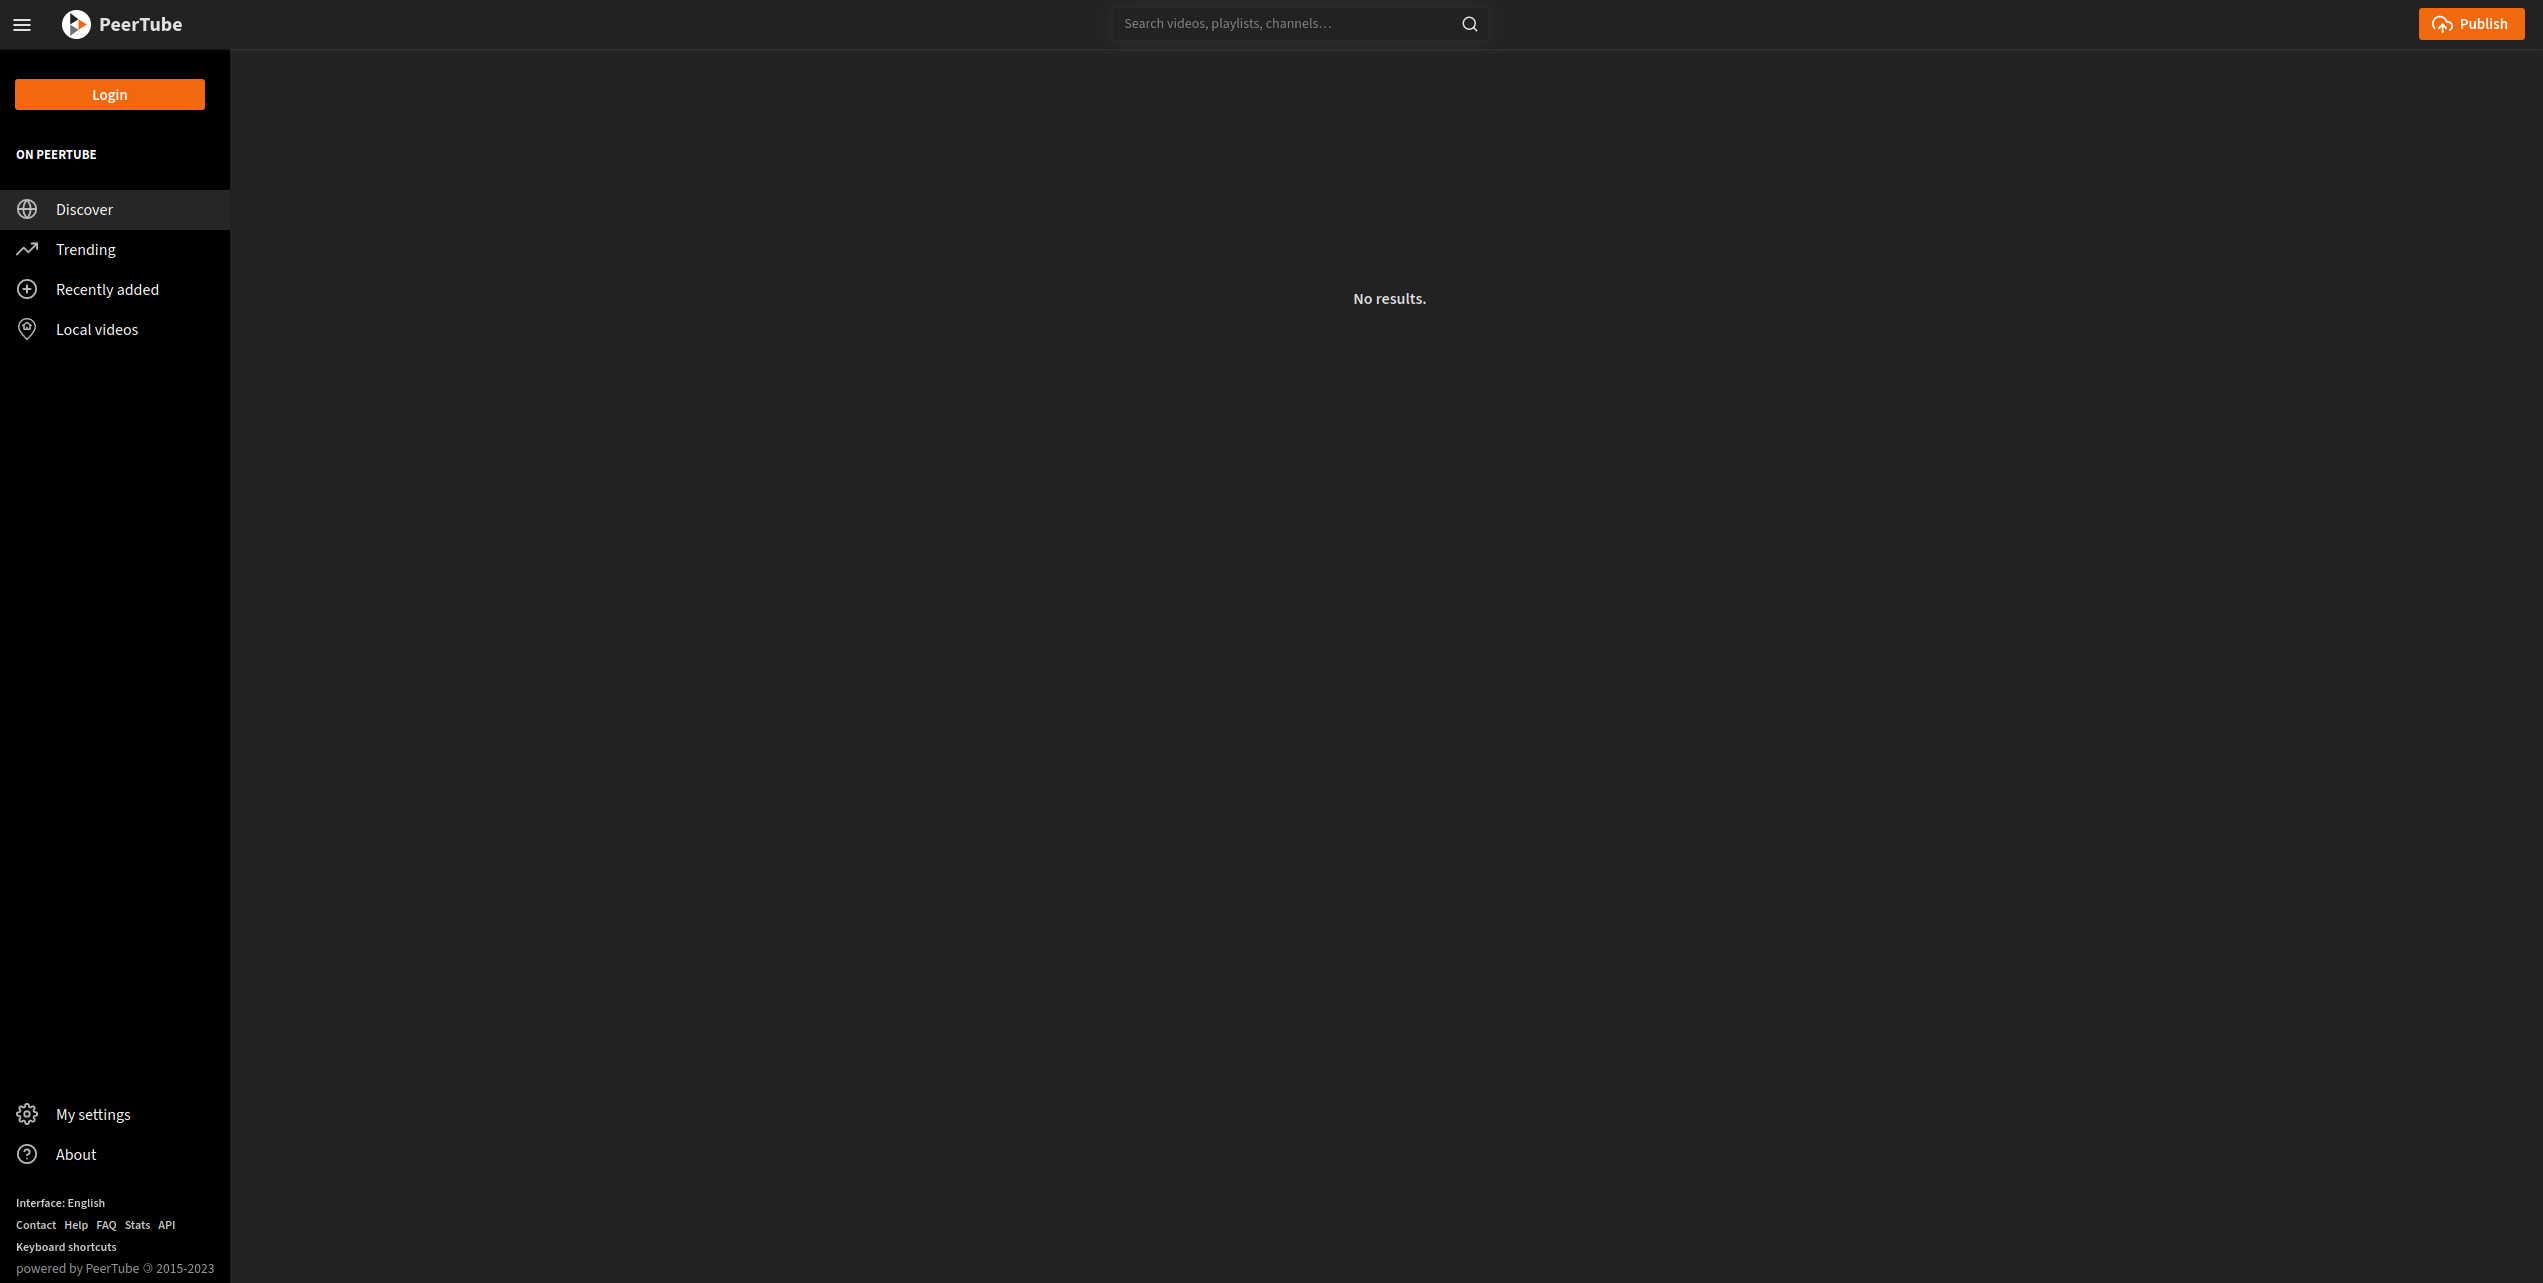
What next?
- Create a new user for uploading videos; PeerTube does not recommend using the root user for video uploads.

- Install plugins and themes of your choice under the Administration menu.
- Update the configurations according to your preferences and setup.


Can’t get SSL step:
Invalid response from…
Hint: The Certificate Authority failed to download the challenge files from the temporary standalone webserver started by Certbot on port 80. Ensure that the listed domains point to this machine and that it can accept inbound connections from the internet.
Also not clear – I have reves-proxy in my local net and already have sert for subdomain tube.mydomain.com – how I should friend them together.
If you have your own certificates, you can use that. Make sure to insert the correct path in the Apache configuration file for it.